Video editing is not the skill set that most people would attribute to a tool like Blender, which is supposed to focus on 3D modeling as its bread and butter. However, Blender is a jack of all trades kind of application and has a fully functioning video editor ready to go. You can do all sorts with the video sequence editor, like creating overlays for your videos.
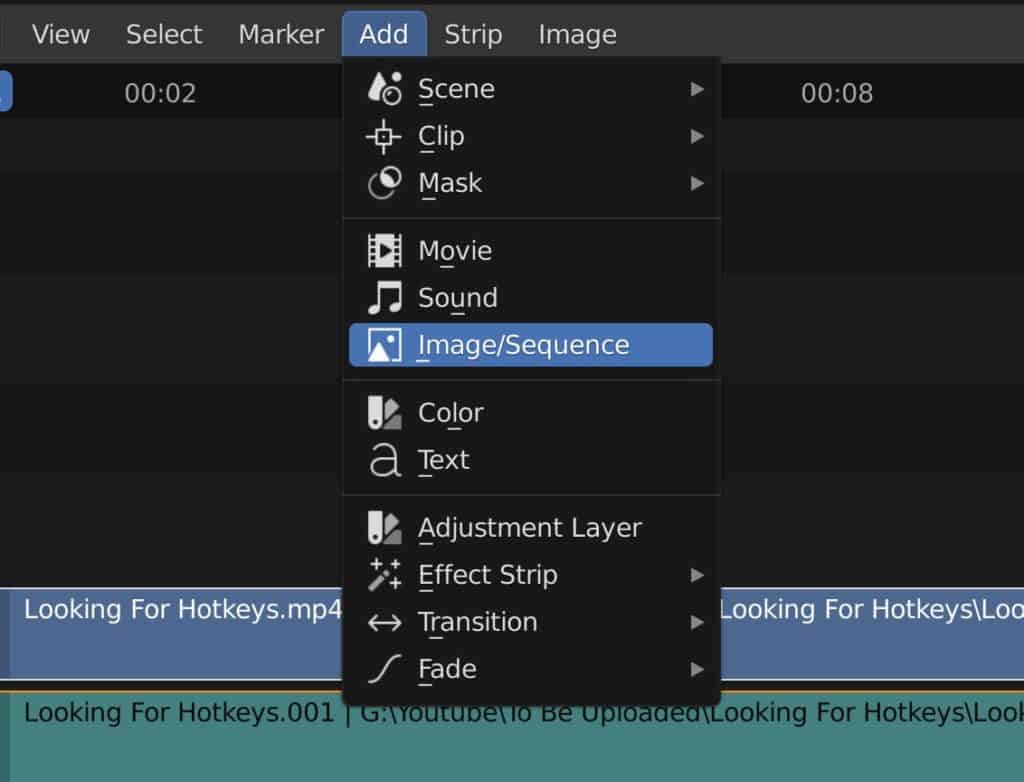
An overlay is an element that is placed on top of the main footage as either an additional layer or to replace the main footage temporarily. There are different overlays or elements that we can use such as text, color backgrounds, broll footage, and still images. To add an overlay to your main footage press Shift + A to open the add menu where you will find all these elements.
The whole point of video editing is to take a raw video clip and improve it to the point where it becomes fit for purpose, depending on what that purpose is. Adding overlays is a fundamental skill for any video editor to learn and help improve their own content.
Why Do We Need Overlays For Our Videos?
When editing video content we are looking to add, subtract and adjust aspects of that content. When we subtract we are editing out parts of the video that are not required, like when the narrator pauses for a few seconds on an educational video to catch his breath,
When we are adjusting a video we are looking to improve on what is already there, such as when performing color correcting or sound engineering.
But when it comes to adding new content these elements can either replace or enhance the base video. These are referred to as overlays that can be positioned in your timeline to improve your base content in a variety of ways.
Below are a few examples of overlays that you can add to the video sequence editor…
- Text
- Color
- Sound
- Images
- Broll
When To Use A Single Color Background
Adding a single color as a background has a limited number of use cases compared to other overlays, and is better used when combined with other elements rather than on its own.
Perhaps the most obvious example is using the color as a backdrop for the credits at the end of a video. Create a black backdrop and position it after the main footage, then add text on top to create the credits. This is surprisingly simple to do, as all you need to do is add the color to the text and then animate the text to create that fade effect that you normally see in credits.
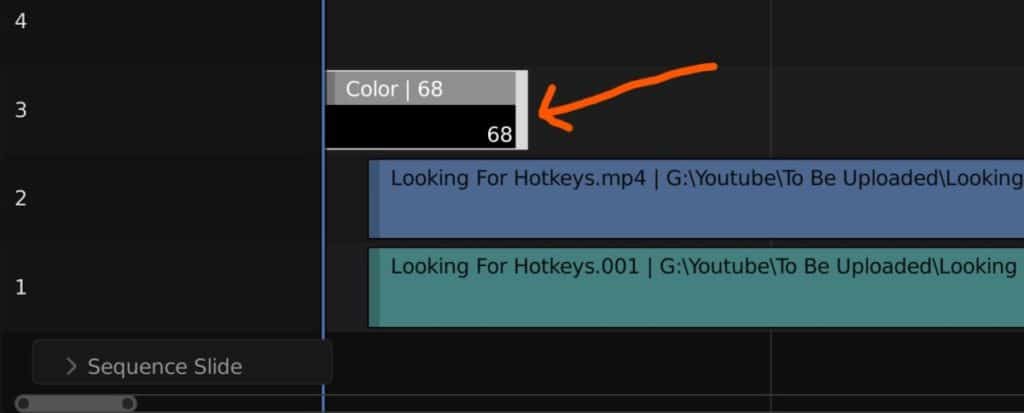
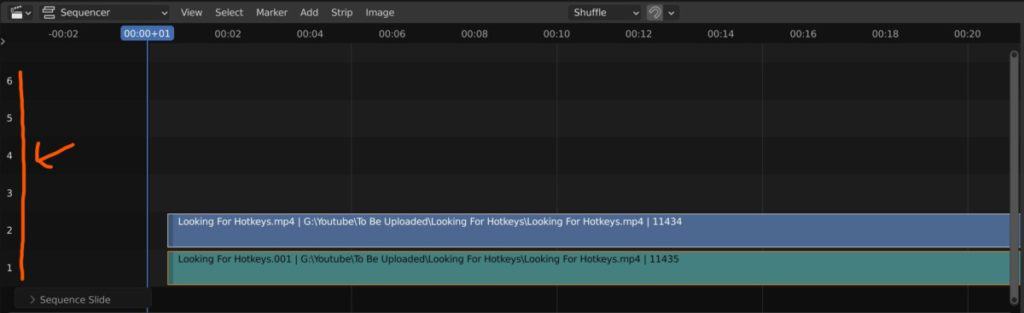
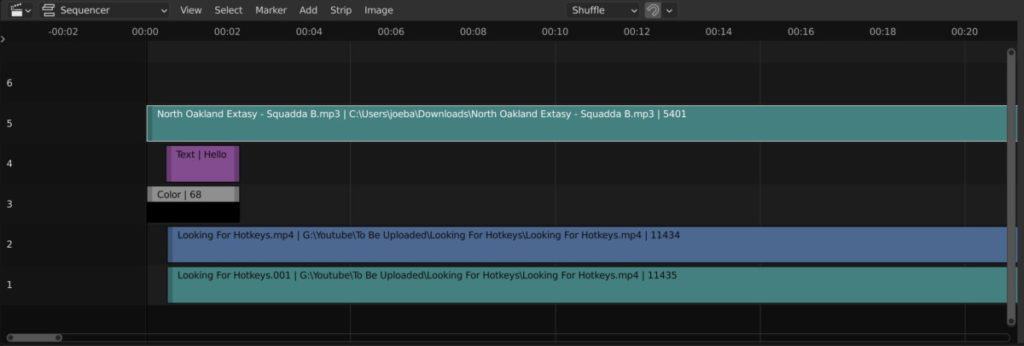
Since color is used as a backdrop for other elements in the VSE, we need to make sure it is below everything except the main footage, for which it can still act as an overlay or be positioned at either end. For example, to overlay text onto a color background, position the color on channel two and the text above it on channel three.
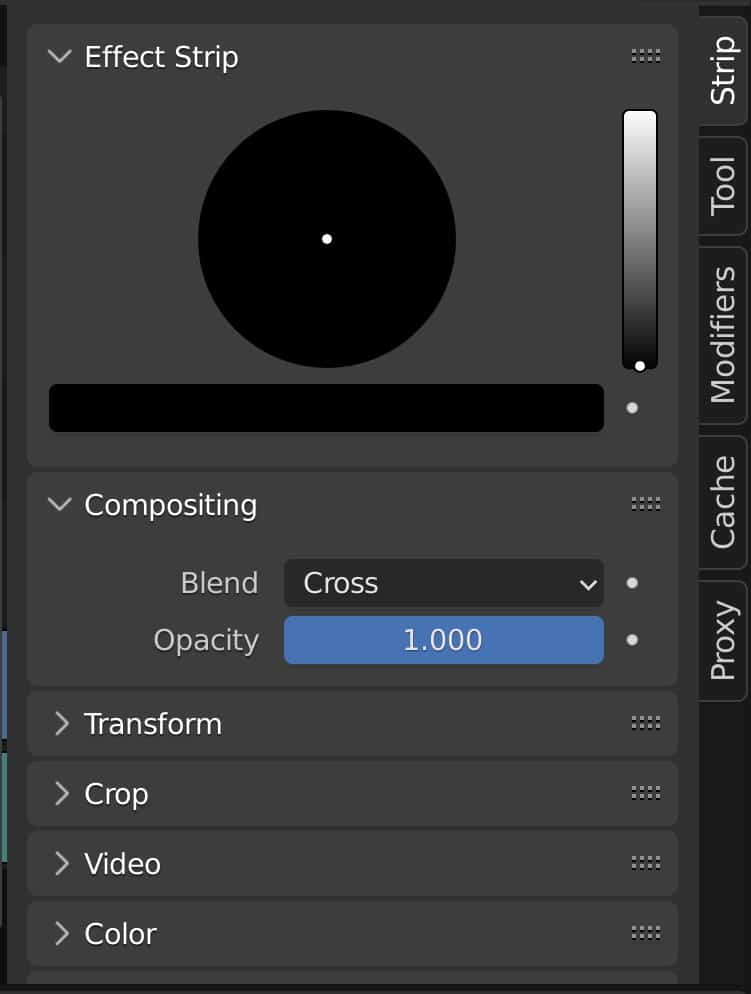
You can change the color of the background from the effect strip tab of the side panel, as well as manipulate the transforms and cropping values to adjust the size of the color and positioning in your video.
Using A Text Element As An Overlay
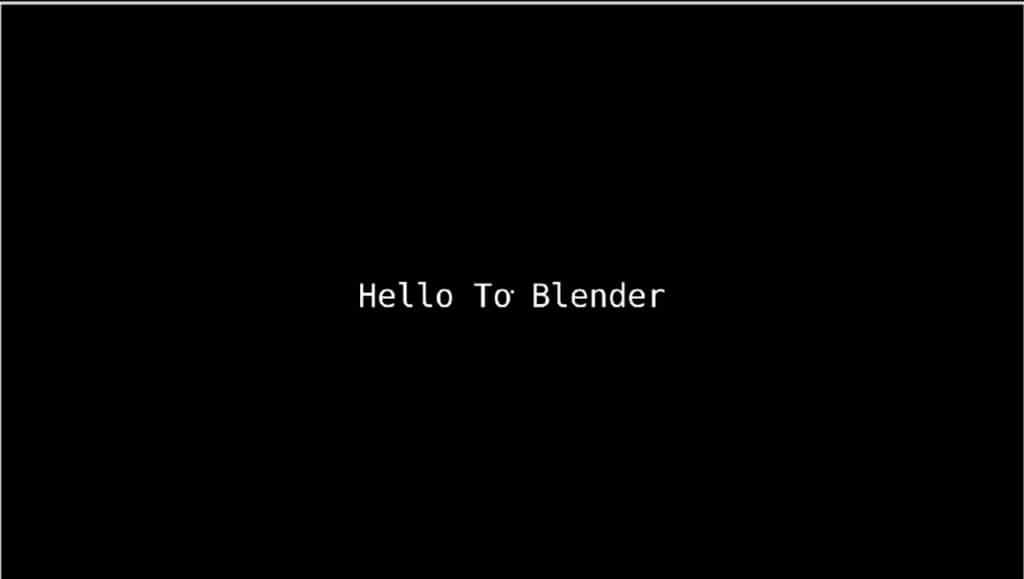
The first element that we will cover is the text element, which allows you to overlay text on top of your video. This text can be used in various forms, such as in a title sequence, end of video credits, and as subtitles. They are also useful in educational videos like software tutorials.
To add a text overlay to your VSE (Video Sequence Editor) go to the add menu from the panel header or use the blender shortcut of Shift + A to reach the same menu, then select the text element.
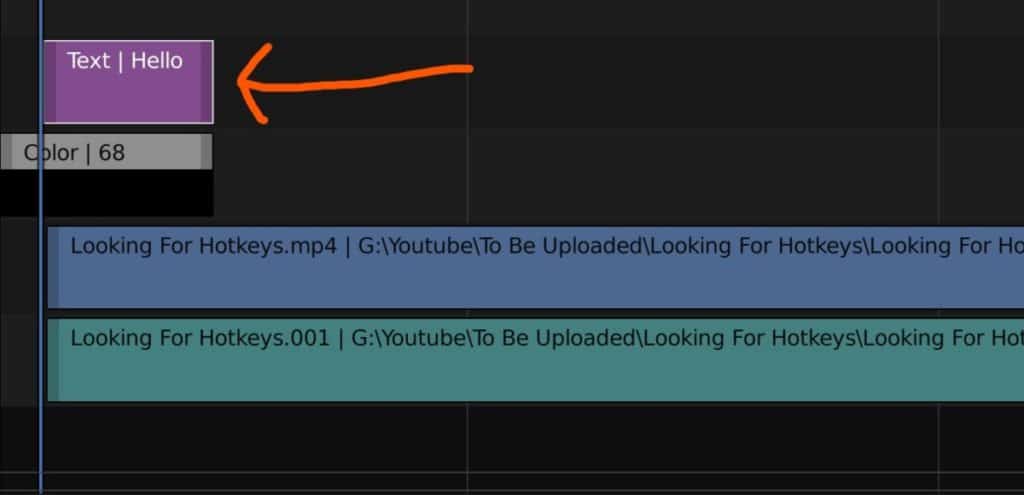
The clip that is created will be placed wherever your current frame is positioned. That’s the blue bar in the timeline, which you can move across simply by clicking and dragging.
Clips can be edited in terms of their location in the VDE by clicking and dragging from the body of the clip, or via their length by clicking and dragging from the side of the clip.
This process is the same for all of the overlays that we can add, from adding the elements from the menu to adjusting it’s position and length in the VSE.
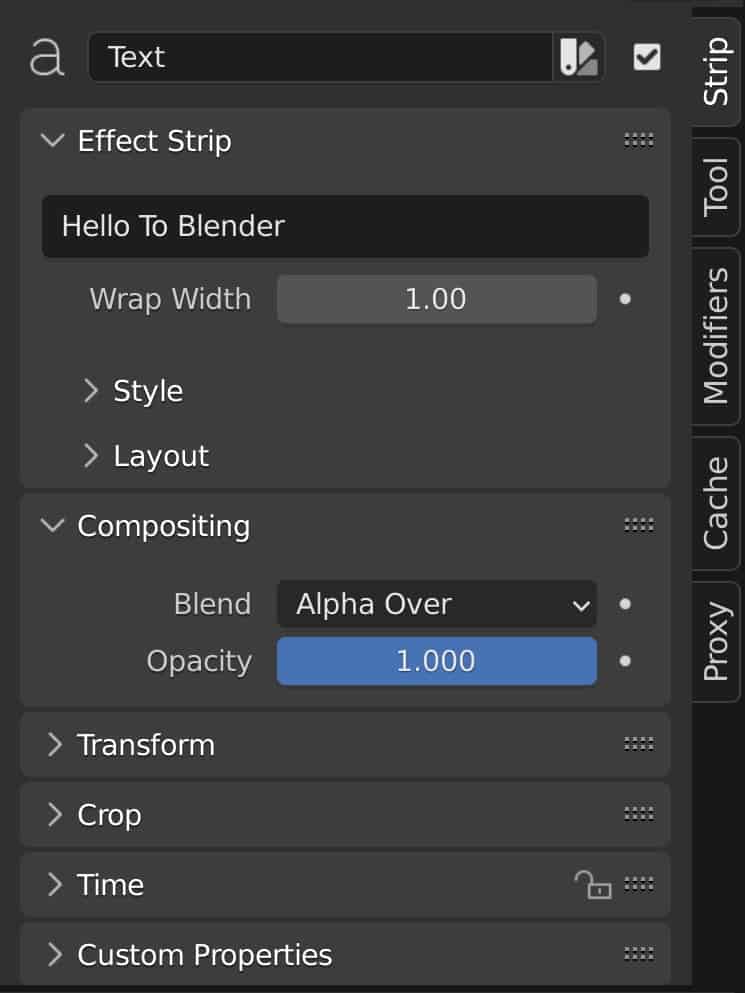
Elements can be edited via the VSE side panel. Like in the 3D viewport, you can access the side panel by pressing the N key. The first tab should be labeled as a strip and should contain all of the parameters for the selected strip in the VSE, which should be your text overlay.
All the parameters here allow you to adjust the text. For example, you can assign a new font by accessing the font library on your computer. You can also adjust the font size to make it larger or smaller and perform other stylings like changing the text color or adding a shadow to make your text stand out from the background.
The Beauty Of Adding Sound As Background Music
Overlays are not only limited to visual elements but can also be audible elements as well. Adding sound can really improve the quality of your content overall.
One example of adding sound to a project is background music to the story. The music can be adjusted to a low but noticeable volume and heighten the emotional impact of the story being told.
Another example is the inclusion of sound effects which can be particularly useful with animations. You can find great sources for sound effects on the internet or even create your own with the right software.
Sound is not a visual element, but an audible one. Therefore the ways in which you can edit your sound are different from the other overlays.
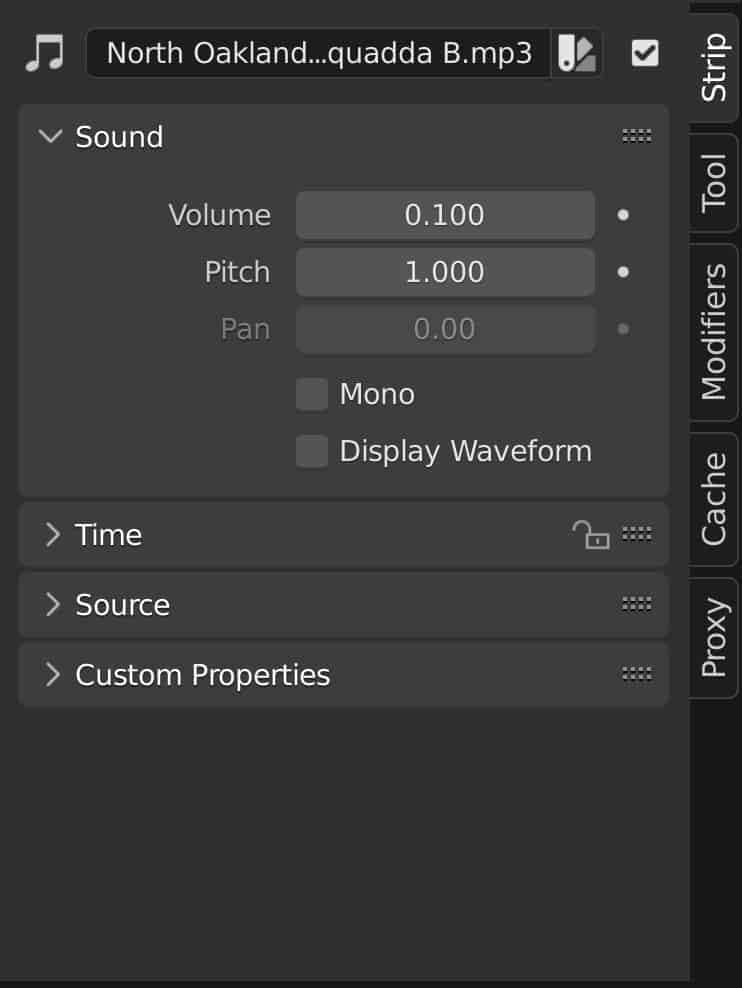
You cannot adjust transforms or do any sort of cropping, instead, you have a few basic tools for adjusting the volume and pitch of your sound overlay, as well as a setting to convert it into a mono channel (Stereo by default).
Overlaying Your Video With Still Images
Useful if you are telling a story, or if you are creating an advertisement for something, a still image can be added much the same way as a full image sequence or movie file can. In fact, you choose the same option in the add menu for an image as you do for an image sequence.

What’s the difference, an image sequence is a group of frames defined by its order, so the 1st image is 001, the second is named 002, etc. You select all of the images at once using the shift key to select the 1st and last frames and then import them all as an image sequence, which plays like a movie file in the timeline.
An image is just one image that you select and then add to your timeline, like any other element it can be positioned and adjusted within the VSE.
As with the color overlay, you can adjust the transform values of a single image as well as the cropping levels. Like all visual overlays, you can adjust the blend mode to determine the behavior of the overlay interacting with other clips.
The Fundamental Skill Of Using Broll
If you are new to video editing then it is unlikely that you will have heard of the term b-roll before. It is a term given to secondary or cutaway footage used to enhance the overall story or presentation. B-roll footage is a staple used across all forms of video productions from advertisements to full-blown movies.
Your B-roll footage is added the same way as your main footage. Go to the add menu in the VSE and select movie to open up the file browser, then select the video that you need to import and position it in your timeline. Blender does not know what is your main footage and what is considered B-roll, as it’s all the same in Blender.
Your b-roll should be positioned on top of your main footage, much like the other elements that we have discussed. In this sense, b-roll footage can also be considered an overlay as it is positioned on top of the main content. For example, you can position b-roll so that the video of your secondary footage plays at a certain point, but you are still able to hear the audio of the primary footage.
Thanks For Reading This Article
We thank you for taking the time to read through this article. Below we have come up with a small array of topics that we think you may be interested in reading.
- What Is Blender Used For? A List Of Reasons To Use Blender
- Is Blender A Good Option For Animation?
- Will Learning Blender Get Me A Job In The Industry?
- Why Materials Get Deleted When You Exit Blender?
- How To Add An Image To A Movie In The Video Editor?
-
Expressions with Shape Keys in Blender
Creating expressive characters with Blender’s Shape Keys.
-
Stylized vs Realistic: Blender Techniques
Comparing stylized versus realistic sculpting techniques in Blender.
-
Detailing with Multires in Blender
Utilizing Blender’s Multiresolution for detailed sculpting and texturing.