Many tools in Blender are influenced by the transform parameters of your objects, such as their location, rotation, and scale values. Having your transform settings differ from their defaults can result in changes to the behavior of tools, such as the bevel tool and the solidify modifier. Therefore, it can be essential for you to apply the transforms of your models for the tools to function correctly.
To apply the transforms of an object, select your model and then use the hotkey Control/Command + A to open the apply menu. From the apply menu, select which transform or combination of transforms you wish to apply.
Once you apply your object transform parameters, you will notice a difference in the behavior of specific tools, such as the bevel tool, that will help to make your 3D modeling workflow easier.
How To Apply The Rotation Of A Model?
In 3D modeling, we have access to three different types of transforms. These are location, rotation, and scale.
We can apply these transforms, which means resetting the values back to their defaults without reverting the actual geometry.
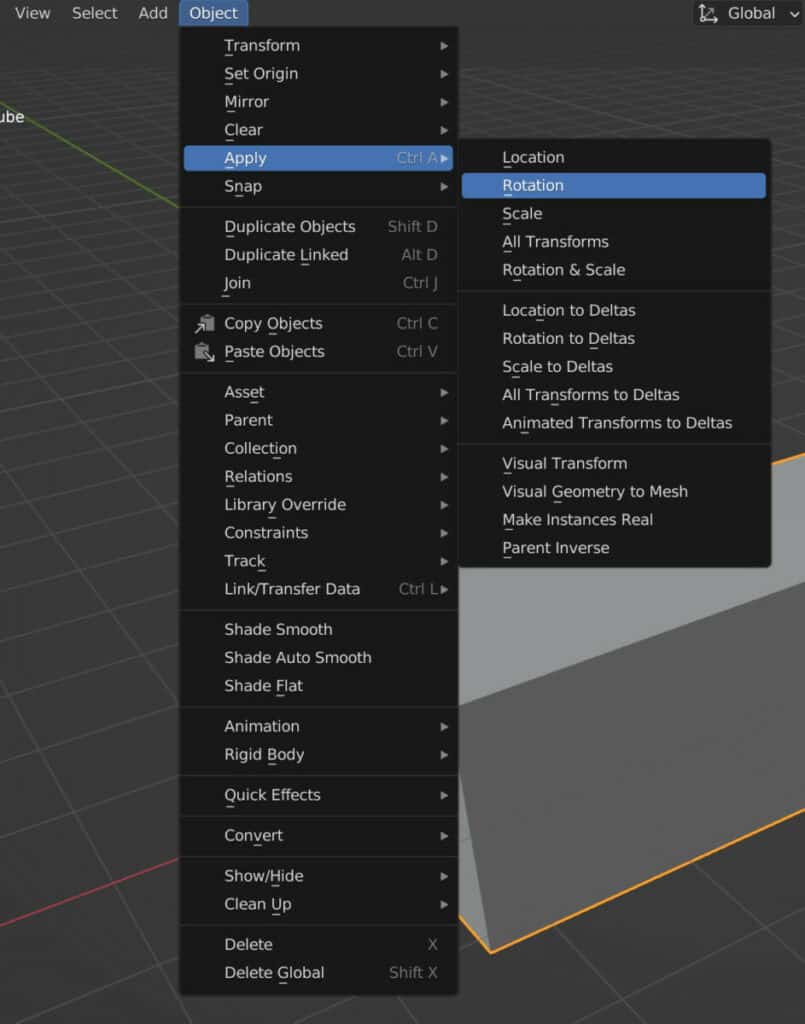
These transforms can heavily affect the impact of specific tools, such as the bevel tool. For example, if we want to apply the scale values of our model, we can open up the applying menu by going to object, and then going to apply in the header of the 3D viewport.
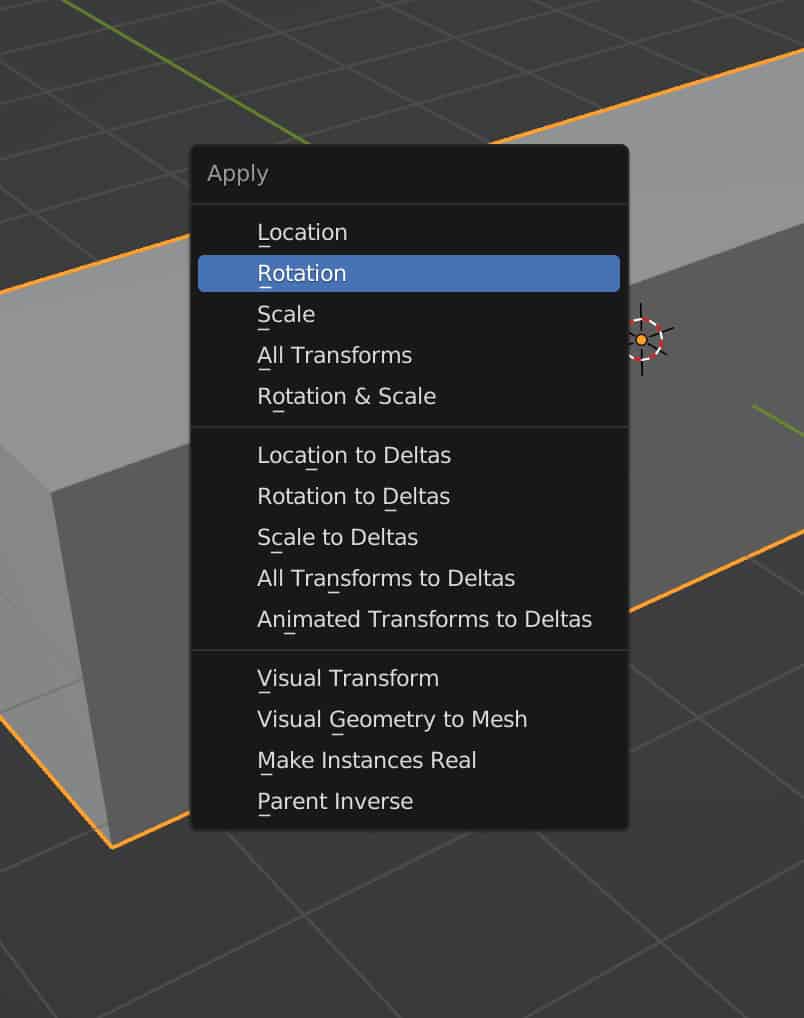
Alternatively, we can open the same menu using the hotkey Control + A to bring up the apply menu within the viewport itself.
From here, there are a lot of different ways in which we can apply our transforms. However, in most cases, we only need to be aware of the ones at the top of this menu.
We can apply our models’ location, rotation, or scale. We also can apply combinations of these transforms if we need to.
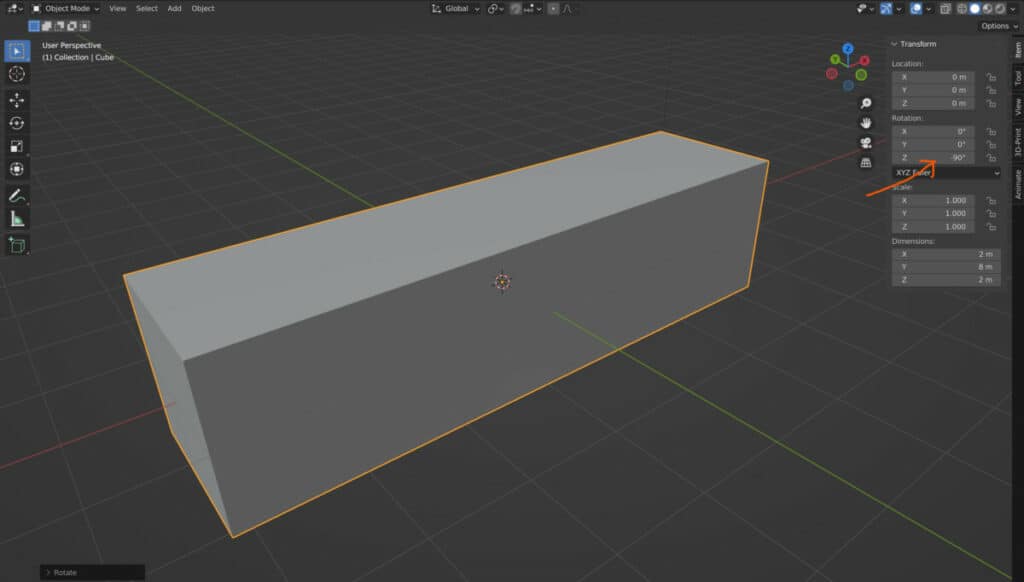
If you only want to apply the rotation transforms, just select the rotation option. If you press N to open up the side panel, you will see that the transform option for the scale has been reverted back to 0, 0, 0 on each axis.
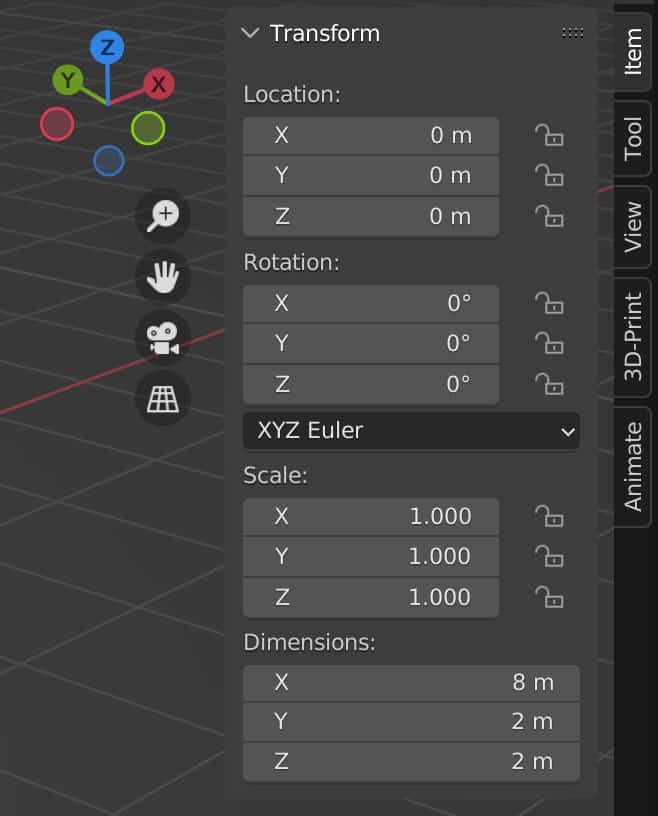
However, you also notice that the object rotation in the viewport has not been changed. Instead, its new rotation settings have been made the default and hence have been set to 0, 0, 0 in the side panel.
Applying The Scale Transform
Applying your scale transform is just as easy as applying the rotation. We just go back to the same menu, and instead of choosing the rotate option, we choose scale instead.
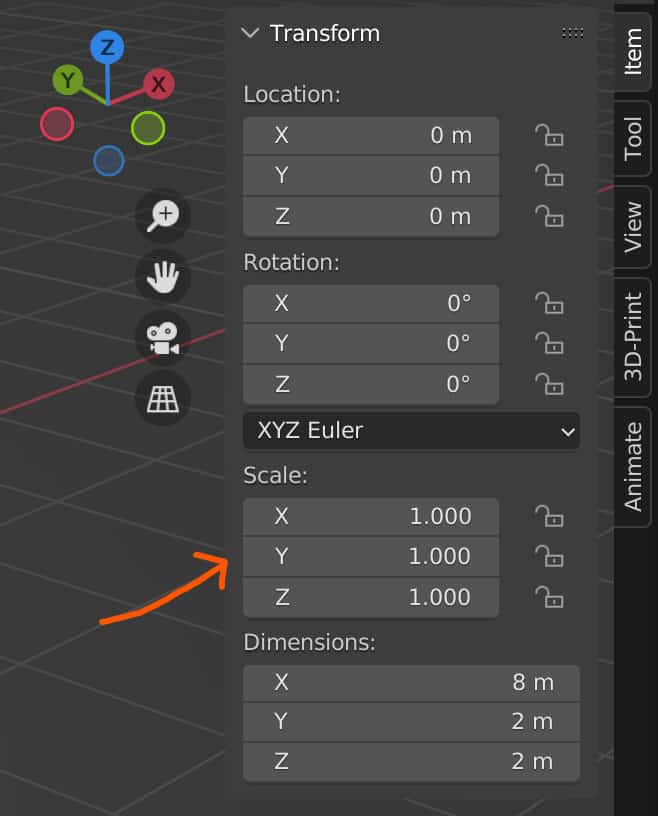
If you were to take a look at any objects where they had not been scaled, they would have values of 1, 1, 1 on each axis.
This is where the scale is slightly different from that of the rotation and location transforms, which have default values of 0, 0, 0.
By reducing the scale below one, we are reducing the size from its original state, and by increasing it beyond one, we are making the object larger on that axis.
Therefore, when you apply your scale from the apply menu, you should see that these three values revert back to 1, 1, 1 and not 0, 0, 0.
Of the three transforms, the scale has the most notable impact regarding its influence on many of the tools we use in Blender for 3D modelings, such as the bevel tool and specific modifiers such as the solidifier bevel and boolean modifiers.
Applying Multiple Transforms
It does a situation where you may need to apply multiple transforms. Then you can do so quickly once again from the same menu.
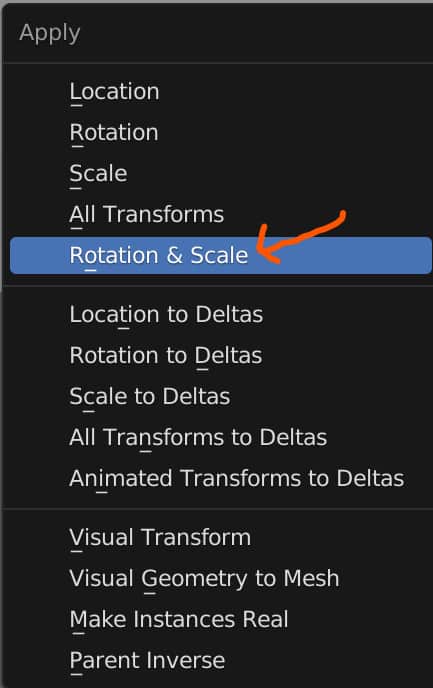
For example, if we wanted to apply both the rotation and scale transforms in one go, we would simply choose the rotation and scale option from our applied menu.
Why Don’t You Always Want To Apply Your Location?
You may notice that we skipped over the ability to apply your location transform, which can be done just as quickly as the other two from the apply menu. However, for the location transform, we have to be more cautious.
If you were to move your object in the 3D viewport away from the coordinates of 0, 0, 0 and then apply the location transform, the geometry would remain.
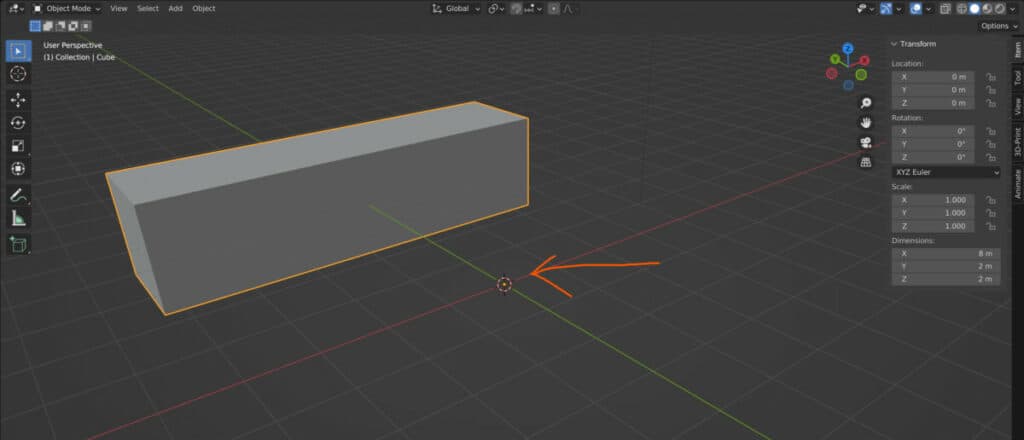
This makes sense because the positioning would become the new normal, the same as what happens with the rotation and scale parameters.
In the case of the location, however, this would just reset the positioning of the object origin. Changing the positioning of your object’s origin in itself will change the behavior of specific tools.
It will also change how the object behaves when you rotate or scale your model after applying your location.
Therefore, unless you intend to move your object’s origin back to the center coordinates of 0, 0, 0 to affect other tools on purpose, we recommend that you do not apply your location transform.
Thanks For Reading The Article
We appreciate you taking the time to read through the article, and we hope you found the information you were looking for. If you are interested in learning more about how to create 3D models in Blender, look at some of the related articles we have listed below.