When using an application like Blender, we need to be able to use multiple different file formats. Because Blender is so first a tile, we need to use 3D files and image and movie files, depending on the project.
One of the image files that blender can use Is the JPEG file, which is one of the industry standard File formats used for most images you will find on the web. Blender can import And export using this file format, and these images are primarily used as reference material For projects due to their extremely low file size.
Few image file formats are more commonly used than JPEG or JPG files. There are many advantages to using this file format, and there are many cases in Blender where she would want to use an image file.
What Is A JPEG File Format?
The JPEG file format is one of the most common image file formats on the web, and, likely, the vast majority of images you will have ever viewed on Google, Facebook, or any form of social media will be in the JPEG. File formats.
JPEG stands for Joint Photographic Expert Group and was developed as far back as 1992 By the company of the same name., making it one of the oldest file extensions of any kind on the web today.
The primary purpose of the JPEG is to store digital photos in a compressed file format. It uses a lossy approach to storing the data, which means that JPEG files can suffer from slight degradation depending on the resolution and compression size.
One of the key advantages of the JPEG file format is that it is incredibly versatile. You can alter just how much you want to compress your images. If you want to maintain quality, you can do at the expense of larger file size.
In general, however, JPEG images will have very small file sizes compared to Alternative image file formats.
Is There A Difference Between JPEG And JPG
The most confusing thing about the JPEG file format is that it has two extensions; the first extension is the .jpeg file. The second is the slightly shorter.jpg file format.
Interestingly, besides the actual file extension itself, there is no discernible difference between these two, and they are effectively interchangeable.
Do You Require An Add On To Import A JPEG?
Some file formats are less commonly used, so the ability to import these files is not instantly accessible. This functionality is stored in Blenders version of the plugin, which is an add-on. These add-ons must be enabled from the preferences panel to use those file formats.
This does not apply to the JPG file format; however, as this image type is one of the most commonly used in Blender for background images and reference material, the ability to import and export your JPG is already present in Blender.
What Are JPEG Files Best Used For In Blender?
There are many examples within Blender all using image files to enhance your projects, and these projects can range from 3D scenes to fall videos Edited from the video sequence editor.
But not all image file formats are the same. For example, the most common file formats, the JPEG and PNG formats differ in how they compress their images.
JPEG uses a lossy standard of compression, while PNG will use a lossless standard. This means that there are going to be some examples in blender where a specific file formats would be better suited.
In the case of using the JPEG file format, it is not recommended to use it for anything that requires maximum levels of detail, such as an image texture. This is because we can lose some detail form our JPEG formats depending on the level of compression of the original file.
Two areas though, where JPEG files can be useful are as reference images in the free deport and also as small overlays on our video files.
How To Import A JPG Reference Image Into The Viewport?
Reference material does not need to be of tremendously high resolution. It just needs to convey the details of that image so that they can be used to build the model in the 3D viewport.
Because such little information is required, it is the perfect use case in Blender to use a JPEG image.
To add a reference image to your scene, open up the outer menu by holding down shift and pressing the a key.
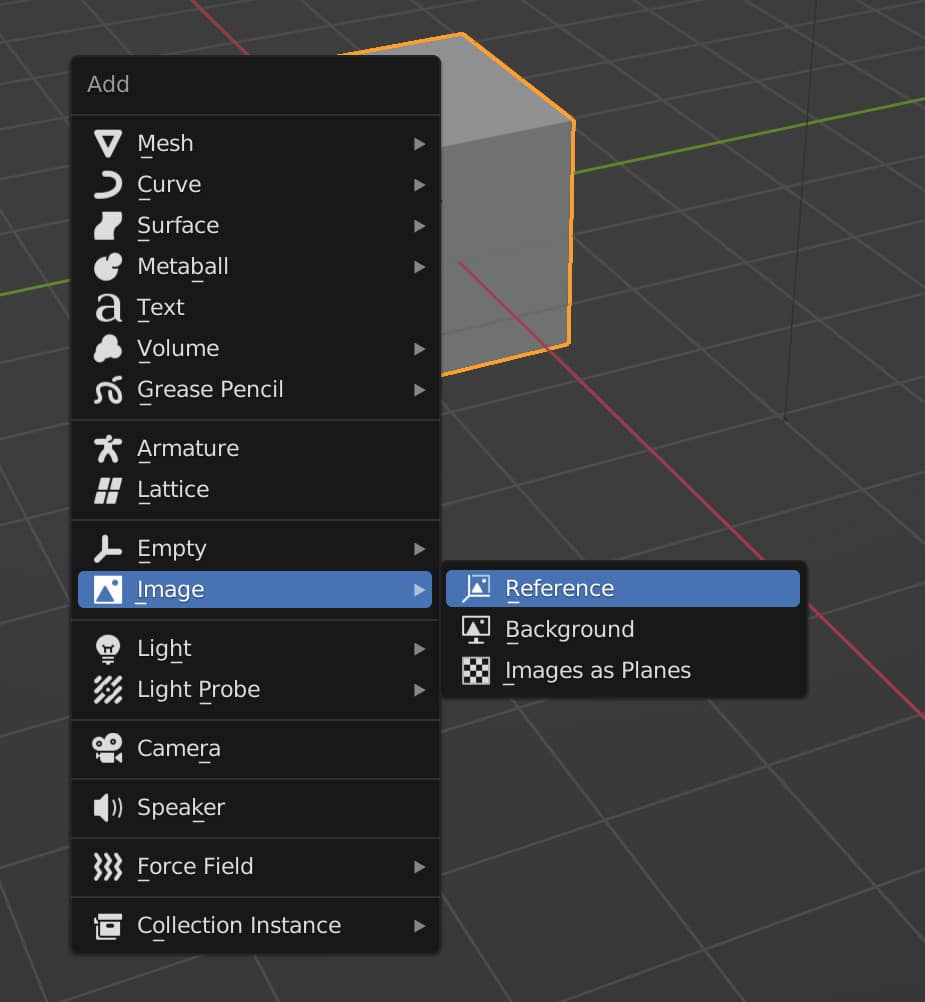
From the add menu, go to where it says images, and it will open up a very small sub-menu with two or three options depending on what add-ons you have installed.
The two options available here will be the background and reference options. These will allow you to add an image to your 3D viewport.
The critical difference between the reference and background images is their function when 3D objects are placed behind them.
The reference image can be placed in between objects. So if you have the reference image between the viewport camera and the object, the object will be invisible behind the reference image.
However, with a bank round each, it doesn’t matter where you place it in the scene compared to the 3D models. If a 3D model is positioned behind a background image based on the view of the viewport camera, the whole 3D model will still be visible.
A background image is useful if you want to create an environment backdrop without using a full HDRi.
It is also useful if you are looking to trace your model’s design based on the background image. A reference image is commonly placed to the side of the 3D viewport so you can refer to it while building your model.
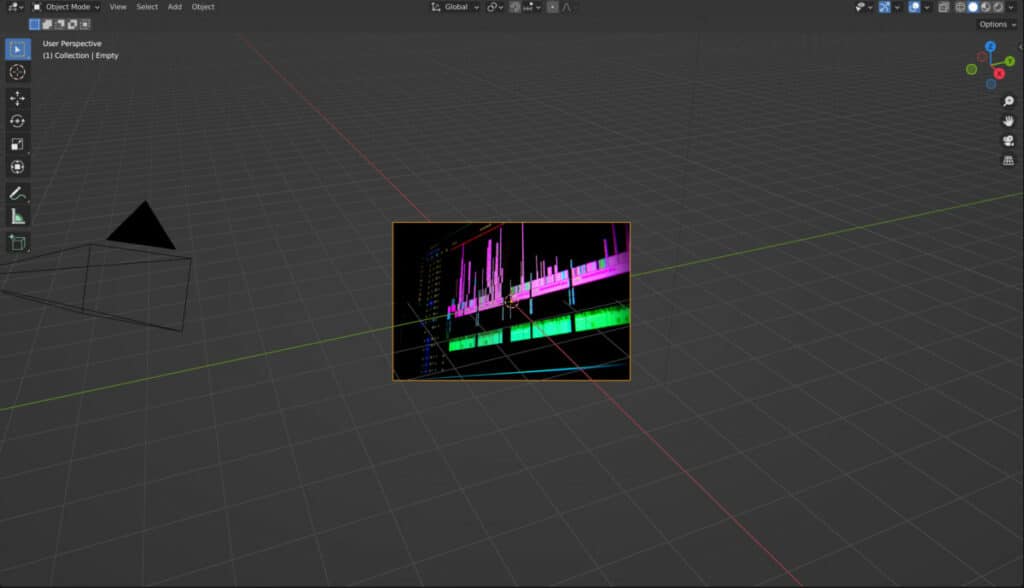
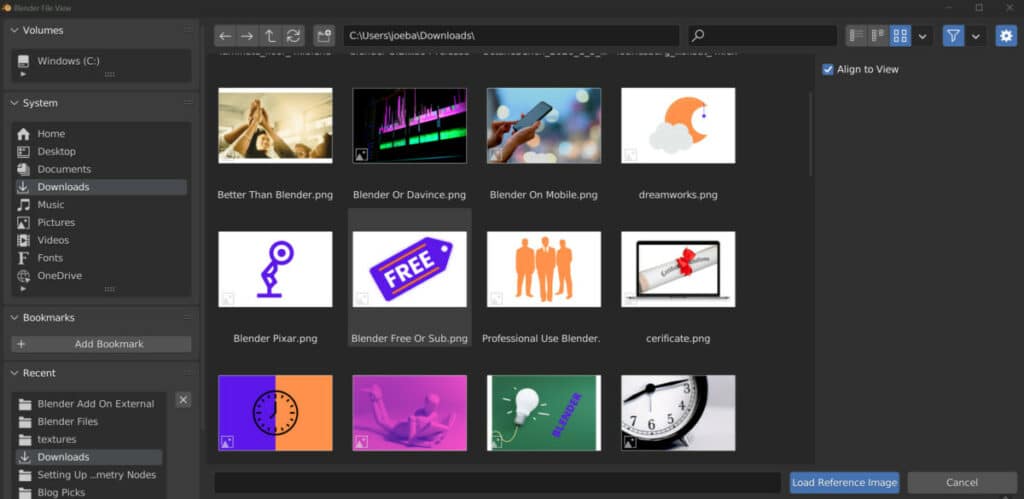
Choose whichever you require, and it will open up the file browser from which you can select your JPG image file. Open the image and use it in the 3D viewport.
Thanks For Reading The Article
We appreciate you taking the time to read through this article, and we hope you found the information you were looking for. If you’re interested in learning more about blender and how it can use image files, check out some of the other articles we have listed below.