In Blender, we have access to many object types for our projects. Some of these object types can be rendered with our scenes, while others cannot.
Image objects are one such type that cannot be rendered because it is a form of empty. However, there is a way to convert our images into mesh objects if we want them to be a part of the rendered scene.
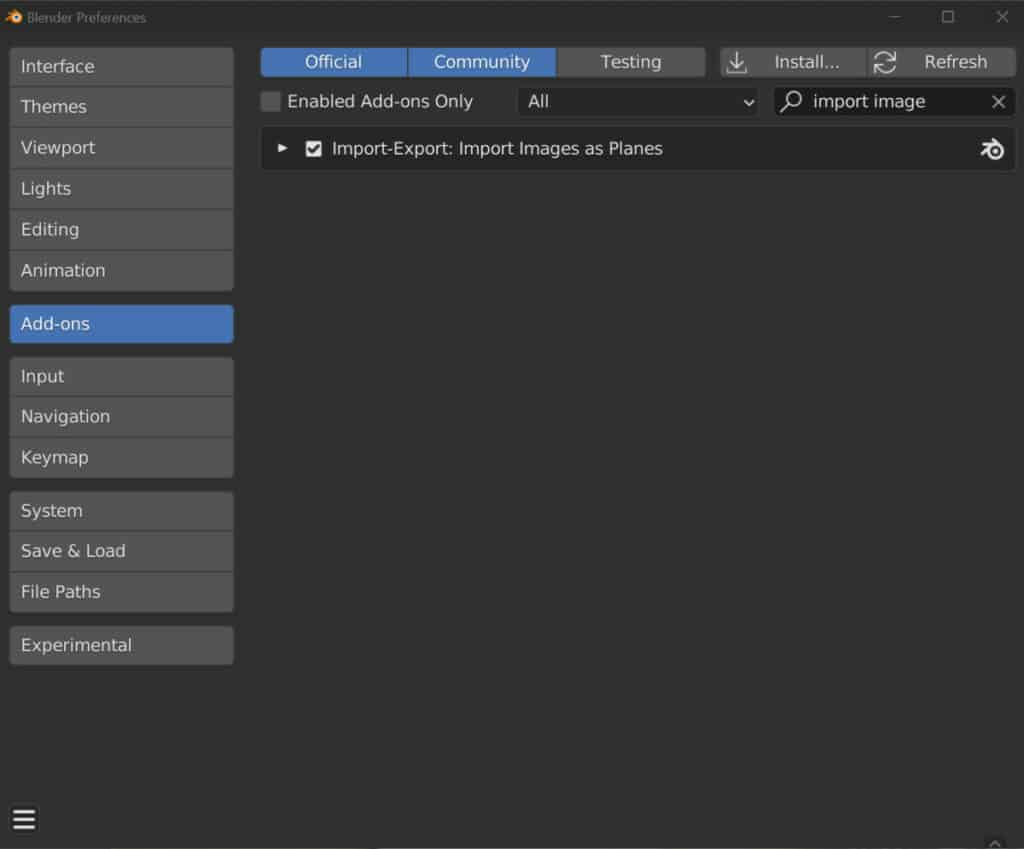
To import an image as a renderable object, we need to use the import image as plane add-on, which can be enabled by going to the Preferences panel > Add Ons, typing in import image in the search bar, then ticking to enable. To add your image as a plane, go to the add menu in the viewport and hover over the image menu, where you will see the option to import your image as a plane.
Importing your image as a mesh object will be treated as a mesh object with a texture applied to it. This is what will allow your image to be renderable in your scene.
The Problem With The Standard Image Objects?
By default, we have two options for image objects in Blender, and these are the reference and background image object types. In general, these two image types are incredibly similar. Both allow us to locate an image we want to bring into the 3D viewport. The settings that are available to both of these objects are also the same.
Therefore, the only real difference between a reference image and a background image is the default settings found in the properties panel when the image is added to the viewport. But because they are so similar, they both have the same problem.
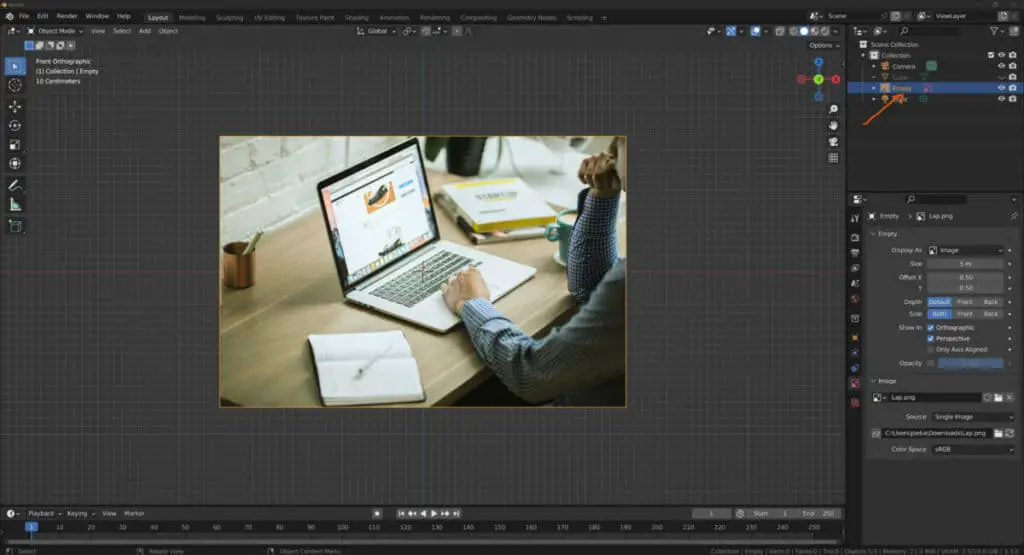
These image types are generally used to reference imagery for creating 3D models and are not designs for rendering. Image objects are a specific form of empty, and an empty object cannot be rendered for a still image or animation.
So it doesn’t matter with these object types what the image is. You won’t be able to see that image in your final render.
In the scenario where we want to see our images in our renders and animations, perhaps in the form of actual pictures within our scenes, we need to figure out a different means of bringing our image objects in.
One method is simply using an existing mesh object, such as applying and then creating a UV map for that plane.
We would then go into our shader editor and create a new material. With this new material, we can add an image texture node before opening up that node and loading in our new image texture.
This method works well enough. However, there is one key issue, and that’s not the fact that it’s a mesh object, because that’s completely fine. The problem is that the plane we use needs to have the exact same aspect ratio as the image for it to be displayed correctly.
This is doable, of course, just by manipulating the scale values of our plane on the X&Y axis until the aspect ratio of the scale matches that of the image texture, but there is a more straightforward way of doing this.
We can skip most of this process simply by enabling our import image as planes add-on.
How To Add An Image That You Can Render?
Many add-ons within blender are enabled by default. However, this is not one of them, so we’ll need to enable it by going to preferences add-ons then type in import image as plane into the search bar and tick the box to enable this Add-on.
Once the item has been enabled, you can close the window for the preferences panel and return to the 3D viewport.
Open the add menu next in your viewports and locate the image section for your objects. You will now notice that there are three options instead of two with the import image as planes option, the new one to be added.
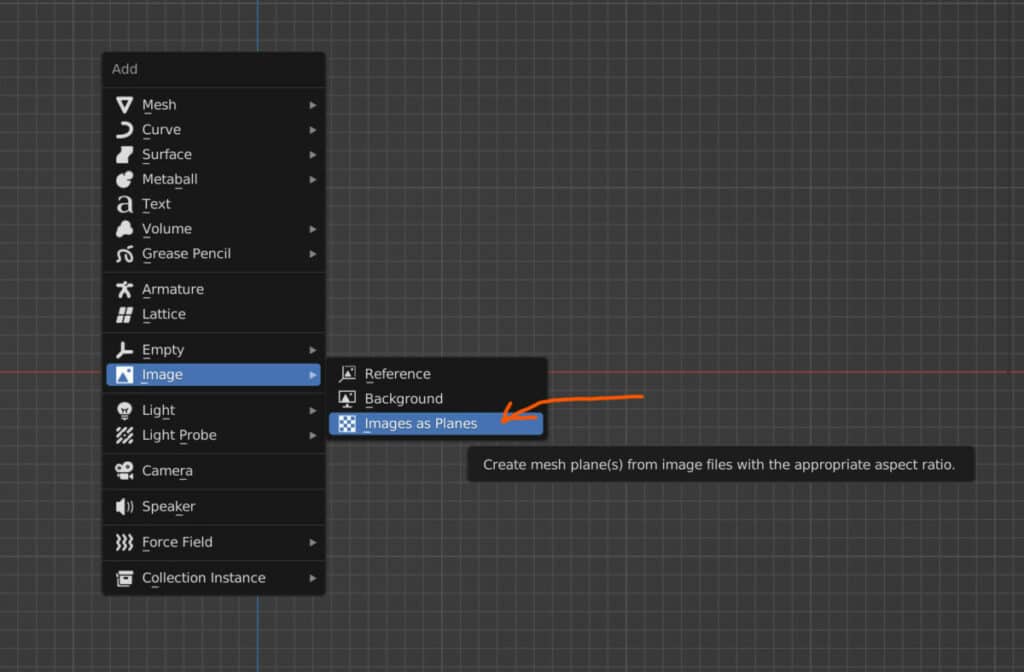
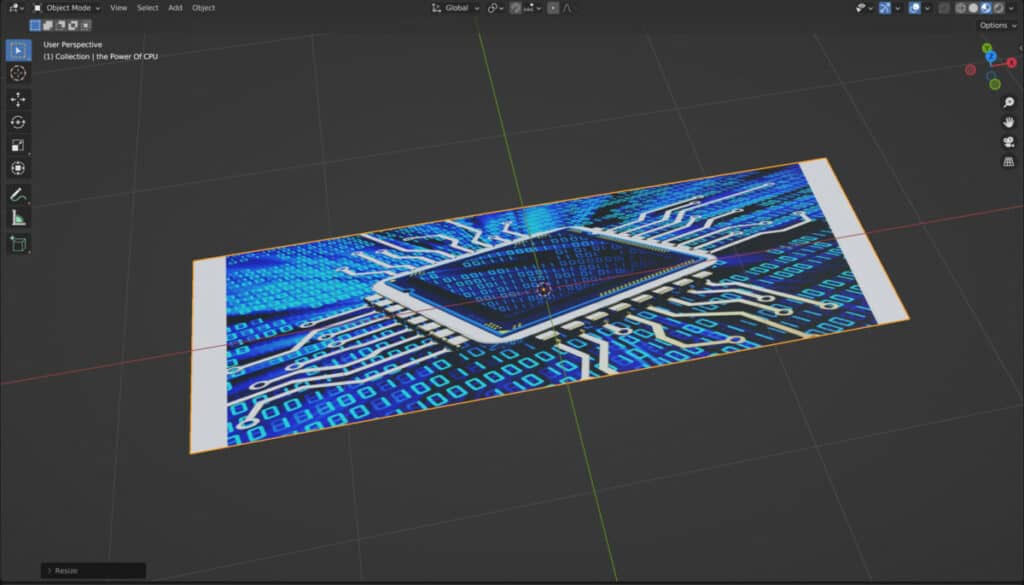
Select this option, and it will again open the file browser where you can locate the image you wish to import. However, this time, when you import your image, it will be brought in as a plane object.
If you are using solid view, you will not be able to see this image texture, so change to the material preview, and then you’ll be able to see the texture on your plane, and the plane itself will automatically be generated with the correct aspect ratio.
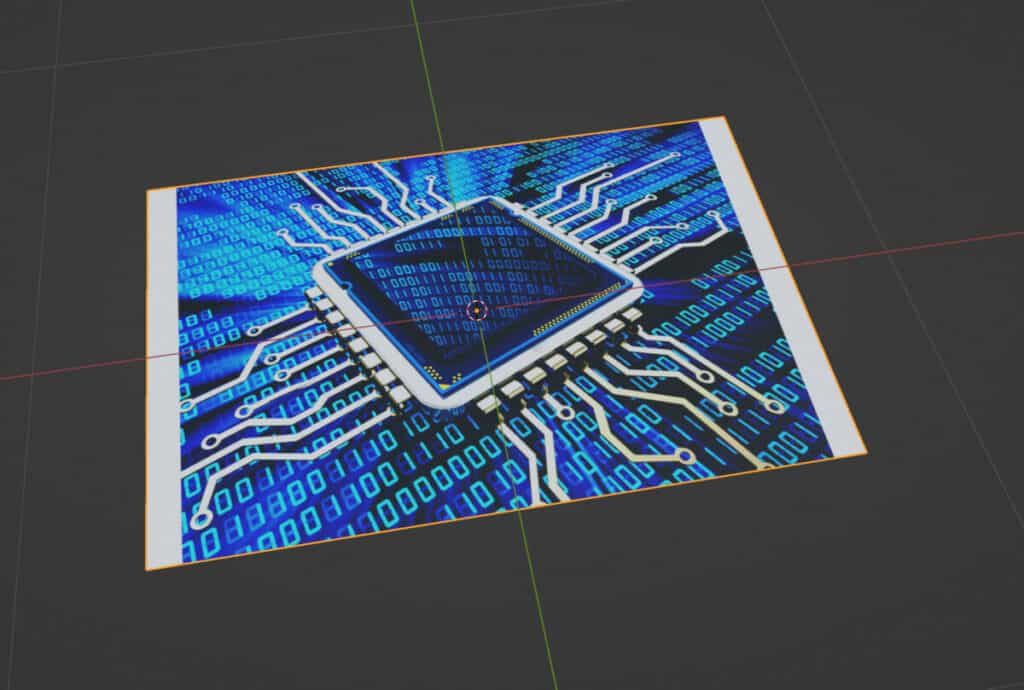
Beyond this, because we are working with a mesh object now. It can be manipulated just as we can with any other mesh object.
The Drawback To Using The Import Image As Plane Add On
There is one significant drawback when it comes to using the image import as plane add-on. Because the object type is different from the other image objects you can access in the ad menu, you will find that you cannot view the image in the traditional solid view.
Instead, you will be required to, at a minimum, change to the material preview option for your viewport if you want to see your images, as they do not appear as images in the viewport but as textures.
Another drawback to keep in mind is that your plane is generated explicitly for the aspect ratio of your image. This means that if you were to scale your plane on any axis, you would begin to stretch or compress the image texture.
For example, if the image has an aspect ratio of four by three, the generated plane will have the same aspect ratio. And if you defer from this aspect ratio, you will begin stretching out the texture.
Even if you can reselect the plane and create a new UV map based on the new aspect ratio, it will still not help with the image texture. So if you choose to scale your imported image, make sure you do so on all axes so that the aspect ratio remains the same.
Thanks For Reading
We appreciate you taking the time to read through the article, and we hope that you found what you were looking for. If you are interested in learning more about how images are used in Blender, you can look at the articles we have listed below.