Before learning how to redesign mesh objects, it is often recommended to learn the tools that affect the objects, namely the tools used in Object mode. One such tool is combining two or more objects into a single model. This is the process known as joining.
To join two objects, select each object and ensure that the object you want to act as the primary model is selected last. It will have a yellow outline compared to the orange outline of other objects. Use the hotkey Control + J to join your selection into a single object, which will be the active model.
Joining allows us to create a workflow where we can develop individual parts or islands of our objects and combine everything to create the final result.
How To Access And Use The Join Tool In Blender?
Many tools available to us in object mode are visible somewhere in the 3D viewport header or the tool shelf to the side.
The join tool is not hidden but does not have a dedicated button that you can press to activate the tool.
Instead, we can access the join tool via the object menu. Open the menu in the header bar of the 3D viewport and select the join option from the menu. There is no submenu here, as the join tool is a single operation.
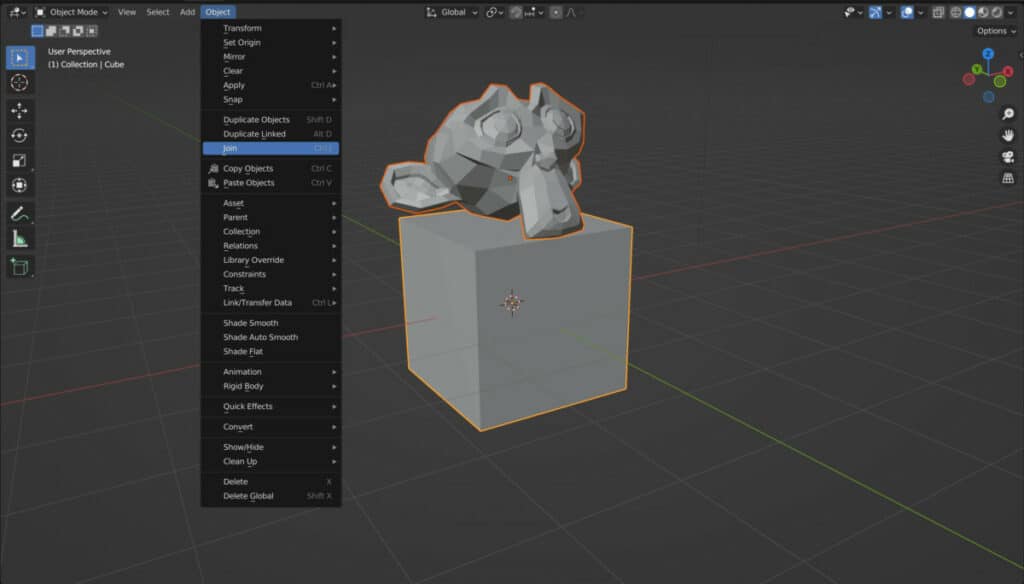
Alternatively, we can use the hotkey for the join tool, Control + J.
For the join tool to work, at least two objects must be selected. The last objects we select in the viewport will have a yellow outline when selecting multiple objects.
Any other selected objects will have an orange outline. The orange outline indicates that an object is a part of the selection.
The yellow outline indicates that an object is not only a part of the selection but also an active object.
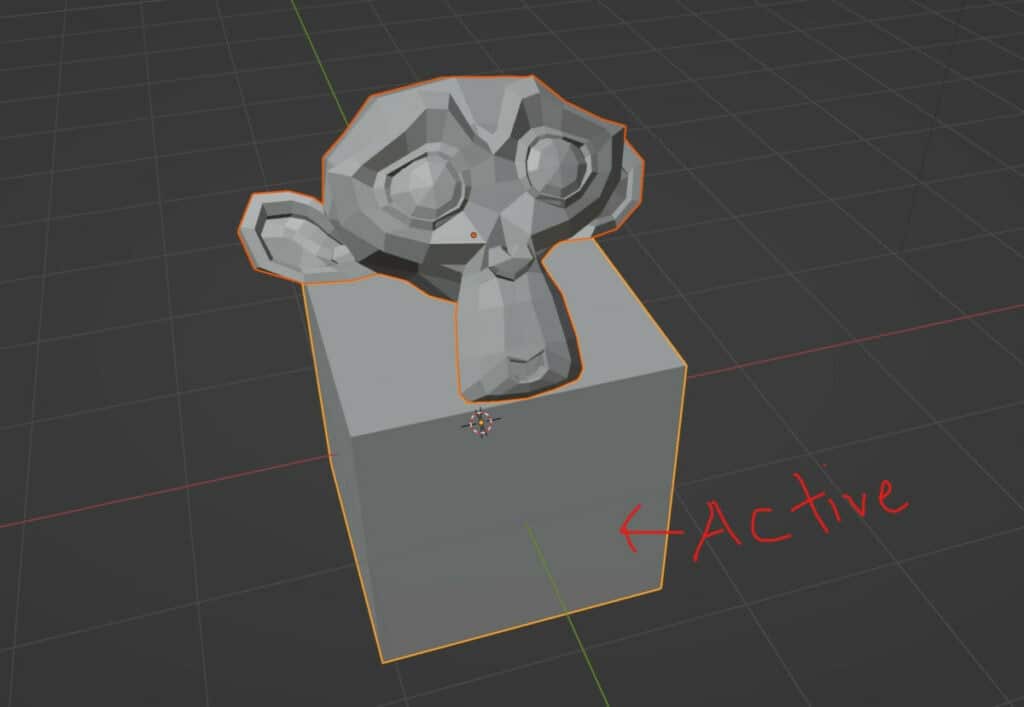
This is important when using the join tool, which merges all of the objects to join with the active object.
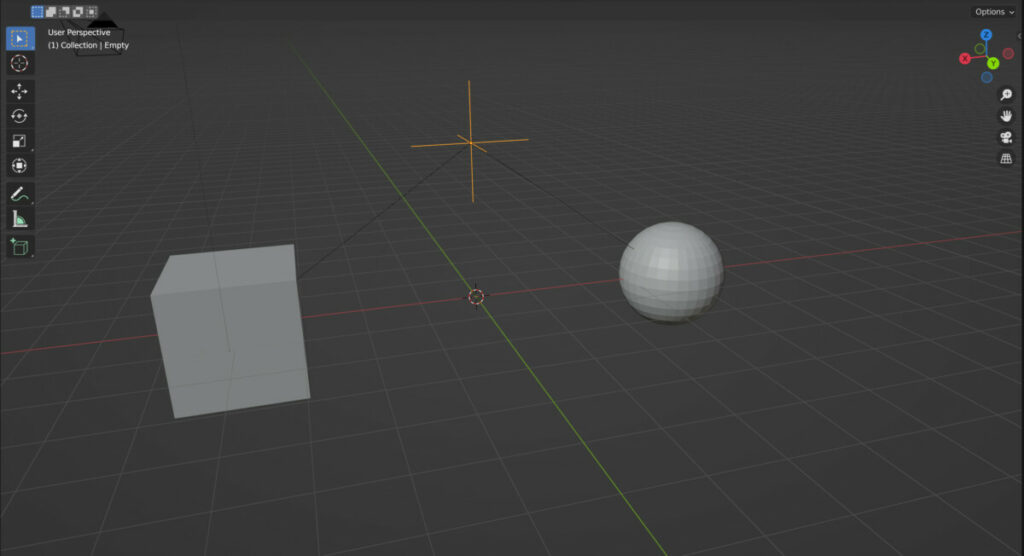
For example, if we have a cube and a UV sphere, and we select the UV sphere first and then the cube second, we have two objects. If we join these objects together, the UV sphere geometry becomes a part of the cube object, and the UV sphere disappears from the outliner panel.
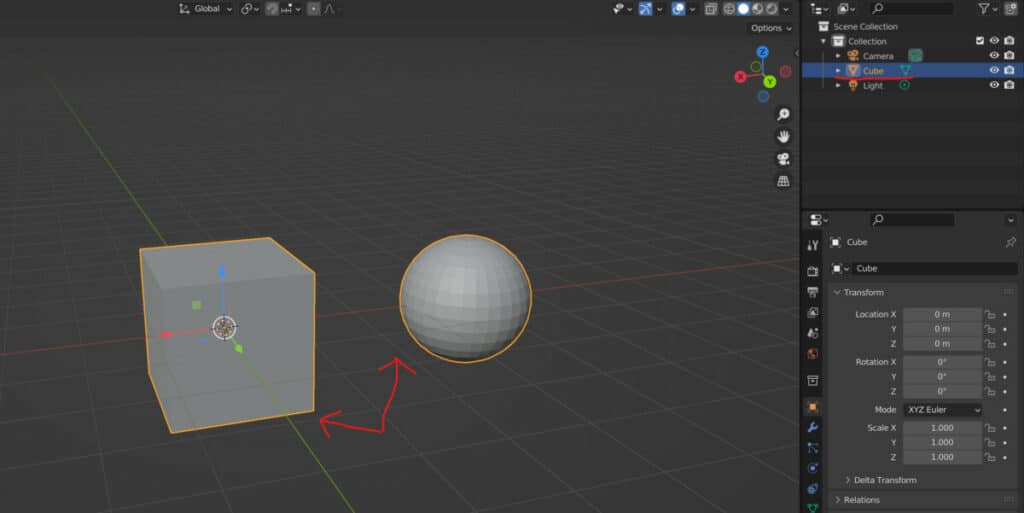
The two models will appear exactly as they did before. They will be separated entirely in terms of the actual geometry. The critical difference is that the object data of the UV sphere has been deleted, and the mesh data has been added to the mesh data of the cube object.
Can You Join More Than Two Objects Together?
It is possible to combine all of the mesh objects in your scene into a single model. The ability to join objects depends on the ability to select them, and because we can select as many objects as we want in the 3D viewport, we can join all of these models together.
Therefore, there is no limit to the number of objects you can join into one, aside from the number of models you have in the few ports to start with.
Creating Islands Using The Join Tool
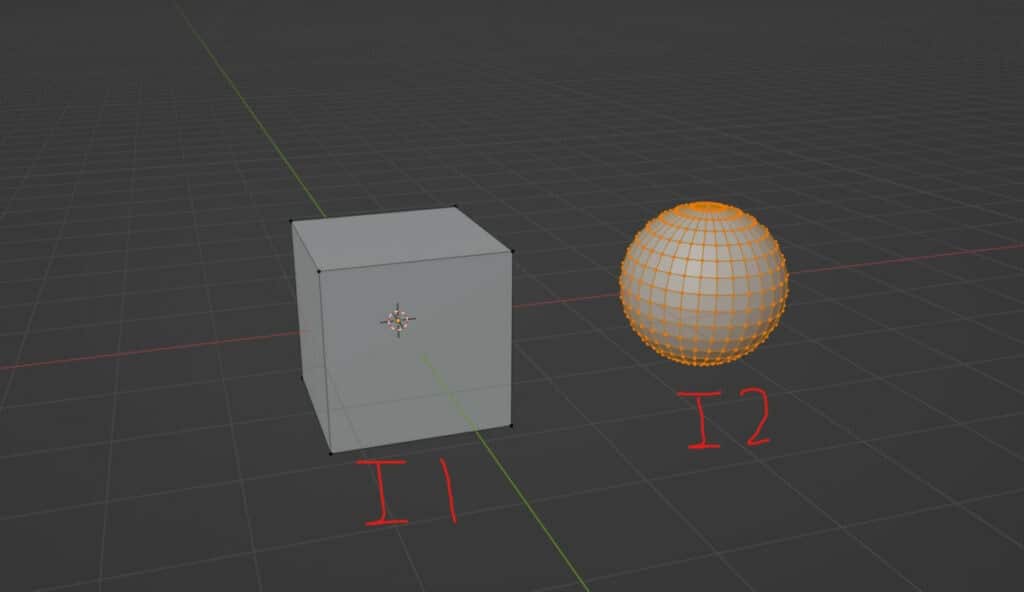
Using the joint hole sends the mesh data of one object over to the active object. In our example, the UV sphere is now a part of the cube. However, if we go into edit mode, while we can access the geometry of both meshes, they are still not visually connected to each other.
Each mesh is referred to as an island, which can be manipulated independently of other islands on the object.
Every object we join to the active model creates an island mesh for the resulting object. But are islands functional?
With islands, you can select them by pressing the L key, and then you can grab, rotate and scale your selected island.
You can position and reposition the various parts of your model. These parts usually are far easier to create individually than together.
For example, creating a motorcycle involves creating multiple shapes and fitting those shapes together. It may be overwhelming if you try to think about creating the whole model in one go.
But start by creating an object for the front wheel, then an object for the back wheel, then one for the engine, etc. It becomes a lot easier to create objects for individual parts than it does for an entire motorcycle.
Then when all the parts have been created as separate objects, we can use the join tool to combine all of our objects.
Is There An Alternative To Using The Join Tool?
Not every scenario requires us to join all of our mesh models into one. Ideally, we should only do this once we have finished editing the individual parts of the model to avoid reversing the workflow and having to separate our objects if we need to work on them individually or use them for something else.
An excellent alternative to joining objects together is to use the parent/child system. This is where objects are assigned to the hierarchy of other models. The primary model, the parent object, can manipulate the location, rotation, and scale of all other objects, the children using its object origin.
You can learn more about parenting objects from the article here.
A better way of using the parent tool is assigning all of the object’s parts to an empty. An empty object holds little data beyond its positioning in 3D space and is best suited when combined with other tools like the parent tool.
One key advantage of using an empty is that we can position it anywhere we need to, as it does not need to be in a fixed position like, say, the front wheel of a motorcycle would need to be.
You can learn more about how to use our empty objects from the article here.
What If We No Longer Want To Have Our Mesh Objects Joined Together?
Joining objects together is the process of taking multiple objects with no initial relationship and merging the mesh data of each object into a single model.
All objects are deleted except the active object, which takes on all of the mesh information of the other objects. This is how the join tool functions in Blender.
There may come a time when we don’t want a single object but multiple ones that we can control and edit independently. This separation process is the fundamental opposite of using the join tool.
This process comes in Blender as a separate tool, which we can access by going to the mesh menu in edit mode and locating the separate menu.
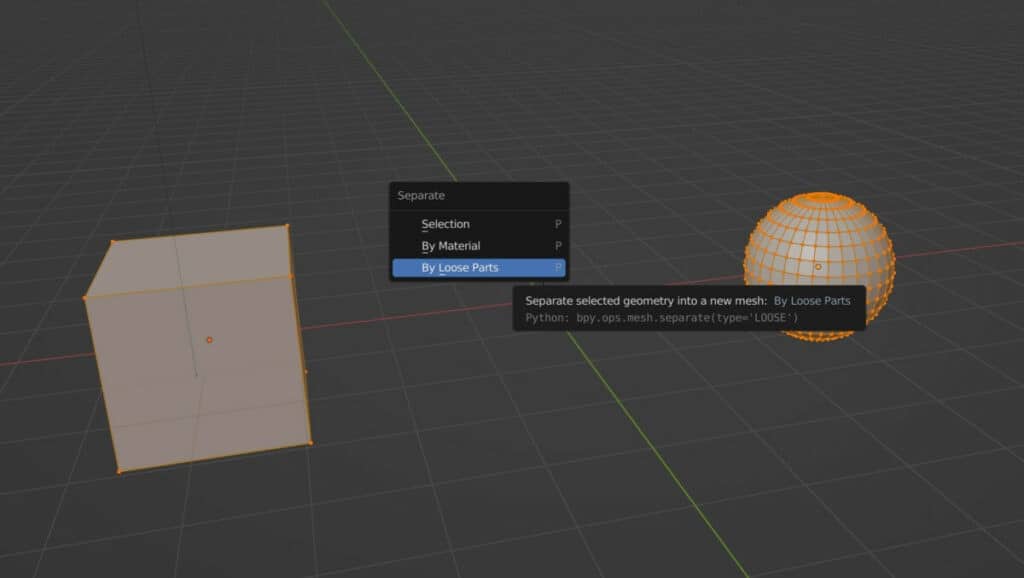
Alternatively, we can use the P key in edit mode to open the same menu. We have three options to choose from when it comes to separating our geometry, but if you have recently joined objects, you will likely have islands that you may want to separate again.
If you want to separate all of the islands into individual mesh objects, you choose the loose parts option. This will separate the single object into as many different objects as there are islands. Be warned that you may have to rename the new objects created.
Alternatively, suppose you have used to join tool recently but want to separate a selection of geometry, such as a single island. In that case, you can select the island with the L key and open up the separate menu.
Instead of choosing the loose parts option, choose the selected option from the menu, and any selected geometry will be separated into its object.
Thanks For Reading
We appreciate you taking the time to read through the article. We hope you found the information you were looking for. If you are interested in learning more about the Blender software, you can check out a few of the articles we have listed below.
- What Is The Empty Tool And How Can We Use It
- What Is The Parent/Child Hierarchy In Blender
- How To Separate Objects In Blender
- How To Use The Object Origin In Blender
- Using Proportional Editing To Manipulate Objects And Geometry