All objects that we create in Blender have three Transforms that are associated with them, which are used as a reference for their positioning within the 3D World. These transforms are the location, rotation and scale of the object. The most fundamental of which is the ability to change the location or moving models within 3D space.
The easiest way to move models in blender is to select them and then use the cheeky to initiate the grab tool. You can move your object anywhere within your scene based on your camera’s view. You can also use the X, Y, and Z keys to lock your transform to a specific axis. Alternatively, you can also use the move tool from the tool shelf and also the transform values from the side panel to move your objects.
Before you can even think about actually creating new 3D models using more complicated tools such as exclusions, you will need to understand your objects’ relationship to the 3D World around them. And to do this, we need to know how to manipulate the transforms of that model, including its location.
Moving Our Objects Using The Hotkey
The ability to change the location of your object is so common in blender that the easiest way to use the tool is always going to be for us to use the hotkey. This allows us to just press a single button on our keyboard and grab the selected object so that we can begin moving it with our mouse.
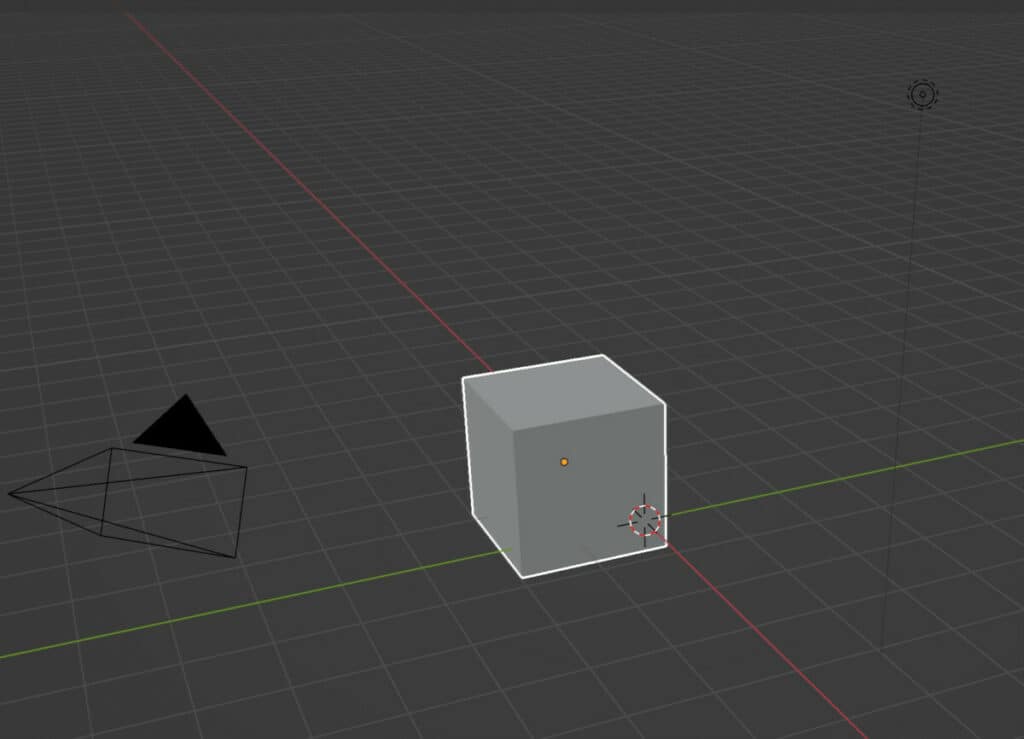
The hotkey for moving our objects in Blender is G. Make sure that your object is selected, and then press the G key to initiate the grab tool. The highlights around the selected object will appear as a white colour to indicate that the tool is active.
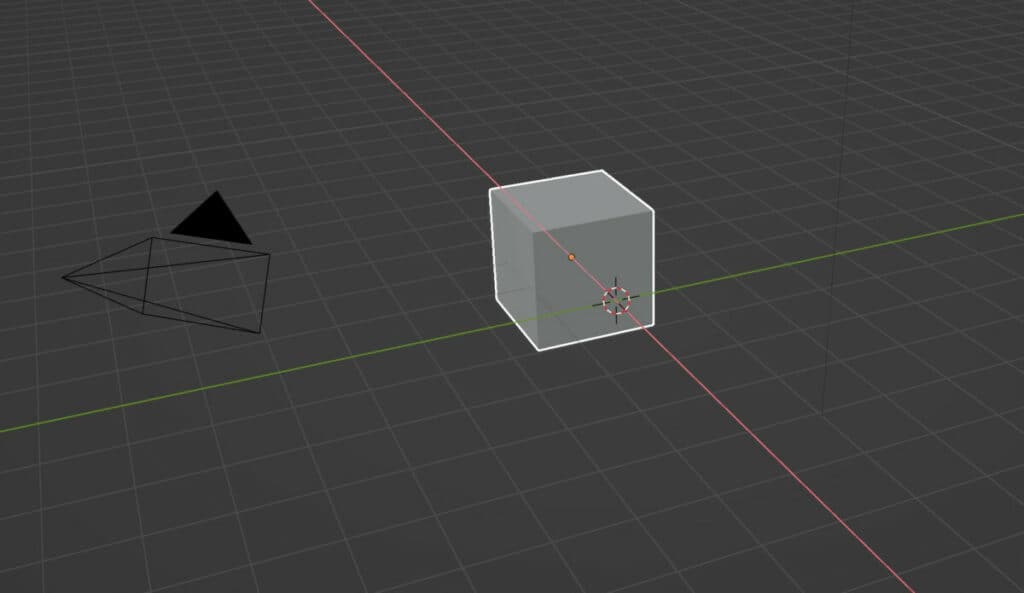
You can now move your mouse around your 3D viewport, and your cube object or whichever objects you have selected will move along with your mouse.
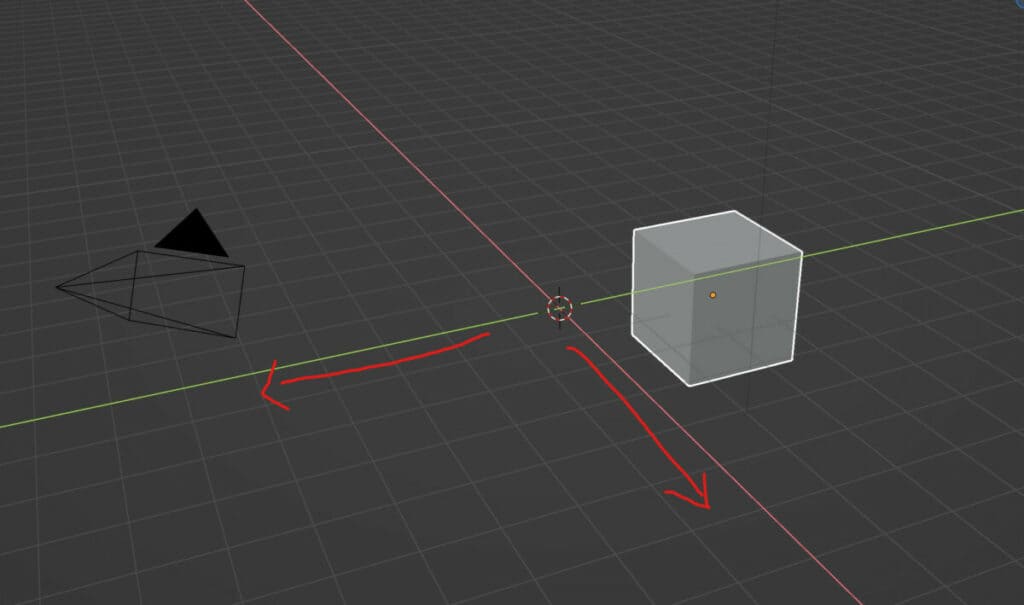
It is important to note that we are working in three dimensions but from a 2D perspective. When using the move tool in this way, the ability to move our objects in 3D space is limited based on our view in the 3D viewport.
Therefore, if you are viewing your scene from an angle that does not offer much perspective on the Y axis, for example, then the ability to move your object on that access will be limited. As you change your view, you will have more or less influence over the ability to move your objects on a specific axis.
If you wish to lock the transform to a specific axis, you can press either X, Y, or Z while the grab tool is active.
You also have the option of locking to a specific plane. I plane represents the ability to move an object on two of the three axes instead of one.
Press the G key to initiate the grab tool, and then use Shift + X, Y, or Z to lock your transform to one of those planes.
For example, if you were to lock your grab tool on the Z plane, you could move your object on at the X&Y axes but not the Z axis.
Using The Move Tool From The Toolshelf
Another method of moving objects within 3D space is to use the move tool located on the tool shelf. You will find a tool shelf beside your 3D viewport.
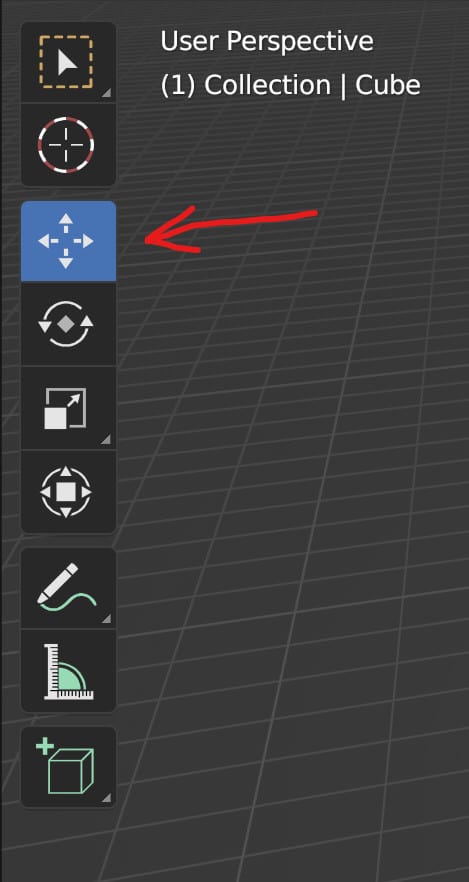
The move tool will be the third option within the tool shelf, so left clicks that it is highlighted blue to activate the tool.
A gizmo will appear over your selected object. This gizmo will have three colored arrows and three colored squares. The colored arrows represent the three axis.
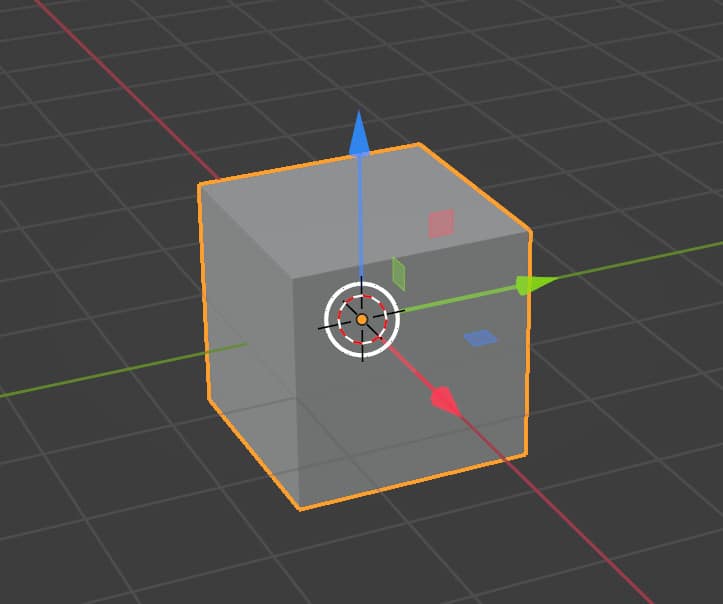
The blue arrow allows us to move our objects up and down on the axis. The green arrow would allow us to move forward and back on the Y axis, while the red arrow allows us to move on the X axis.
The gizmo is also located within a white circle. If you click anywhere other than the arrows or squares, you can use the move tool to move your objects in all three directions.
The squares represent the respective planes within 3D space. So the Blue Square represents the Z plane, the green square represents the Y plane, and the red square represents the X Plane.
Using The Side Panel And The Properties Panel
The third method of changing the location for your selected objects is to use either the side or properties panels. The side panel can be accessed by pressing the key on your keyboard while in the 3D viewports.
If an object is selected, the side panel will display the free transforms for the location, rotation and scale as numerical values.
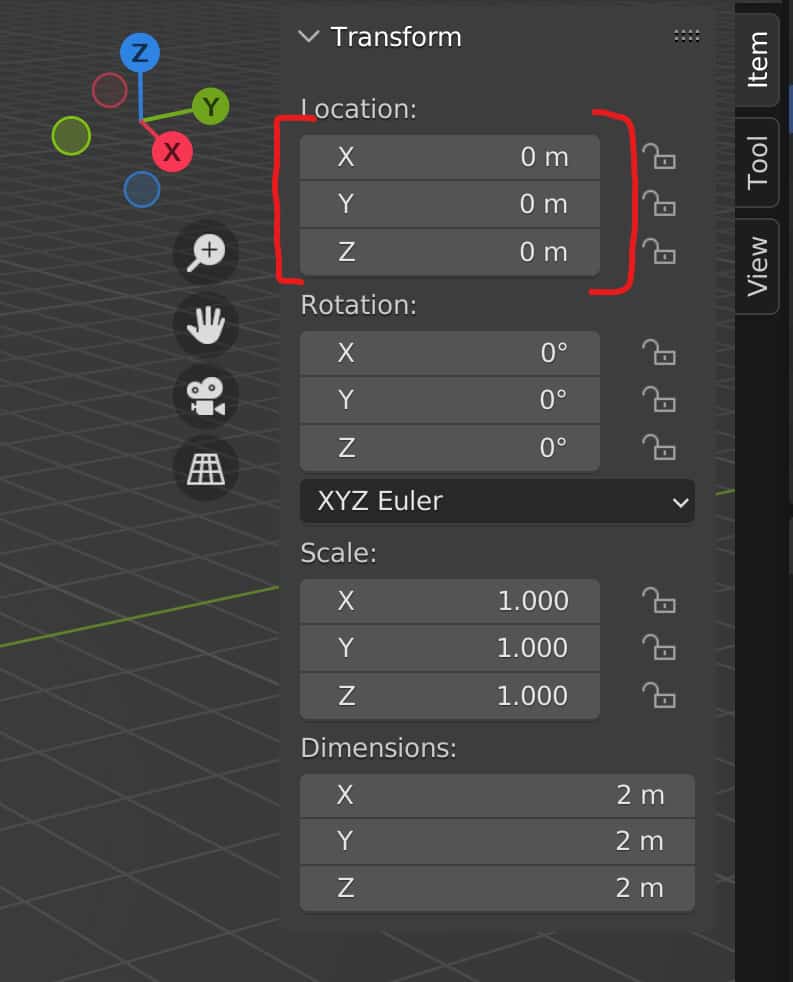
The location uses an XYZ coordinate system, so you can use the side panel to dictate that coordinate system within the 3D viewport.
You can click and drag on any of these values to alter them, or you can click and then type in a specific value for each transform.
In addition, you can click and drag over multiple transforms and edit those transforms at the same time.
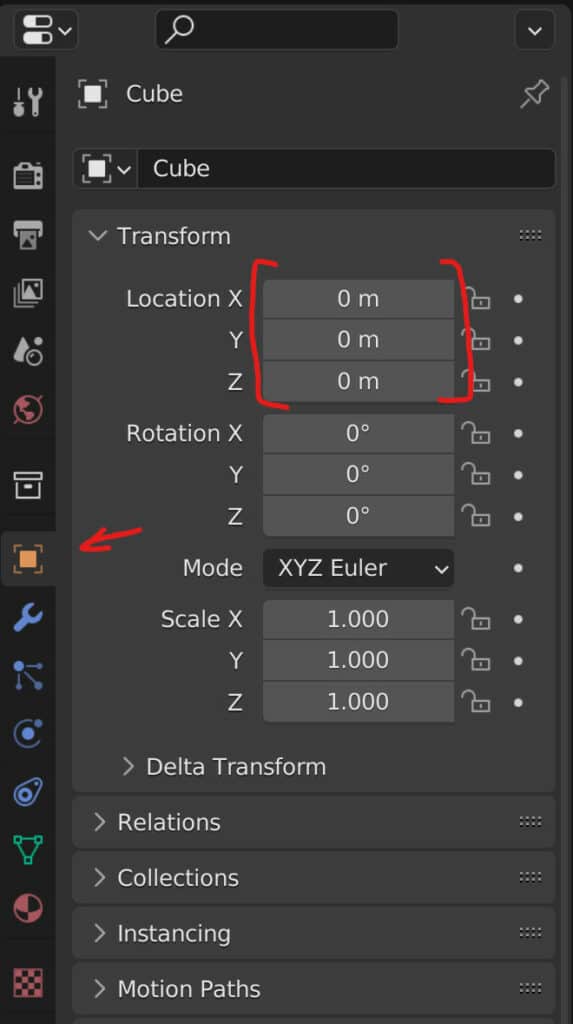
Almost everything that you can do in the side panel you can also do in the properties panel. Go to the objects properties tab, and you will see the same settings for location, rotation, and scale.
Added Control When Manipulating Transforms
With all three methods of manipulating the location of our selected models, we can increase our control with the help of the shift and control keys on our keyboard.
For example, if we were to move our object by clicking and dragging the numerical values in the side panel, we can use the shift key to reduce the influence that our mouse has over the changing value.
This would allow us to move our objects over a much shorter distance. This is perfect for when we want to line objects up with each other. The snapping tool would use is the factor of our current tool by 10. We can see this by moving our object on the Z axis using our side panel, and then if we press the shift key, the amount of change will be reduced by a factor of 10.
Alternatively, we can use the control key while using any of the other tools to snap our location incrementally.
In the case of the side panel, we can hold down a control key to incrementally move our objects by single units. In our example, we are using meters as our units of measurement, so by using the control key, we can move our objects by entire meters.
Finally, we can combine the shift key with the control key for even tighter control. Going back to our example in the side panel, if we use shift and control while manipulating the Z transform, we can move up our objects in increments of 0.1 meters instead of whole meters.
Thanks For Reading
We appreciate you taking the time to read through this article, and we hope you found the information you were looking for. If you are interested in learning more about Blender and the various transforms, then take a look at some of the other articles we have listed below for your viewing.
- How To Rotate 3D Models In The Viewport
- How To Scale 3D Models In The Viewport
- How To Use The Scale Cage Tool
- Applying The Transforms Of Your Object
- Clearing The Transforms Of Your Object