When working with any model in Blender, we need to be aware of its relationship to the 3D space around it, and this relationship comes in the form of transforms.
These are our model’s location rotation and scale respective to the 3D space. Off these, the scale can be the most confusing of the three in terms of how the scale is defined. So how can we affect the scale of our 3D models in Blender?
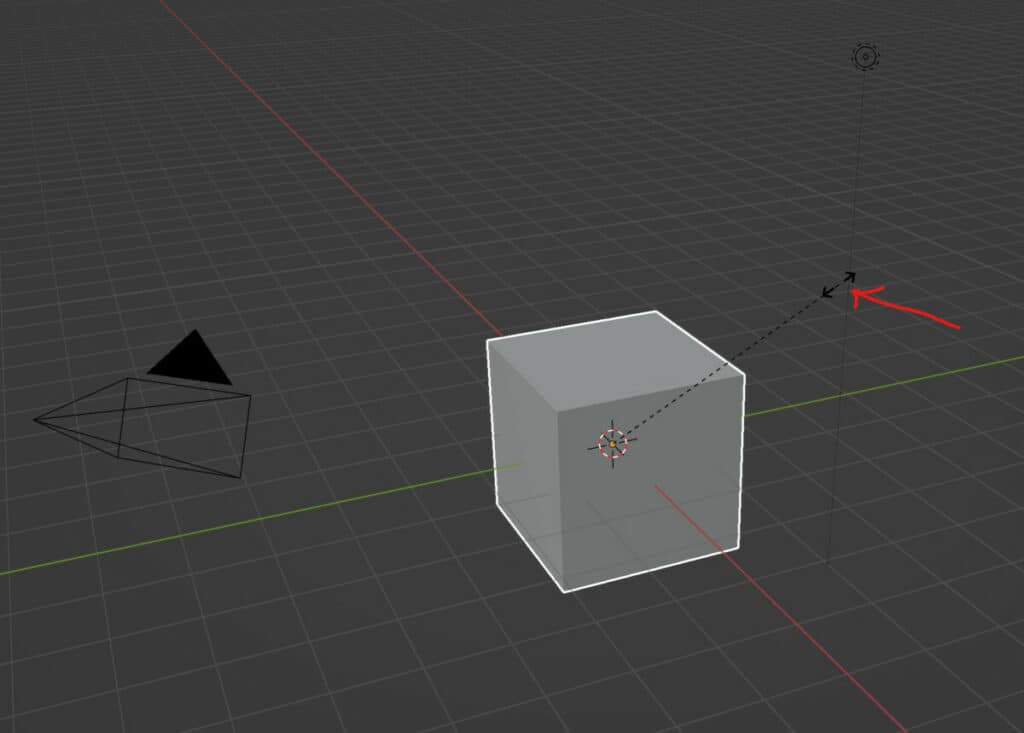
The quickest way to manipulate the scale of a selected object is to use the hotkey. Press the S key on your keyboard to begin scaling in all directions. You can lock the scale to a single axis by using the X, Y, and Z keys. An alternative scaling method is to use either the scale tool in the tool shelf or the scale values in the side panel.
There are different ways to adjust the scale of our models, so let’s take a look in detail at the various scaling methods in Blender.
How To Scale Objects Using The Hotkey?
The ability to change the scale value of your object is so common in blender that the easiest way to use the tool will always be for us to use the hotkey.
This will allow us just to press a single button on our keyboard and grab the selected object so that we can begin scaling it with our mouse.
The hotkey for Scaling our 3D models in Blender is S. Make sure your object is selected, and press the S key to initiate the grab tool.
The highlight around the selected object will appear as a white color to indicate that the tool is active.
You can now scale your object by moving your mouse away from the model to increase the object’s size and towards the model if you want to make the object smaller than its original state.
Left-click to confirm the change in scale and come out of the scale tool. If you want to cancel the operation, you can use the right mouse button.
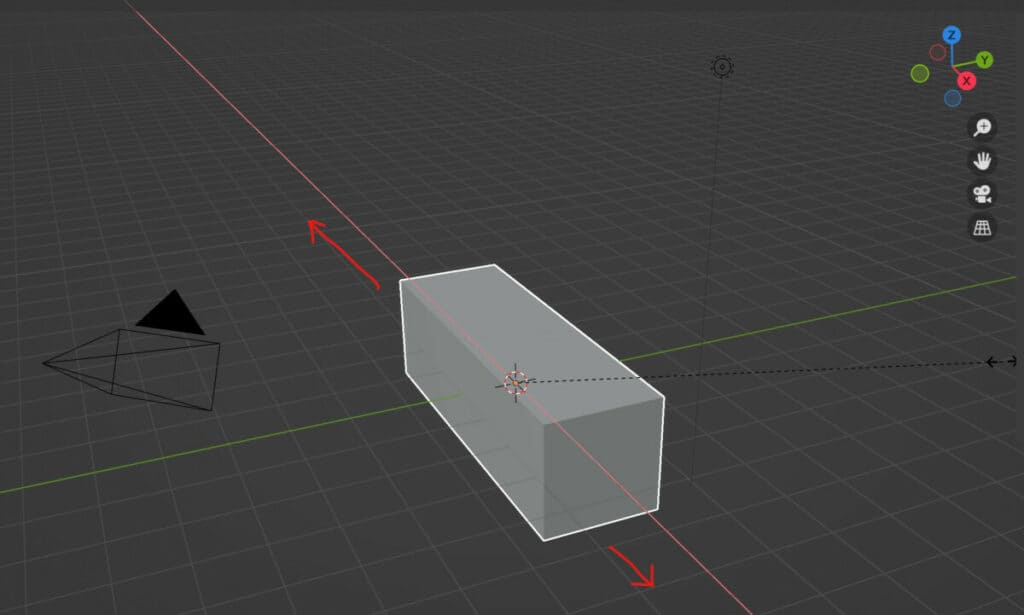
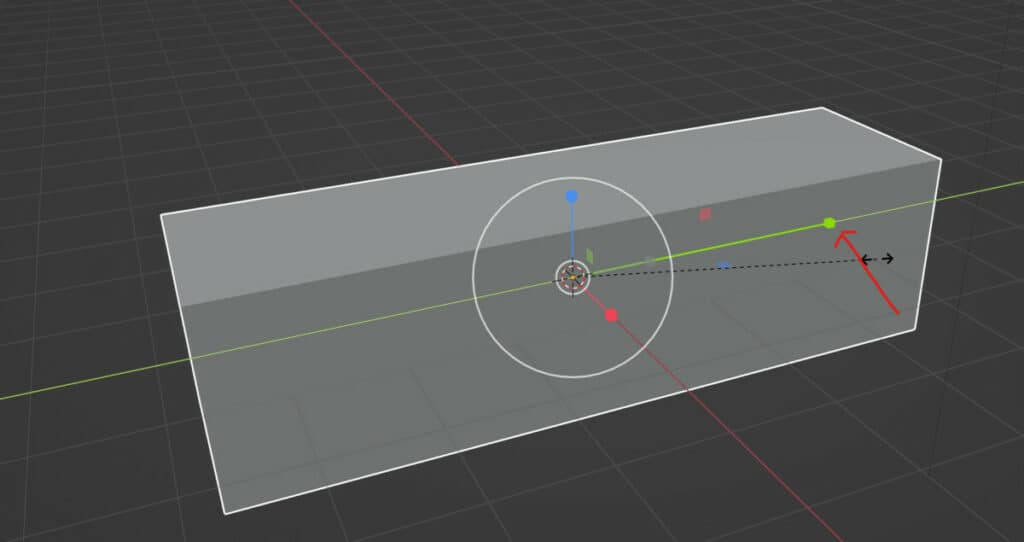
You also have the option to scale your model on a single axis. We can achieve this by activating the scale tool with the S key and using either X, Y, or Z to lock the scale to a specific axis.
For example, press the S key to initiate the scale tool and then the X key to begin scaling the object on the X axis only.
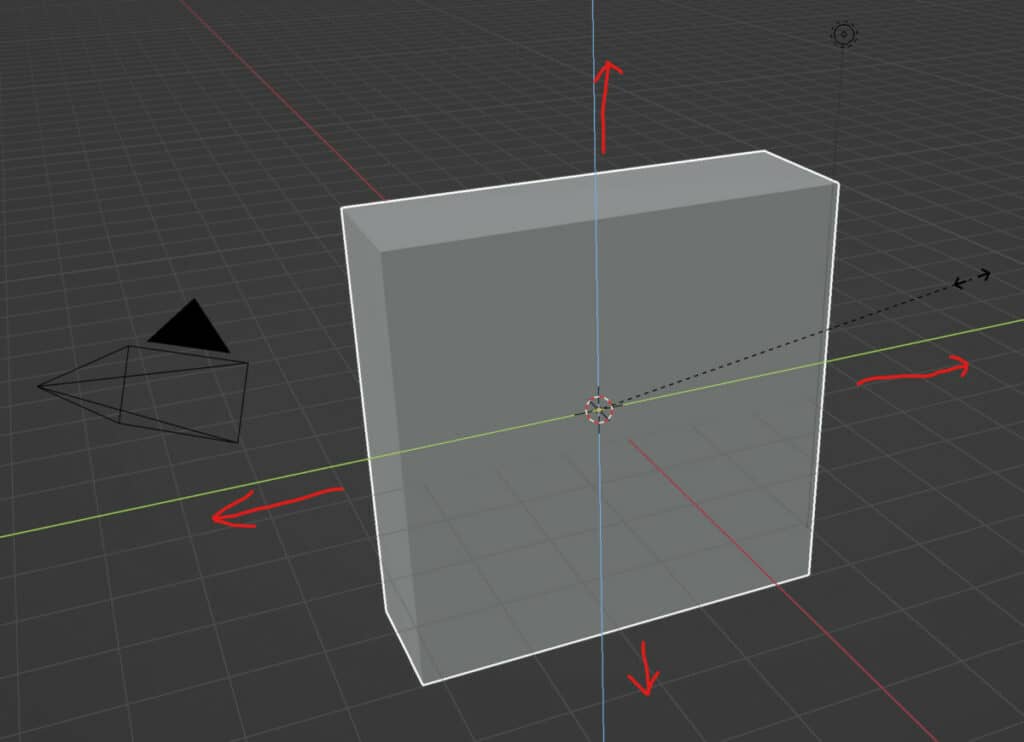
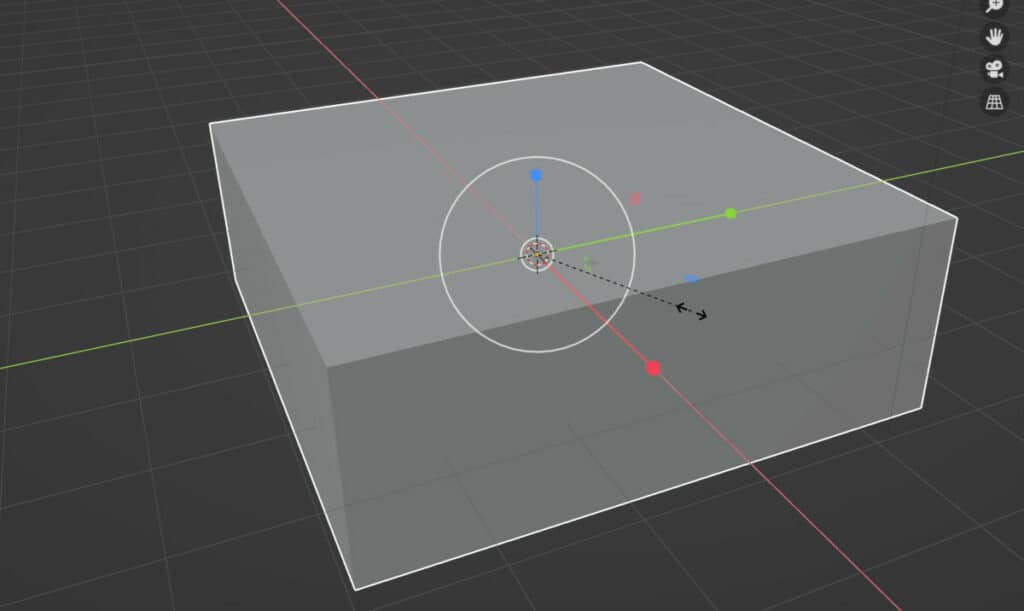
In addition to scaling on an axis you can also scale on a plane, which scales the model on two out of the three axis.
For example, scaling on the X plane will only scale your object on the Z and Y axes but not the X. To scale on a specific plane, activate the scale tool with the S key, then using Shift + X,Y,Z to lock the scale to a plane.
Scaling With The Scale Tool
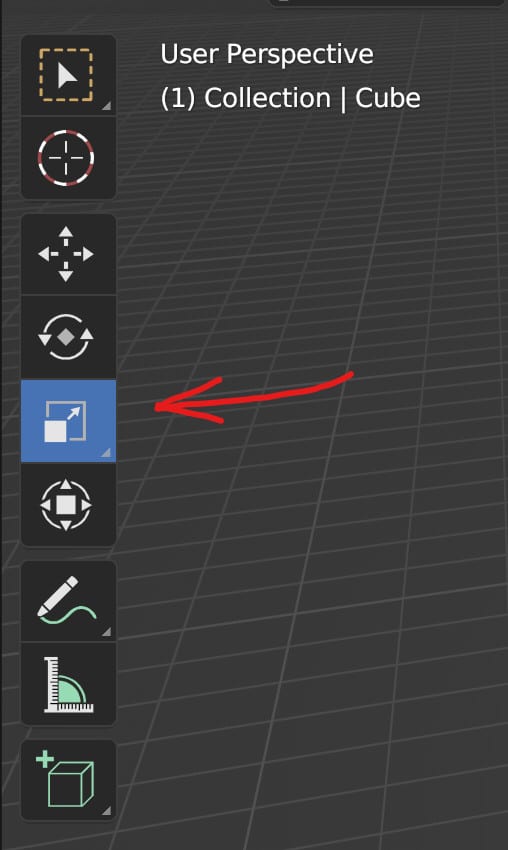
An alternative method to scaling is to use the scale tool that is located in the tool shelf of the 3D view port. It should be located to the side of the viewport, but if you can’t see the tall shelf, press the T key on your keyboard to bring the tool shelf interview.
The button for the scale tool will be the fifth option in the column of the tool shelf, located directly underneath the rotate tool. Left Click to enable the scale tool.
When the scale tool has been activated, a gizmo will appear around the object origin of your selection. The gizmo is constructed of free cubes at the end of colored lines, free squares of the same colors, and a white circle surrounding the gizmo.
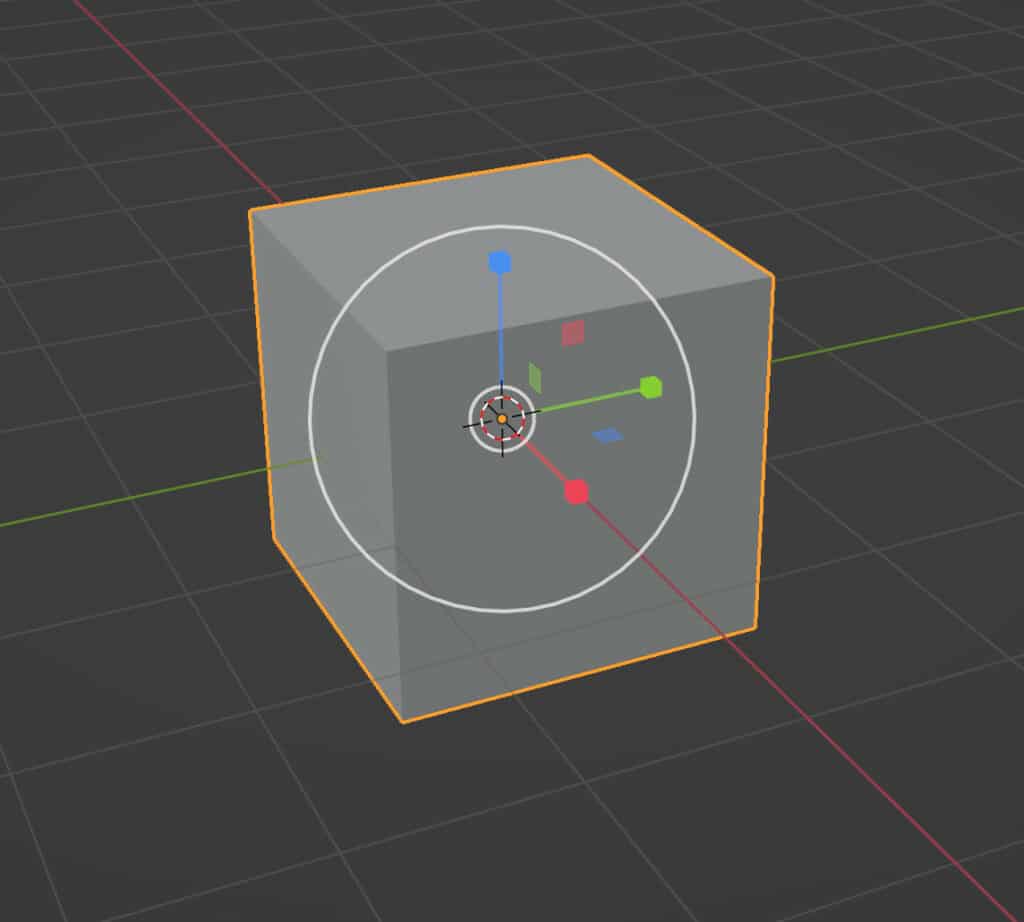
By clicking and dragging from the white circle, we can scale out objects on all three of our axes at the same time.
If we want to isolate scaling to a specific axis, then we can choose one of the three colored cubes extruded out from the object’s origin.
The Red Cube is for the X axis, so click and drag using the red cube to scale on the X axis. The green cube represents the Y axis so that we can scale along the Y, and the blue color is used to represent the Z axis.
These same colors are also represented for the free squares, which allow us to scale our objects on the respective planes. Red for the X plane, green for the Y plain, and blue for the Z plane.
Scaling From The Side Panel And Properties
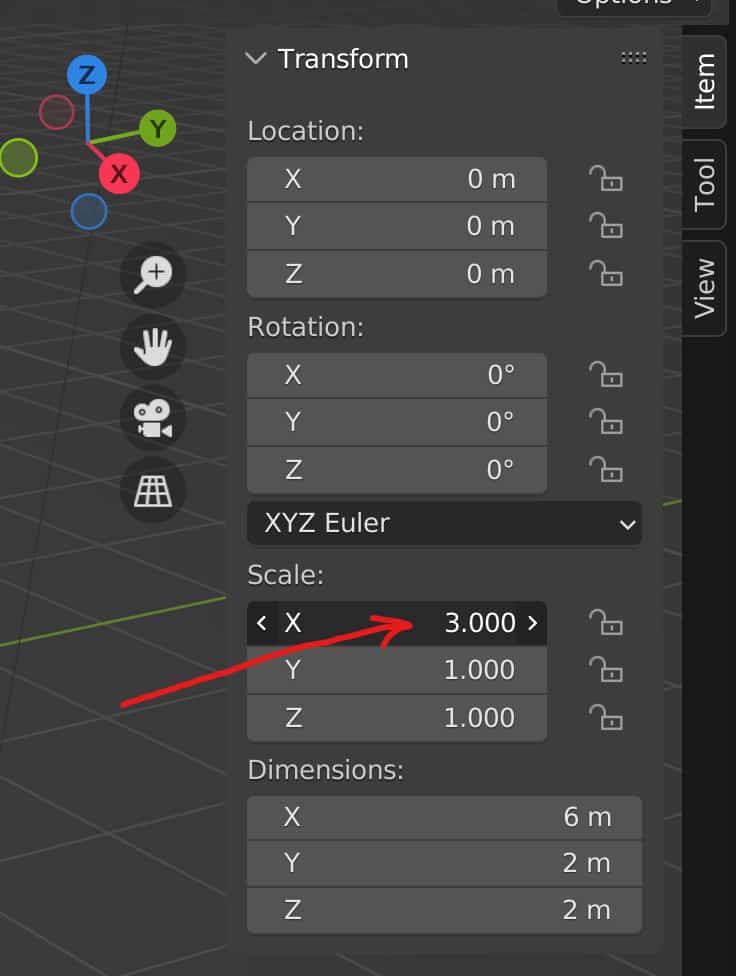
The third method of being able to scale our objects in the 3D viewport is to use the numerical values of the side panel.
By pressing the N key, we can open up the side panel in the 3D viewport, and within this panel where you will have access to the transform values of our selected object.

We can change any of these three values for the XY and Z axes by clicking and dragging on those values. We also can click and drag on multiple scale values at the same time so that we can manipulate the scale on multiple axes.
Alternatively, you can just click on a specific value and then type in the exact number that you want to scale your objects by on that axis; for example, you can click and type in free for the X scale so that it scales three times its original size on the X axis.
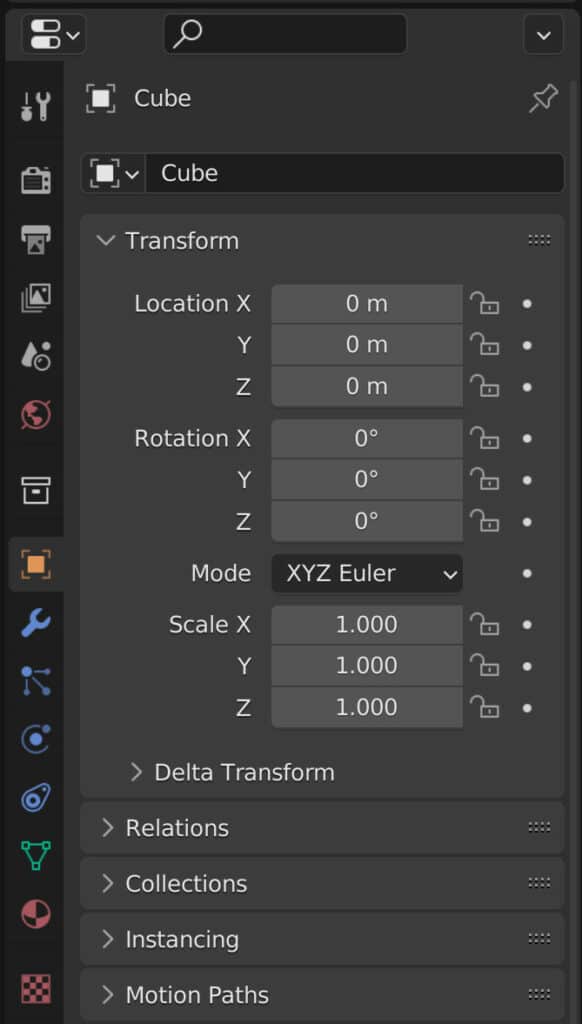
These values are also present in the properties panel. If you go to the object tab in the properties panel, you will find the same transform values for the location, rotation, and scale, and you can edit them in the same way from this panel.
Shift And Control For Tighter Scaling
One more thing we can do about any of our scaling methods is to use these secondary hotkeys to improve the scaling effect.
For example, by holding down the shift key while scaling, we can reduce the amounts we can scale by.
An example of this would be when we are trying to scale our objects to reach a specific size, but we’re already close to that target scale. We can use the shift key to slightly change our model’s scale values on a specific axis or on all three axes to get the exact result we want.
On the other hand, we have the control key used to snap our scaling tool in increments. For example, let’s say we began to click and drag on the scale in the side panel. If we hold down the control key, the scale will begin to increase or decrease in increments of one.
In the case of a simple two-by-two-by-two-meter cube, we would increase the scale of the cube’s dimensions by two meters each time. This will be very useful in cases where we are looking to scale to more exact dimensions.
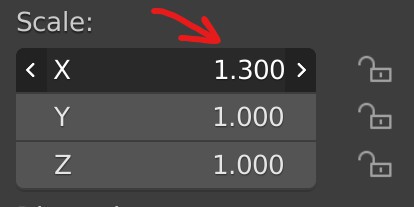
We can go one step further by combining the shift and control keys. In the example of scaling on the Z axis in the side panel, we can hold down shift and control at the same time to scale our model by increments of 0.1 each time. This is one-tenth of what we initially scaled using the control key.
Thanks For Reading
We appreciate you taking the time to read through the article. We hope you found the information you were looking for. If you are interested in learning more about the Blender software, you can check out a few of the articles we have listed below.
- How To Move Objects In The Viewport
- How To Rotate Objects In The Viewport
- Using The Scale Cage Tool
- Applying Your Object Transforms
- Clearing Your Object Transforms