One of the most common use cases of images in blender is to apply them to your materials as texture maps. There are a couple of steps to successfully applying your images as textures to specific materials, which we will detail below.
To set up an image texture, you must first create a UV map of your geometry to map the texture too. We then need to upload our image texture into our UV editor. When the map has been overlaid on top of the image texture, we can then create an image texture node that we can apply to the base color of our main shader so that our material uses the new image texture.
Working with image textures is relatively straightforward so long as you can create proper UV maps for your models, which is perhaps the most challenging part of the process.
Creating A UV Map To Apply A Texture To?
The first step to creating your image textures and applying them to your materials is to create a UV map for the object.
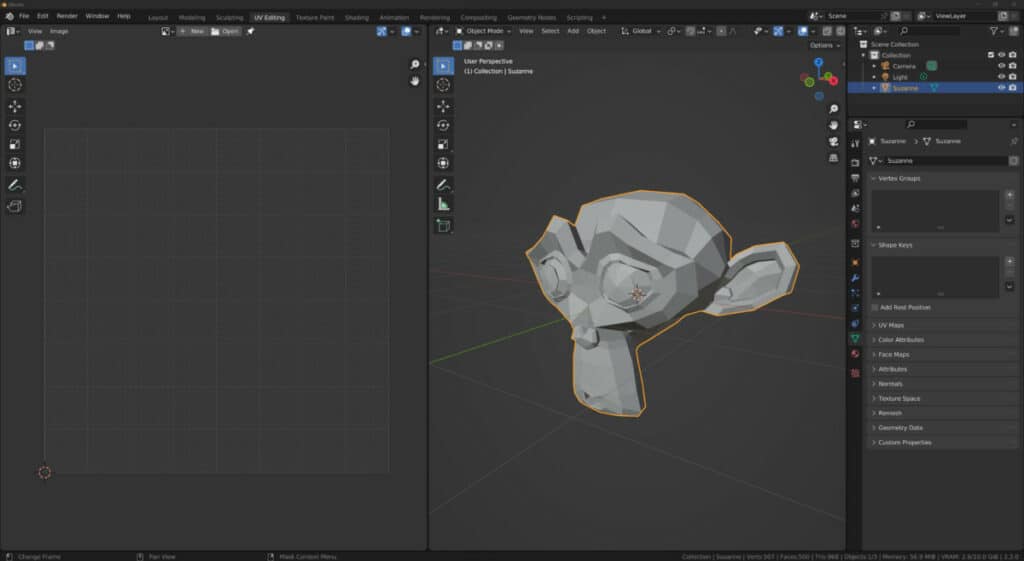
It is essential to create a UV map if you need to control precisely how your texture will be applied to the model.
It is not required in every instance. There may be some examples when using a generated texture coordinate system is sufficient depending on the object or the texture.
However, if you were looking to control where the seams of your texture are placed and the direction in which the texture applies to the model, then a UV map becomes more important.
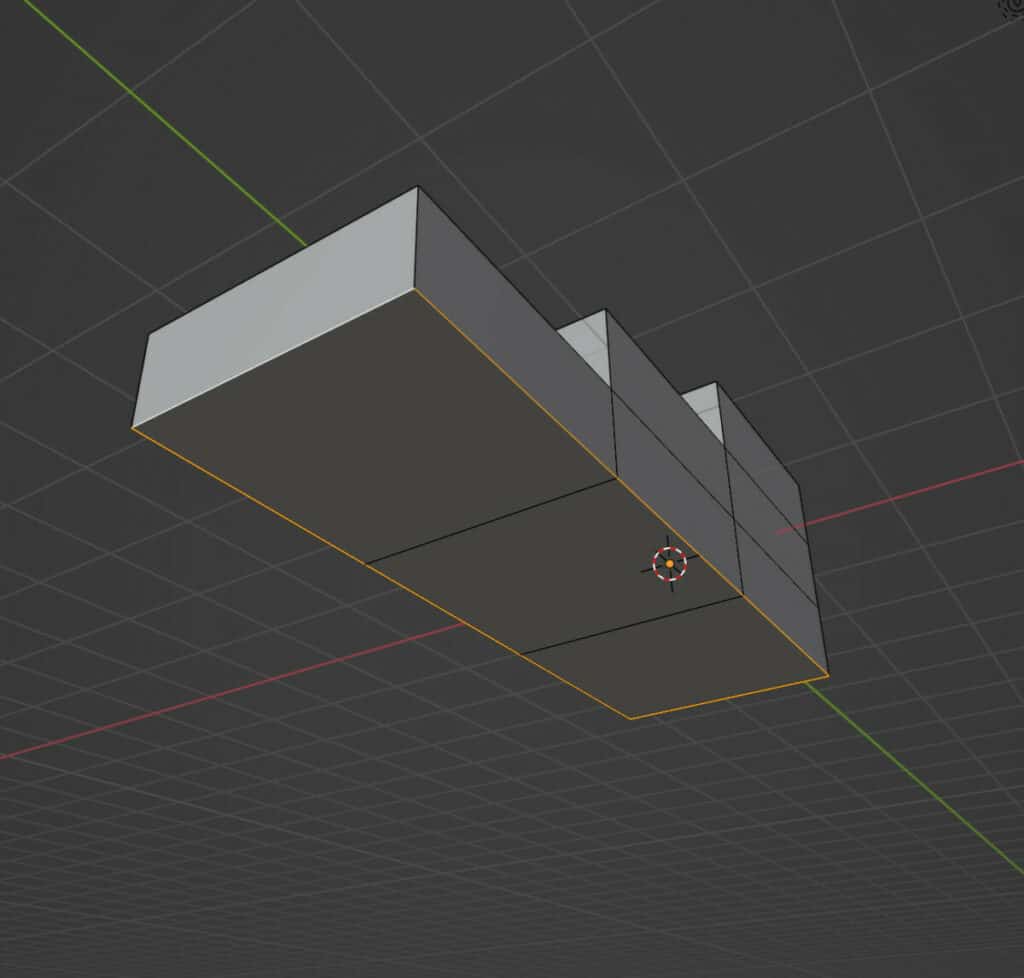
To create a UV map, select the edges you want to mark as seams. These act as the texture’s cut-off points, allowing you to divide your 3D model onto a 2D plane. Wherever there is no seam, the faces will be connected on the map.
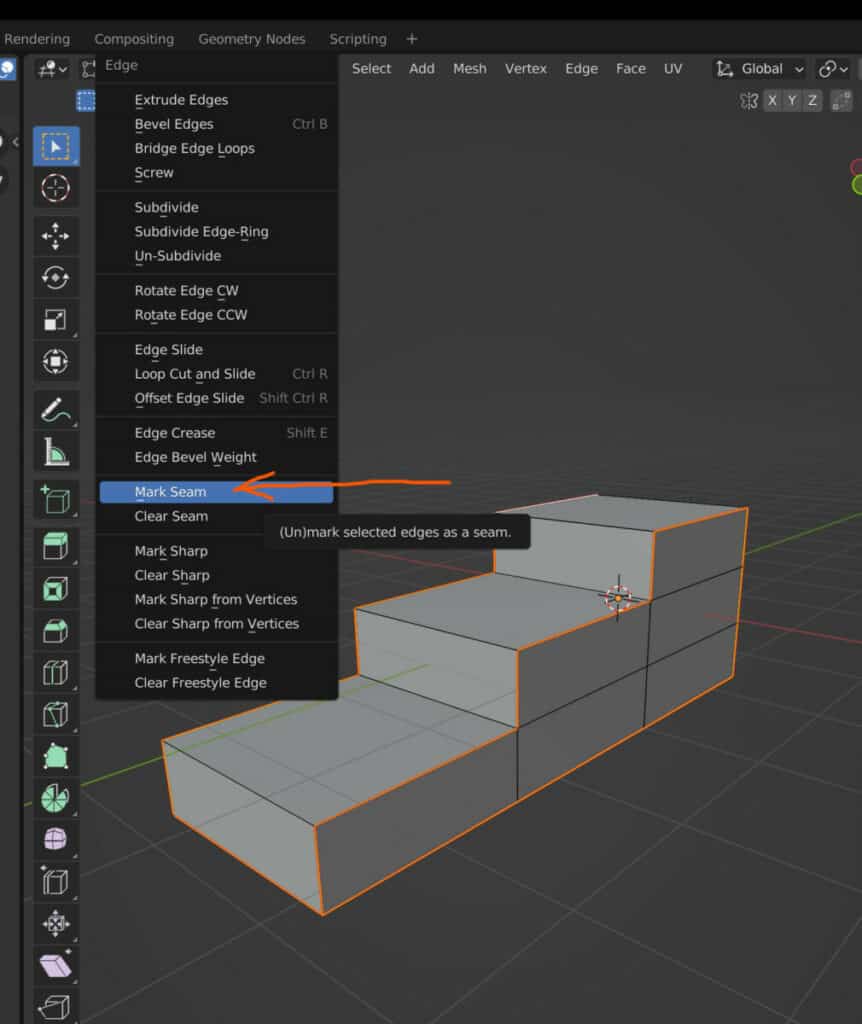
Use the hotkey Control + E to bring up the edge menu with the edges you want to mark as seams selected.
From here, locate the mark seam option and select it. Those selected edges will now appear with a red highlight.
Select the entire object in edit mode with your seems marked using the A key. And then press the U key to open the unwrap menu.
From this menu, select unwrap, and the UV map will be generated in the UV image editor. If you are not already using that workspace, choose the UV editing workspace to preview your new UV map.
If the UV map isn’t correct, experiment with marking and clearing your seams. Both tools can be found in the Edge menu. Try different combinations of seemed edges to get the UV map you want.
Where To Locate Image Textures?
Once you have created a UV map for the object, the next step is to locate image textures that you plan to use if you have not already done so.
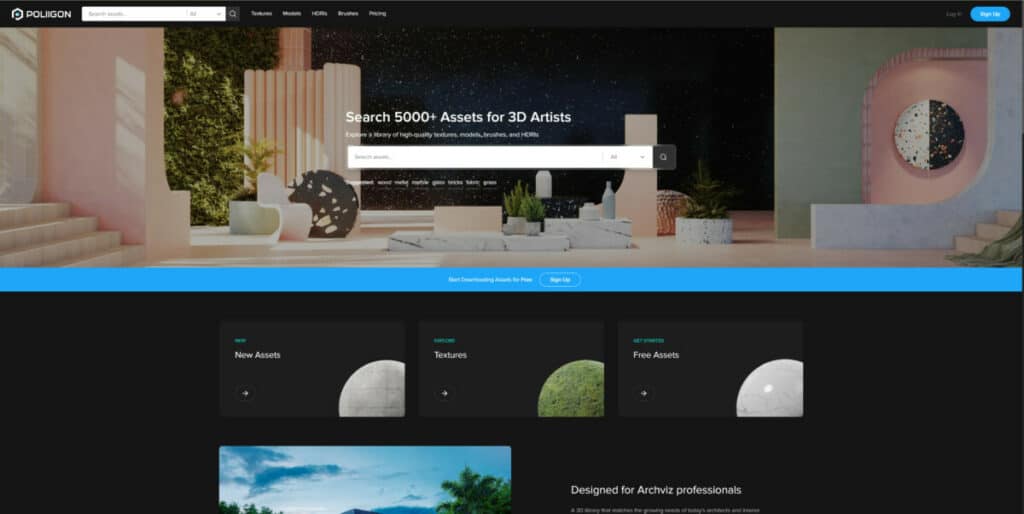
There are numerous places on the web where you can download and use image textures for your project. Below we have a shortlist of three websites that are good for accessing image textures.
- Poliigon
- Textures.com
- Texture Haven
The Best File Format For Image Textures
You are best suited to locating your image textures from one of these texture libraries as they will also have these image textures in the best possible file formats.
There are many different image formats that Blender is capable of using, but not all of these file formats are suitable for high-quality texturing.
For example, a JPEG will yield very low quality on larger objects that require great detail in their textures. Therefore, most of these image texture libraries will allow you to download the various textures as TIFF files, which is an ideal format for texturing.
The TIFF file type can store all the information necessary for the various image texture types beyond regular color data. This includes greyscale data and the ability to use various color space conventions.
Adding An Image Texture In The UV Editor
Once you have located the image texture you want to download from your chosen sites, you would then need to proceed to add that texture into your UV editor. This should occur after you have created the UV map for your model.
Look for the open button in the header bar in the UV editor. This will open up the file browser and allow you to locate the downloaded texture on your device.
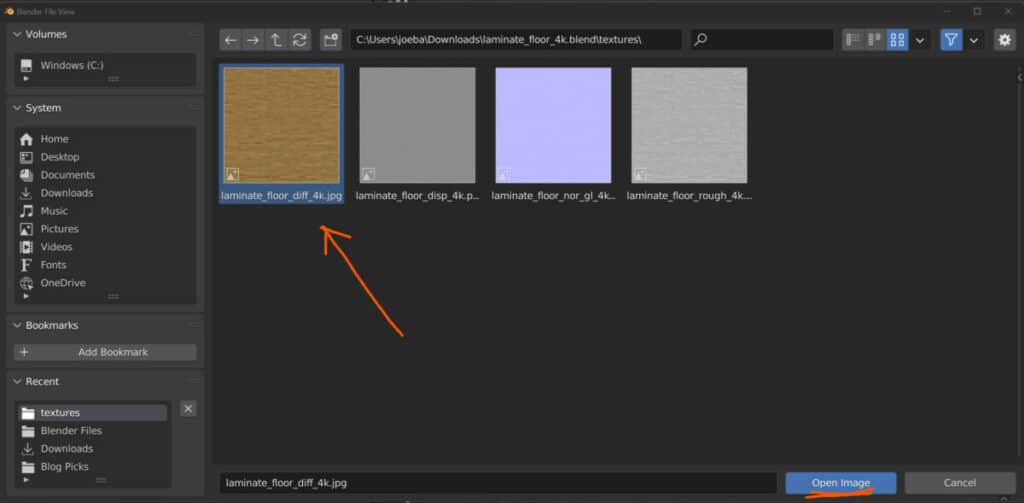
Select the texture you wish to bring in, and then select the blue open image button in the corner of the file browser to load your new image texture onto your UV map.
At this point, you may get a better idea of how your UV map is influencing your texture. And so this is another point at which you may want to make changes to how you have created the UV map.
Assigning An Image Texture To A Material
Once you have loaded your image into Blender via the UV image editor, all that’s left is to connect your texture to your primary material.
To do this, open up your shading workspace and create new material for the primary model if you haven’t already done so
The default setup for creating materials involves the principled BSDF shader node This node has many sockets and parameters to work with One such parameter is the base color to which we will be attaching our texture.
Bring up the add menu by using the hotkey Shift + A. Form the add menu, locate the image texture node in the textures section, and bring it into your node system.
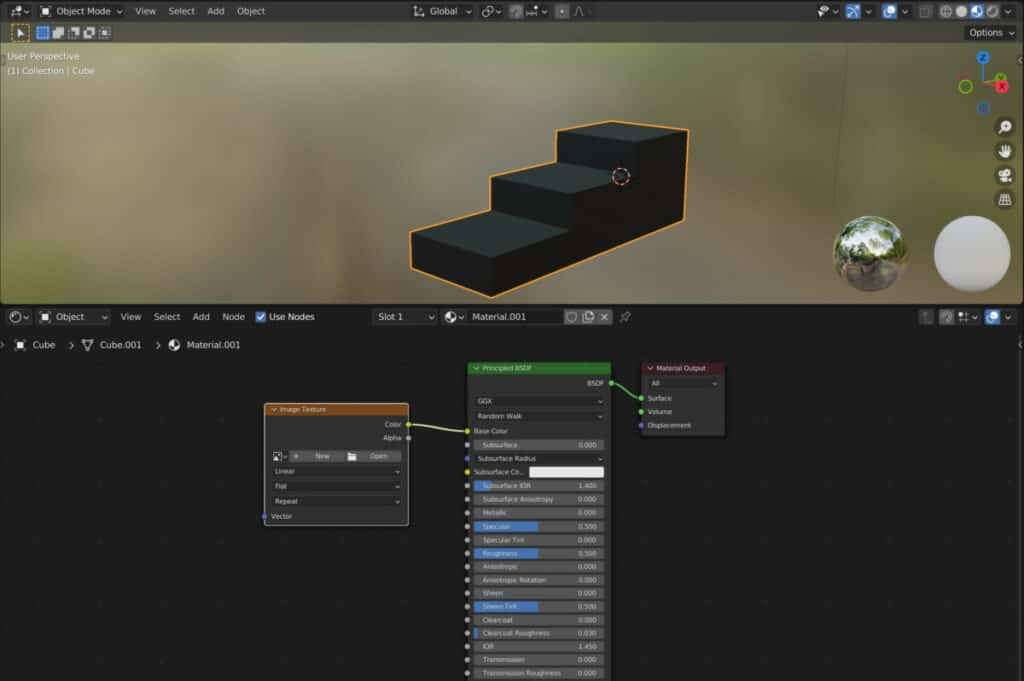
Once you attach the image texture node to the base color input of the principled node, you will see in the viewport above that your object has transformed to a black color if you are viewing your scene using the Material preview.
This indicates that the image texture node has been successfully connected to the base color. Still, the default black color is used because the image texture node is not outputting any specific texture image.
Within the image texture node, we can create a new image texture with a new button or load up an image texture from our file browser.
However, if you have already loaded your image texture in the UV editor, then neither of these options is required.
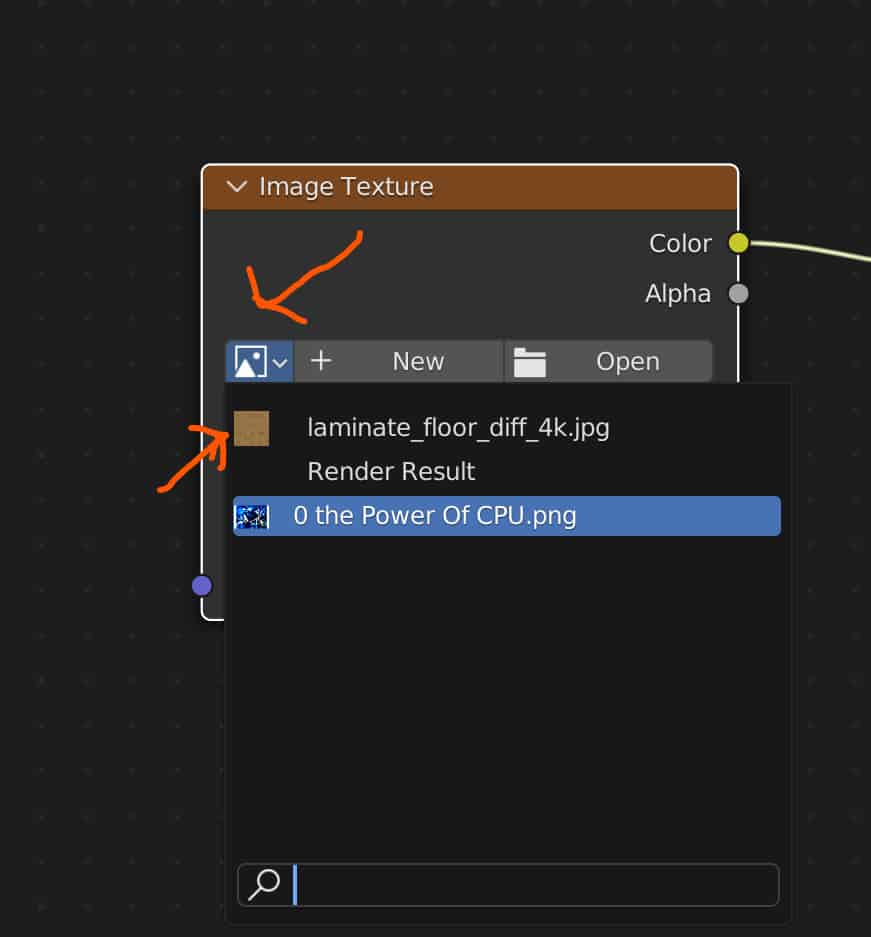
Instead, click on the little arrow next to the new button to open up the menu, which lists all of the different images that have already been loaded into your blender project. You will most likely find your image texture in this list.
If it is not on this list for whatever reason, then you would use the open button to reload the image texture.
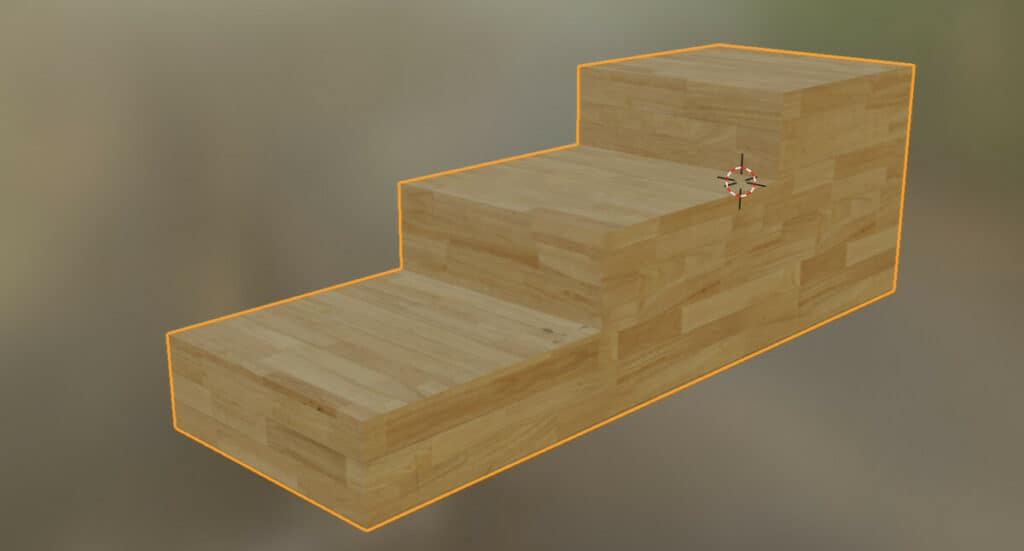
Once the texture is attached to the node, it will become visible on your main objects.
Thanks For Reading
We appreciate you taking the time to read through the article, and we hope you found the information you were looking for on using images as texture maps. If you’re interested in learning more about material setups or how you can use images in different scenarios, look at some of the other articles we have listed below.