If you are new to the geometry nodes system, then you will first need to learn how the two core nodes of the procedural modeling system are used. These are the Group Input and Group Output nodes, and they act as the start and end points of your node tree.
The group input node stores information from the original geometry. It can also be used to expose parameters to the geometry nodes modifier. The group output node will display the final result of the nodes tree in the 3D viewport in place of the original geometry.
Both of these nodes play an important role in the construction of your new object’s geometry using the geometry node system. But are these nodes always required? Or are there other ways to use geometry nodes?
What Is The Purpose Of The Group Input Node?
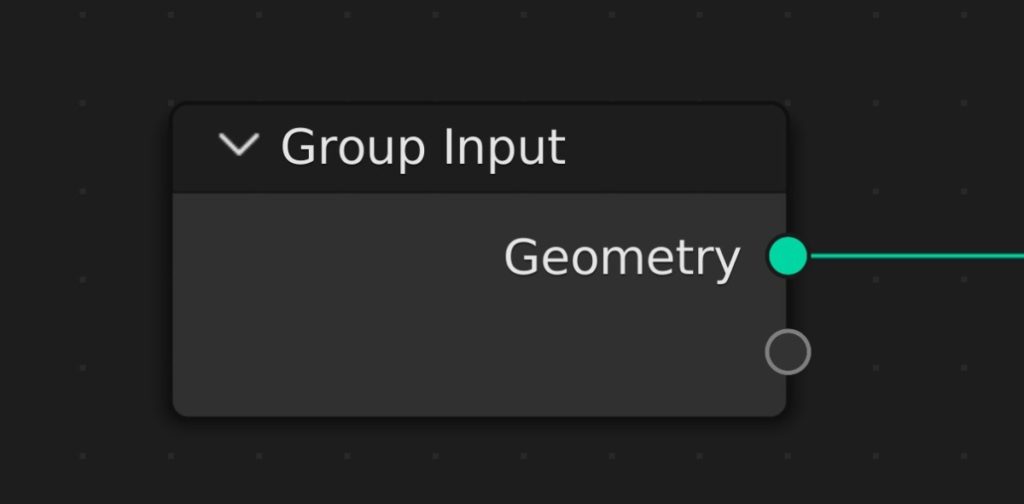
The primary function of the group input nodes is to store the original geometric data of the current model.
Within this node, you will find a single output which is for geometry. Within this output is the information about the original object and its structure.
When you add a new node tree, you will be greeted with the group inputs and group output nodes and they will be connected via their geometry inputs and outputs. The geometry output of the group input node will be directly connected to the geometry inputs of the group output node.
If you want to use the original information of the object, you must use the geometry output from the group input node.
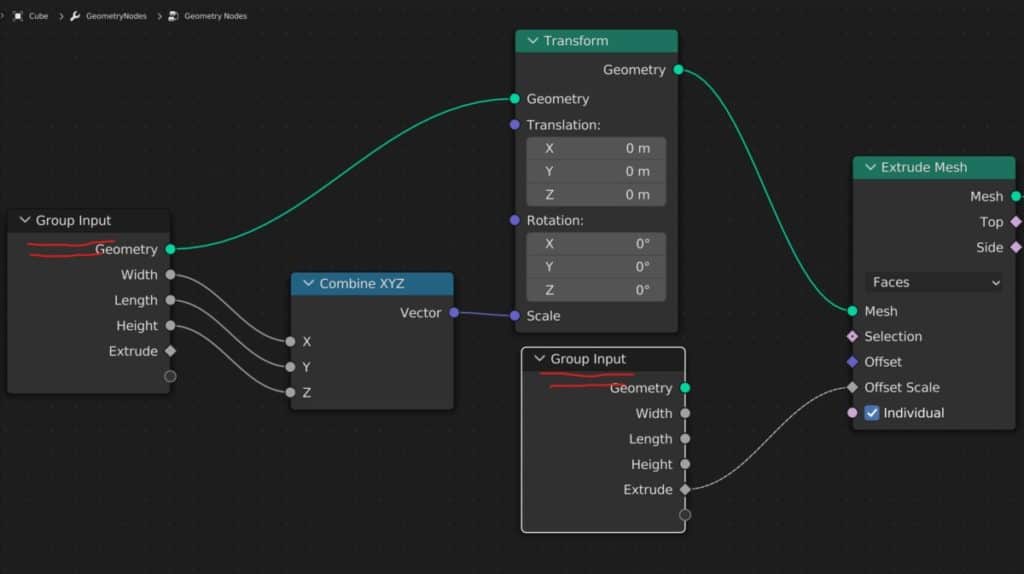
You can also use the group input node to expose parameters from your note tree. For example, let’s say I wanted to control the X scale of my object by using a transform node.
By having a transform node we can manipulate the X value of the scale within our node system. But what if we wanted to expose the X value by itself to our geometry nodes modifier?
We start by adding a combine XYZ node and connecting it up to the scale inputs. We then set all of the 3 individual channels to a value of 1, which is the default value for our scale.
Then we click and drag from the input of the combine XYZ nodes and connect it up to the empty socket that we will find on our group input node. I can label this as width by going to the side panel (Press N) and then under group select the input and name it.
Then we can repeat the process for Y and Z and rename them as the length and height of the model.
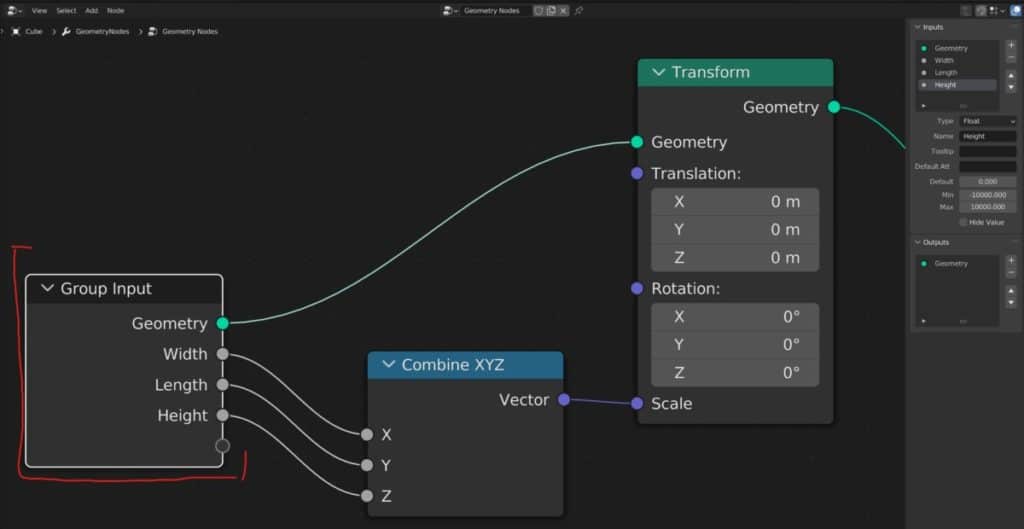
If you go to the Modifiers tab in the properties panel, you will notice that the X parameter for the scale has now been exposed to our modifier, allowing us to edit this value from the modifiers tab.
What Is The Purpose Of The Group Output Node?
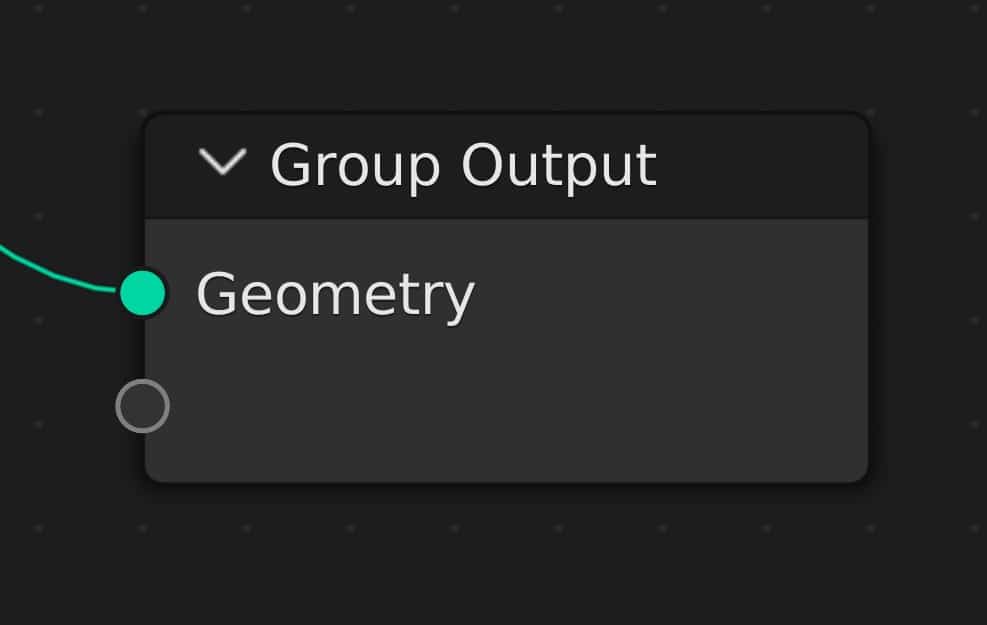
The main purpose of the group output node is to display the result of our node tree in the 3D viewport. Without it, anything that we do within our node system will not be displayed on our main model and therefore the group output node is the single most important node to have in your setup, which is why it is one of the two nodes introduced whenever a new node tree is created.
Like the group input node, there are sockets that you can use in addition to the already existing geometry input. However, these additional sockets are for attributes specifically. You cannot use arbitrary numerical values for these sockets.
This is a more advanced feature set and is not used as often as parameters are for the group input node.
Is It Required To Use Both The Group Input And Group Output Nodes?
Because the group input node is responsible for generating the mesh based on the original geometry, it is a requirement to use the group input node at least once. If you want to use your original model as a starting point.
It is also a requirement to use the group input nodes if you are looking to expose some of your parameters to the modifier, which can only be done by connecting them to the group input node.
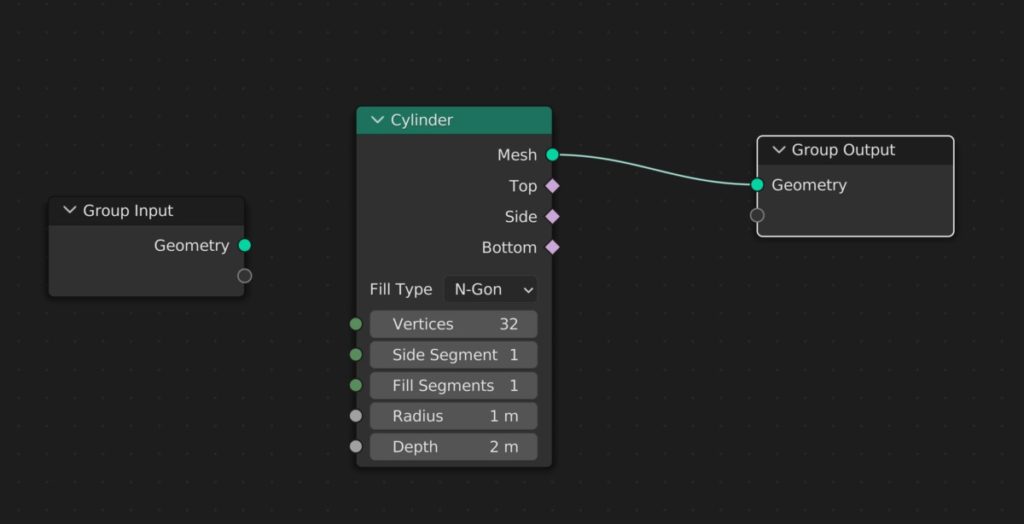
If you do not want to use the original geometry, however, then the group input node is not required and you can instead choose a mesh primitive node as the basis for your geometry.
Even in this scenario, where do you wish your geometry is not used? You can still use the group input node for exposing parameters to the modifier.
What about different situations and scenarios for using the group input nodes? The group output node is more clear-cut when it comes to its requirements for any node tree.
It is the only node that displays your geometry and the result of your geometry nodes system within the 3D viewport.
It is therefore a requirement to use the group output node in all of your node systems.
Can These Nodes Be Used Multiple Times In Your Node System?
It is entirely possible to use the group input node multiple times within a single node system, and this can actually be very useful if you are trying to keep your node system clean and tidy.
With more complex systems, it can become easy to expose multiple parameters to the group input node, and if all of those noodles are going to the same location, it’s going to create a messy visual within the node editor.
Therefore, some artists duplicate the group input node and position these duplicates at different locations within the node setup where they want to expose parameters. This way the group input node will only connect to one socket for each instance of that node.
On the other hand, the group output node should not be used multiple times, and if you were to even attempt to add another group output node to your node system, you would find that the result of your node system would disappear in the viewport.
This will happen even if the new node is not connected to the system. Simply adding a second group output node will confuse Blender and result in it not outputting any result at all. It is therefore recommended to only ever use a single group output nose.
The Best Place To Learn Geometry Nodes?
Geometry nodes differ from the traditional form of modeling as it acts as a system that the artist can control to both create and change the models in their scenes. The best way to learn this system is by using our own.
The Blender boot camp is an educational resource dedicated to teaching Blender and Blender alone. The geometry nodes boot camp is our tailor made course to learning the node system from the ground up.
If you are looking for the best resources to get you started though, we are offering our free geometry nodes starter kit, which contains our beginners guide to geometry nodes along with our procedural building asset pack and geometry nodes terminology cheat sheet.
Click on this link to access these resources for free
Learn More About Geometry Nodes From These Articles
We hope that you find this article useful for accessing the geometry nodes system. If you want to learn more about how you can use geometry nodes, then check out these articles listed below.