When working with multiple objects in a scene, these objects can get in the way of each other when you are trying to edit your models. It can be handy to have a tool that allows you to hide all of the other objects in your scene and focus purely on your selection.
We can focus on a specific object for modeling by toggling the local view option. To activate the local view, go to View > Local View > Toggle View. Blender will hide all objects that are not a part of the selection and will zoom in on the selected model so that you can begin editing.
By using the local view option, we have the ability to more easily edit our objects, even if our scenes are packed full of other models. All we need to do is be able to select that object and then toggle the local view.
Activating Local View To A Single Model From The Menu
There are two ways in which we can activate the local view for our selected objects. The first method is to activate the local view from the view menu, and the second method is to use a hotkey.
If you choose to initiate local view from the menu, go first to the view menu located in the header bar of the 3D viewport.
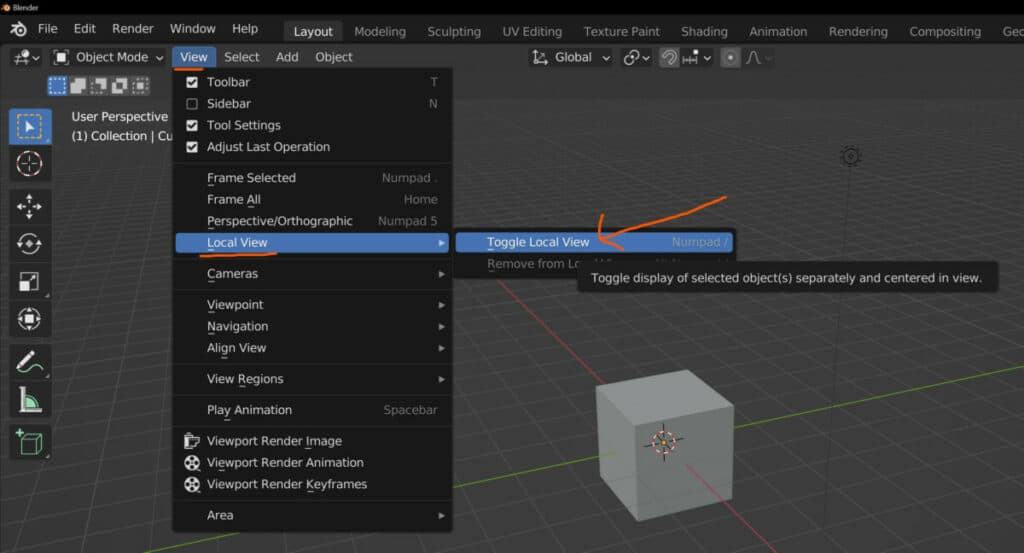
One of the options within this menu is for local view, so highlight it to bring up the secondary menu. You have two options from here, and the first is to toggle the local view for your selected object. Note that this will not work if you do not have at least one object selected.
Using The Hotkey To Toggle Local View
The alternative method of using the local view option is to use the hotkey. This hotkey for the local view is the / key which can be located next to the right-hand shift key of your keyboard.
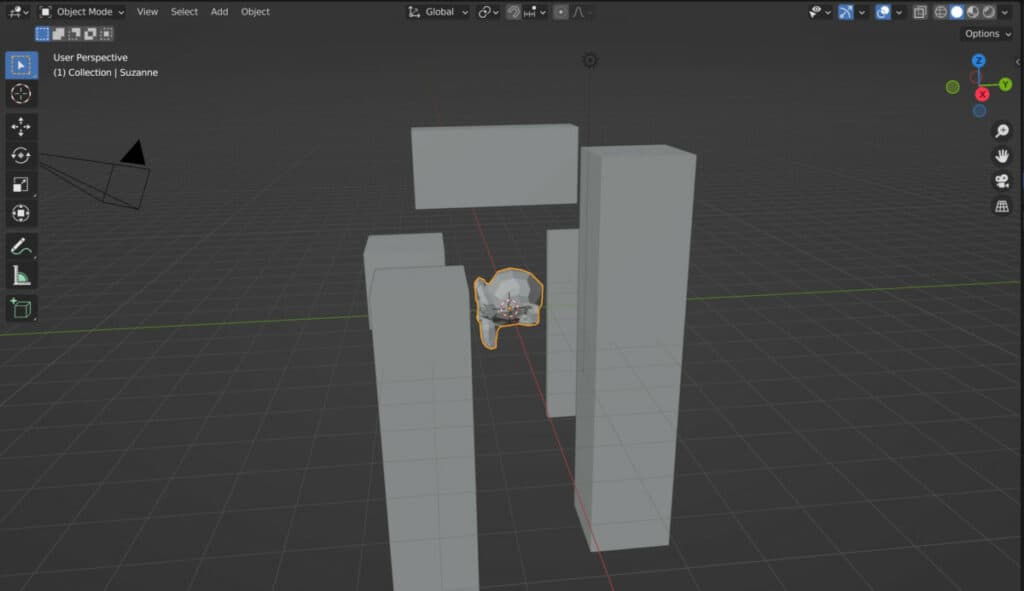
Again, ensure that you have selected the object you wish to toggle the local view for. Then use the / key to toggle local view.
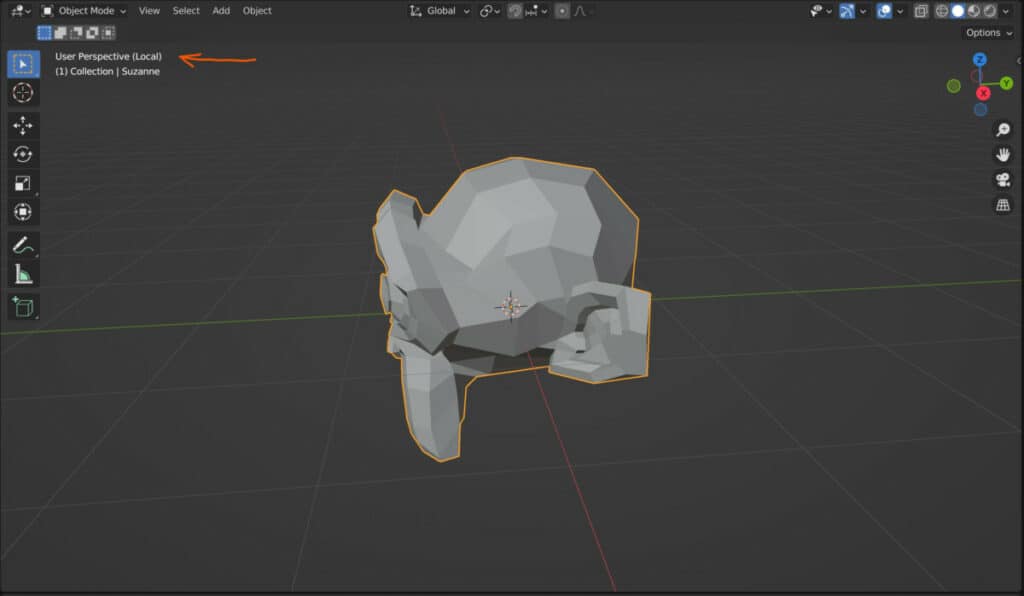
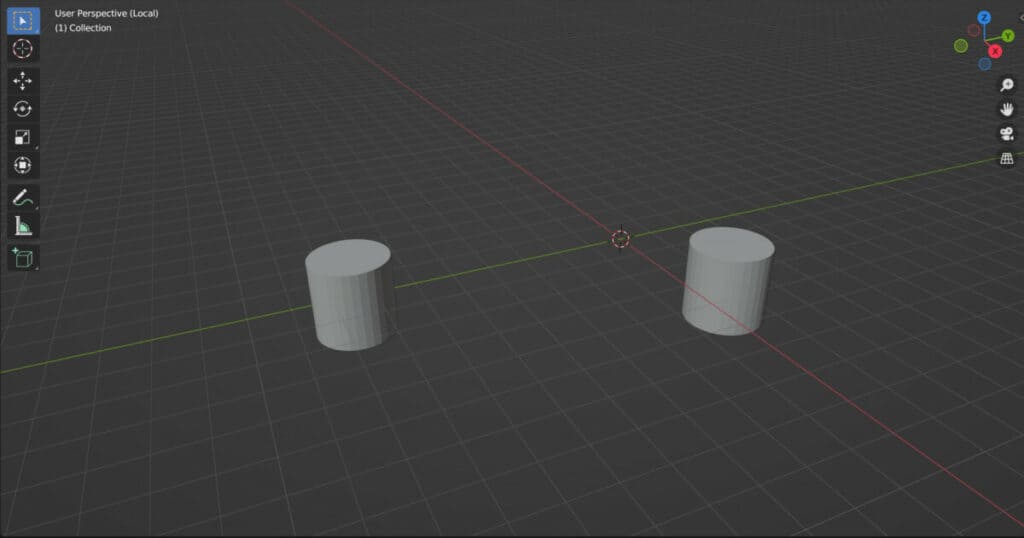
Again, you should see that all of the other objects in your scene are made invisible, and Blender zooms in on your selection so that you can begin editing.
You can then use the same hotkey to bring yourself out of your objects’ local view, bringing back all of the other models in your scene.
Why Is Local View Important?
The typical process of 3D modeling involves first creating your individual models. We design our models, and then when we are happy with the design, we place them within our scene.
Some 3D artists will choose to create individual project files for each object that they wish to use for a scene and then have the scene itself for its own project to which the models are appended.
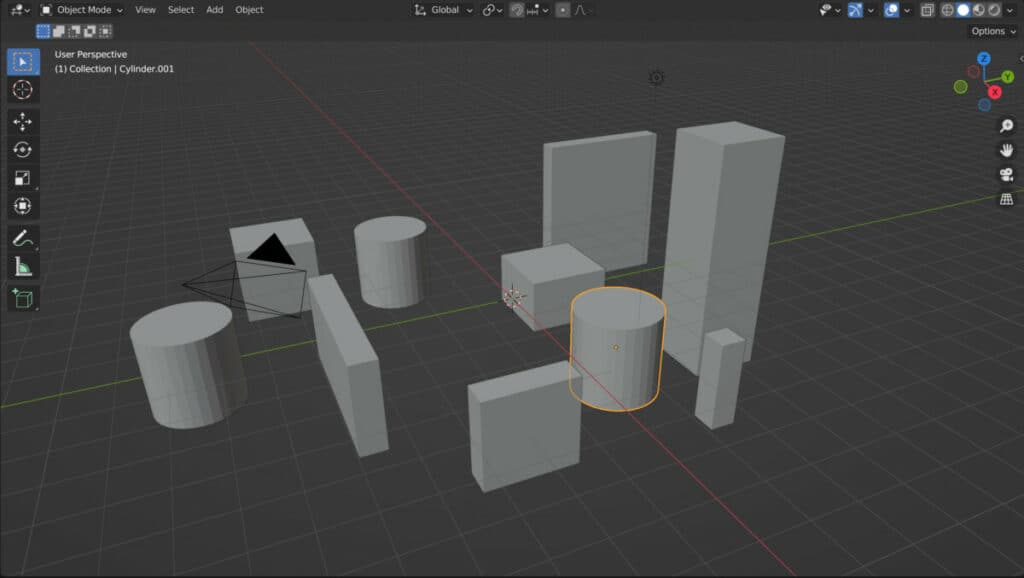
However, if you plan to create all of your models and then position them in a single project, it may become difficult to manipulate newer objects down the line when you already have many models in your scene.
This is why the local view is so valuable. It allows you to easily select your model and then isolate the model within your viewport so that you can edit it without other objects getting in the way.
Can We Use Local View On Multiple Objects?
While the primary intention of the local view is to focus on a specific model, it does allow for the functionality of selecting multiple objects and toggling local view for all of them.
For example, let’s say you had a scene of 10 models, and you wanted to focus on three of them.
You can select these three objects either in the outliner or in the 3D viewports and then use the local view hotkey to highlight these three objects and make all others invisible.

Now you will be able to edit three objects at the same time. While this may seem counterproductive to some, the ability to work on multiple objects may still be necessary if they are of similar shapes or have some sort of relationship between them.
If you go back to the local view menu in the header, you will notice there is a second option that allows you to remove objects from local view.
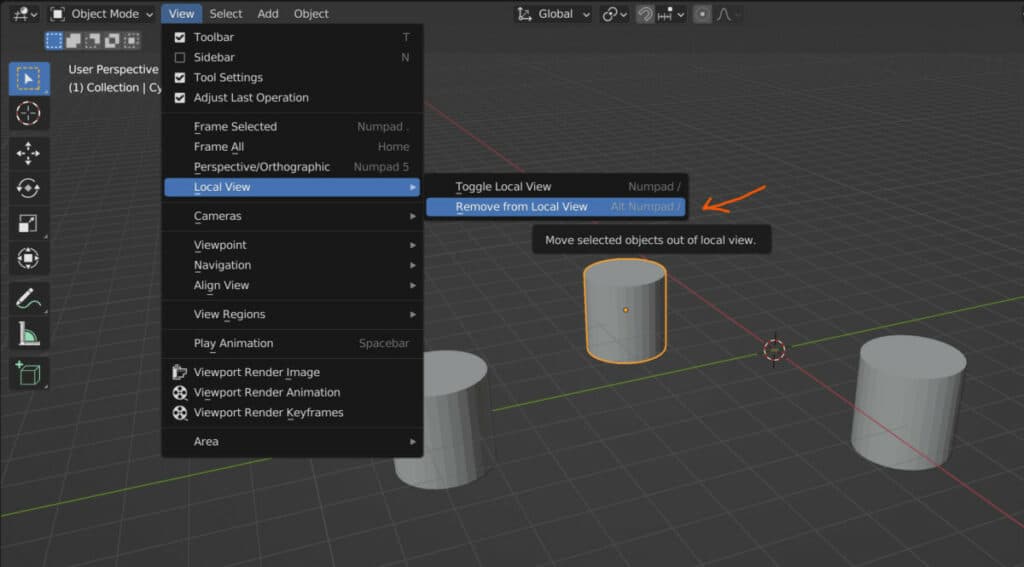
All you need to do is select an object while you are in local view and then go to this option in the view menu to remove your selection.
If at any point you find that you can see no objects in the local view, then this will likely be because you have removed all objects from this view.
To correct this, just go back into your global view, which you can do so by using the / hotkey to unselect the object that you wish to toggle local view for.
You also have the ability to use the hotkey ALT + / to remove selected objects from local view as well.
Easy Selection For Larger Scenes
If you are working with a scene at that has it dozens or even hundreds of objects, all of varying sizes, and you only want to select a specific model, it can become very difficult to even find that model within your scene.
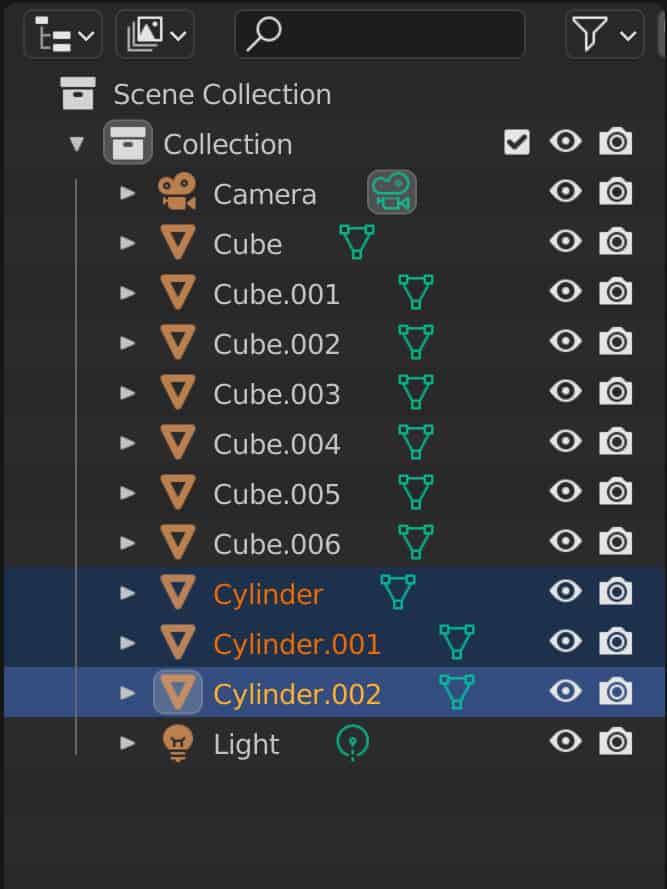
Therefore, we recommend using the outliner panel to locate the object you wish to toggle local view for. If you have named your objects correctly, then they should be relatively easy to find in the hierarchy of your outliner. You only need to select the outliner and then toggle the local view in the viewport.
Thanks For Reading
We appreciate you taking the time to read through the article, and we hope you found the information you were looking for. If you are interested in learning more about how we can create 3D models and scenes in Blender, look at a few of the articles we have listed below.
- The Best Methods For Selecting Objects In The 3D Viewport
- What Are The Shortcuts For Navigation In The Viewport
- Why Can I Not Zoom Into My Viewport Anymore
- Removing The Grid Lines In The Viewport
- How To Lock Your Camera To Your View To Easily Reposition