There are numerous methods for improving the organizational structure of your node trees when you begin created highly complex materials. One great method is to take an entire section of nodes and store them in a type of border referred to as a frame.
To add a frame to your material setup, press the hokey Shift + A on your keyboard to open the add menu in the shader editor. Then go to the bottom of the menu and access layout, from which you choose the frame option. Position the frame within your scene and then drag and drop your nodes inside the frame to connect them.
A normal node set up without any attempt at organization is almost impossible to read for someone viewing your work and even makes it difficult to understand for the artist that created it. Frames are a great visual tool for dividing the node tree into easily identifiable sections.
How To Add A Frame To Your Node Tree?
If you want to add a frame to your node setup, the process is very similar to adding a normal node. Go to Add (Menu) > Layout > Frame or use the hotkey Shift + A to bring up the add menu as a popup and find the frame option that way.
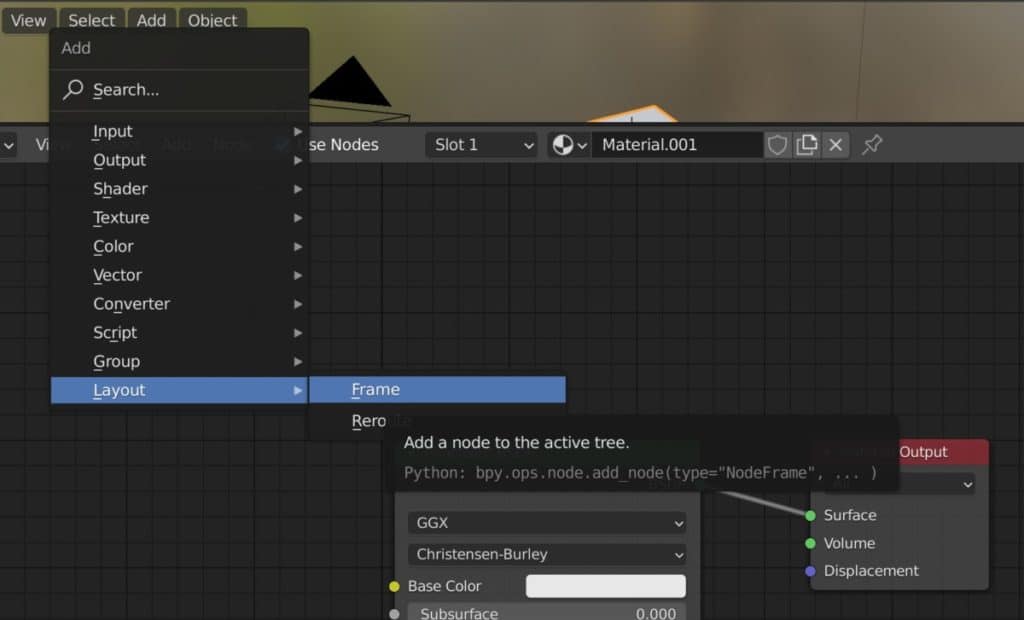
Then, position the frame wherever you want in your node tree by left-clicking to confirm its position. You can still click and drag to move frames much like you can normal nodes.
Even if you position a frame over a node, it will not join the node in the frame. To do this, grab the node and move it inside the frame. The frame will then expand to surround the node that you have added.
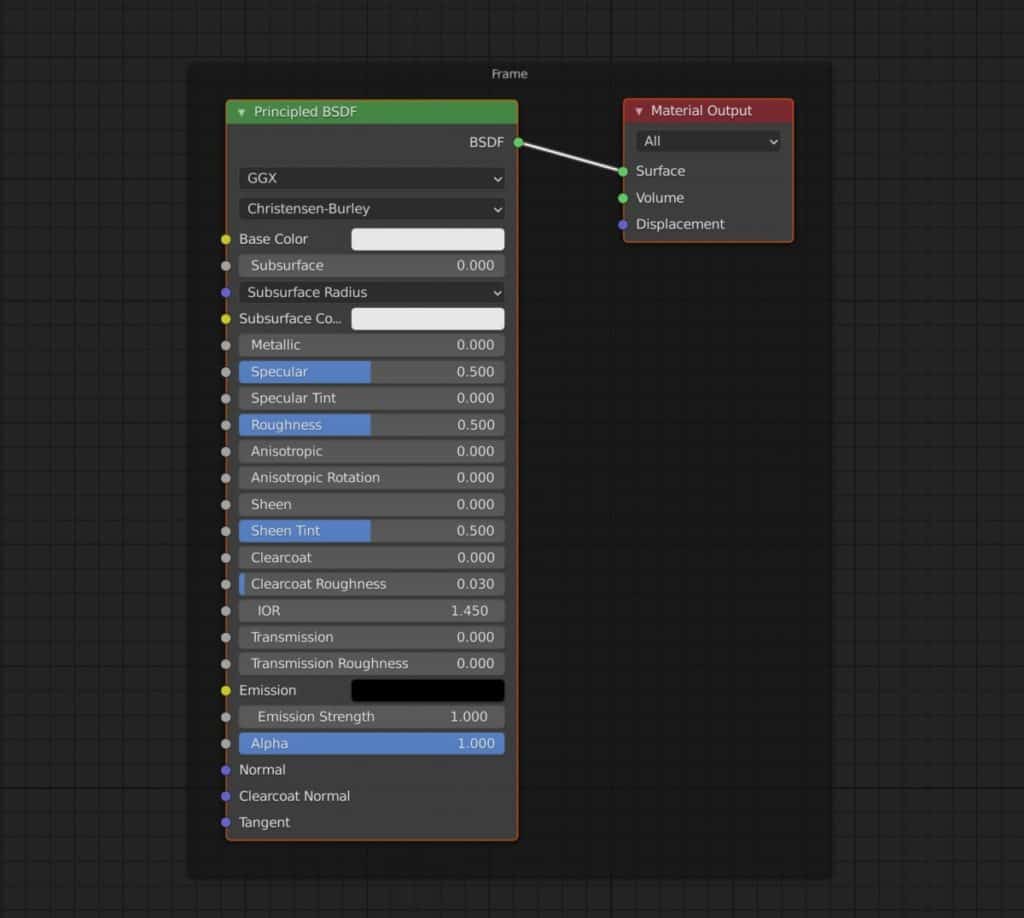
Now you will be able to move the frame as normal by clicking and dragging, as will moving the node inside the frame, where the frame follows the node.
If you add a second node to the frame the behavior changes slightly. The frame moves as normal with the nodes inside, but moving a single node now resizes the frame to key all nodes within its bounds.
Why Are Frames So Useful For Creating Materials?
If you are using a larger number of nodes for your material, then eventually things can get messy to the point where you just don’t know what a node is supposed to be for. Creating a good material than can be controlled requires you to go through a series of stages to reach that optimal material.
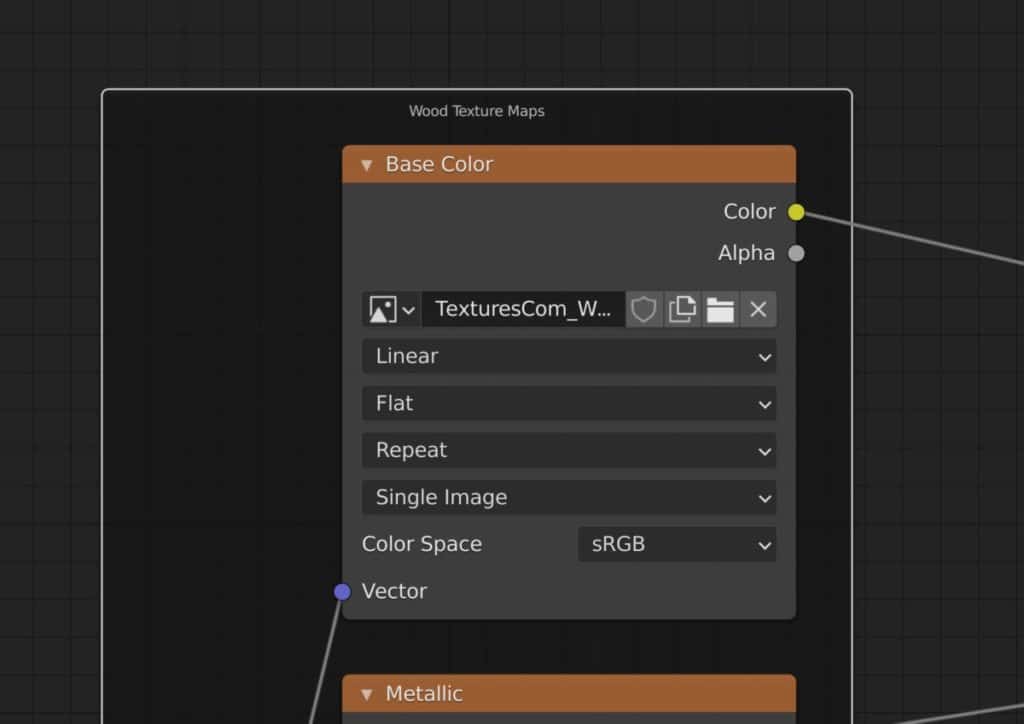
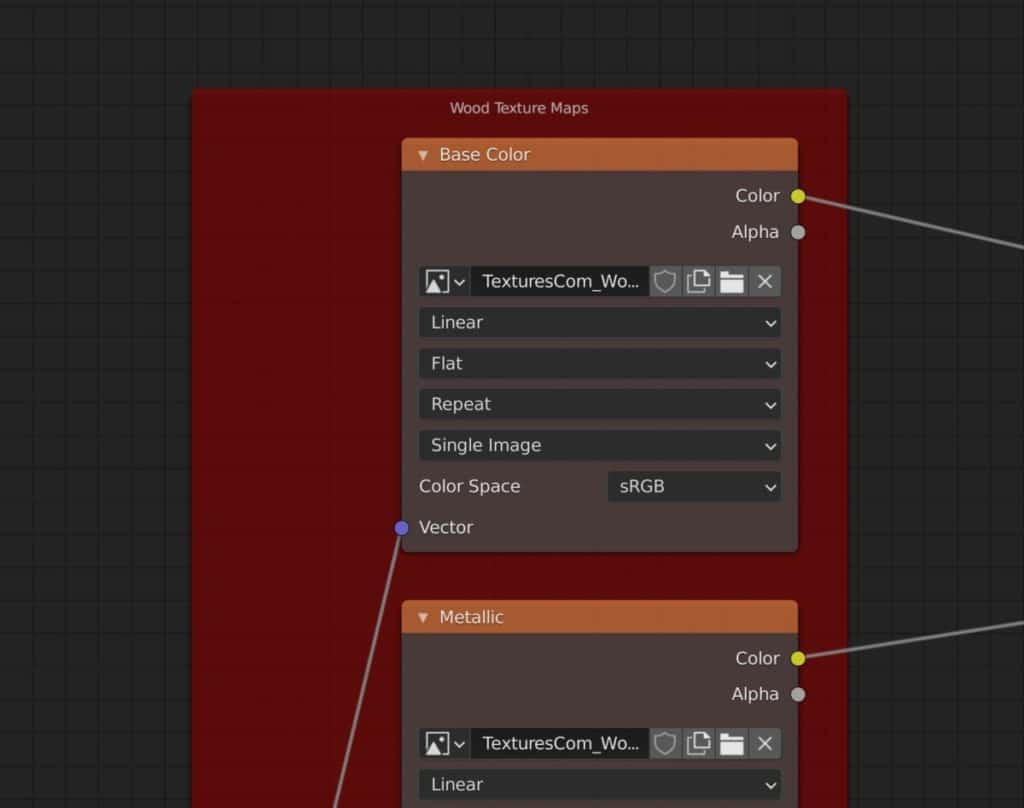
For example, a wood material will require nodes that define the wood texture, in other words, texture maps for the albedo, roughness, normals etc. This is where we can create a frame to store these nodes in.
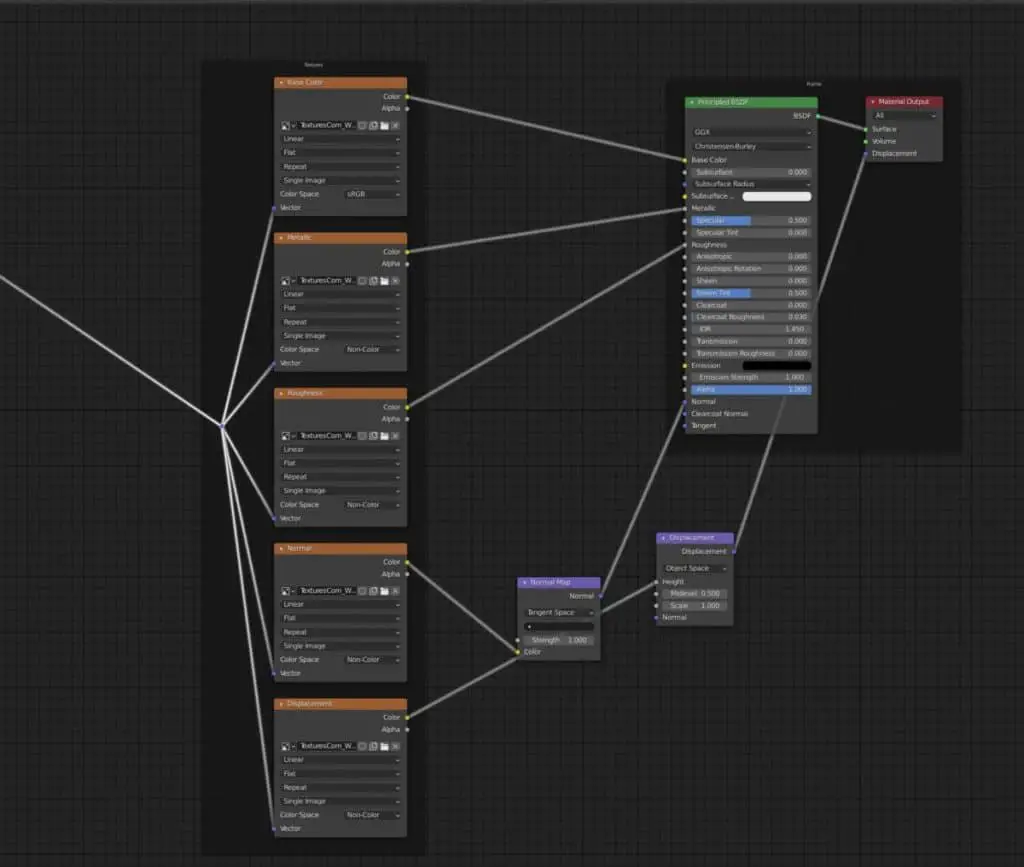
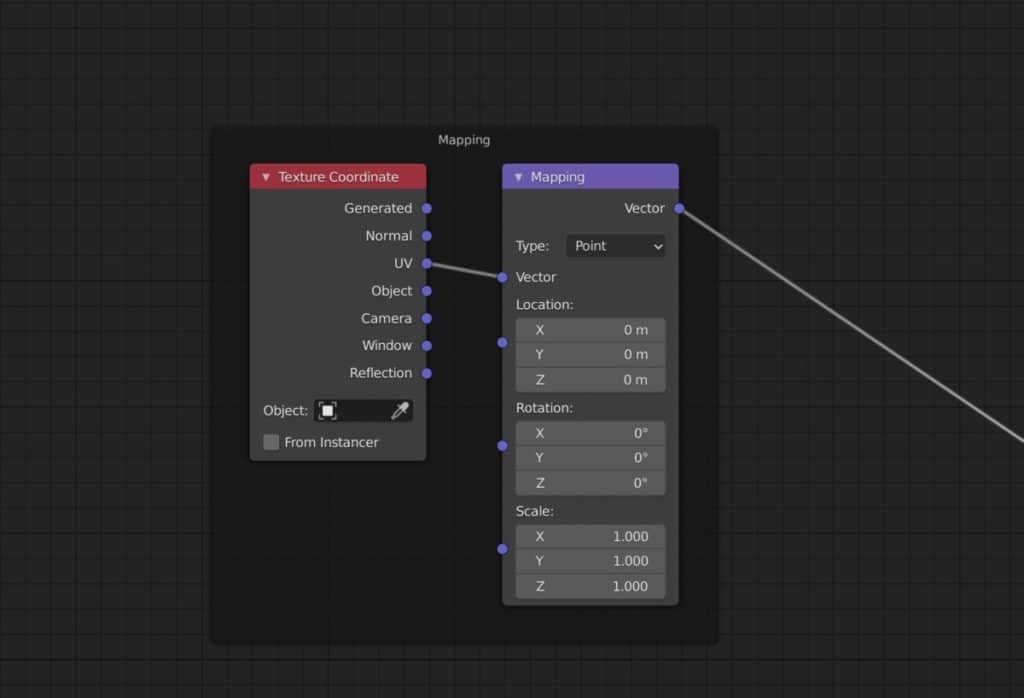
Using the same wood material, we may also require nodes that control how the texture is going to be applied to the material such as the texture coordinate and mapping nodes.
These can be stored under a frame for mapping. It is a good idea to add your frames while you are still adding your nodes so that you can put them into the correct frame asap.
The Fast Way Of Adding Frames With The Node Wrangler
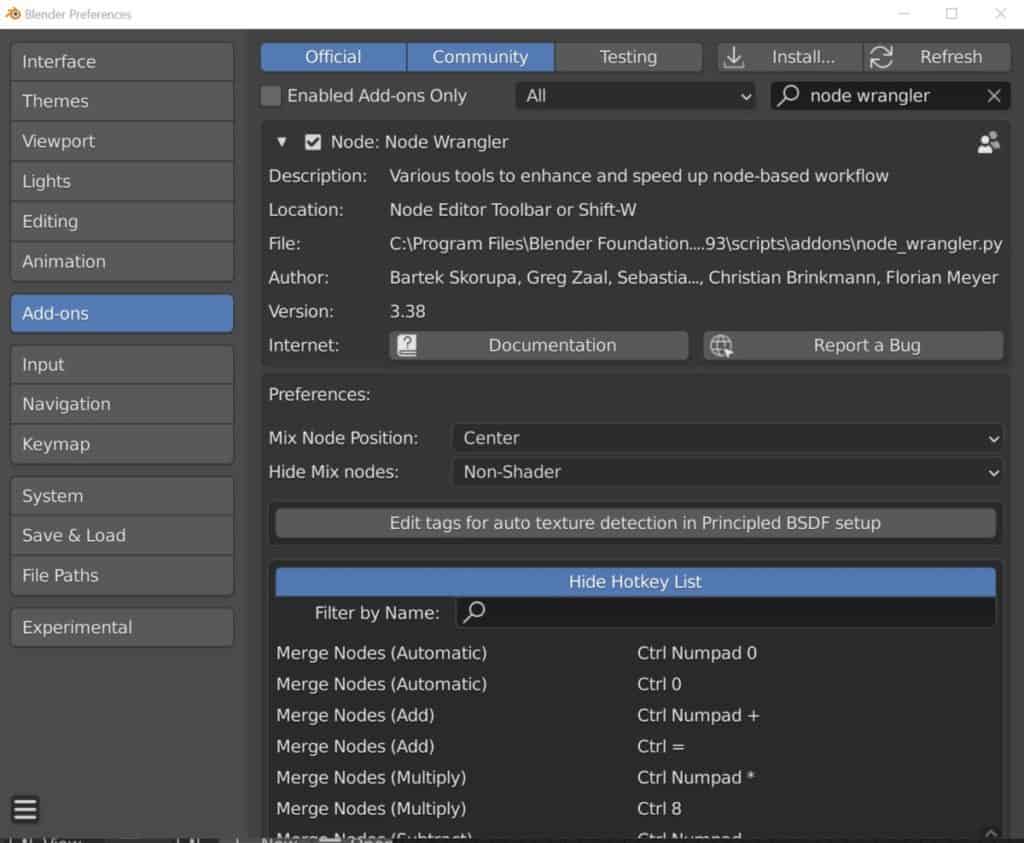
There is a quicker method to adding a frame if you use the node wrangler. This is a very popular addon that introduces a host of additional tools for the node editor.
To enable the node wrangler, go to Edit > Preferences > Add On and type in node wrangler in the search bar. Make sure the tick box for the node wrangler is ticked and then close the preferences panel.
Now go back to the shader editor and select any nodes that you want to build a frame around. Once they are selected, use the hotkey Shift + P to add a frame around the selection.
Adding Labels To Your Frames
While adding the frames by themselves is useful for separating the node tree into smaller sections, it is still not as useful as it could be. The frames are often built to represent a specific stage in the material process, and so should be labeled to reflect this.
A label is a title that is given to an individual node or frame that is used to give a description for what the node or frame represents.
Adding a label is the same for each, in our case select the frame and press N to open the side panel. Then under the node tab, add a label for the frame to use.
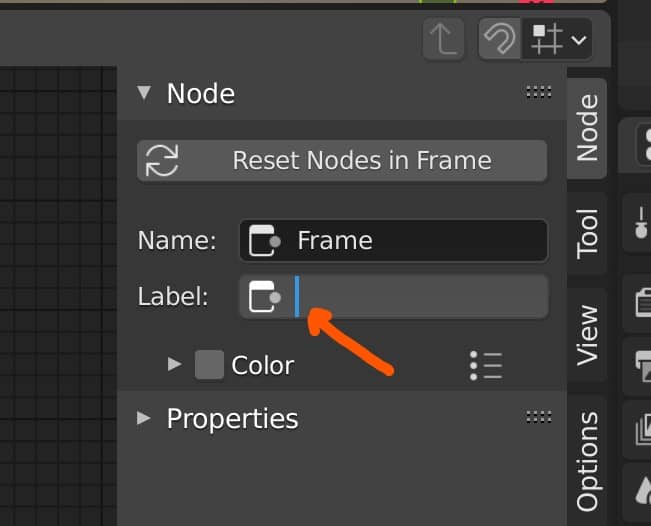
The label should always be kept short but should be as descriptive as possible so that you know what nodes are stored in that frame.
For the texture maps of our example wood texture, a label of ‘Wood Texture Maps’ would be a sufficient description.
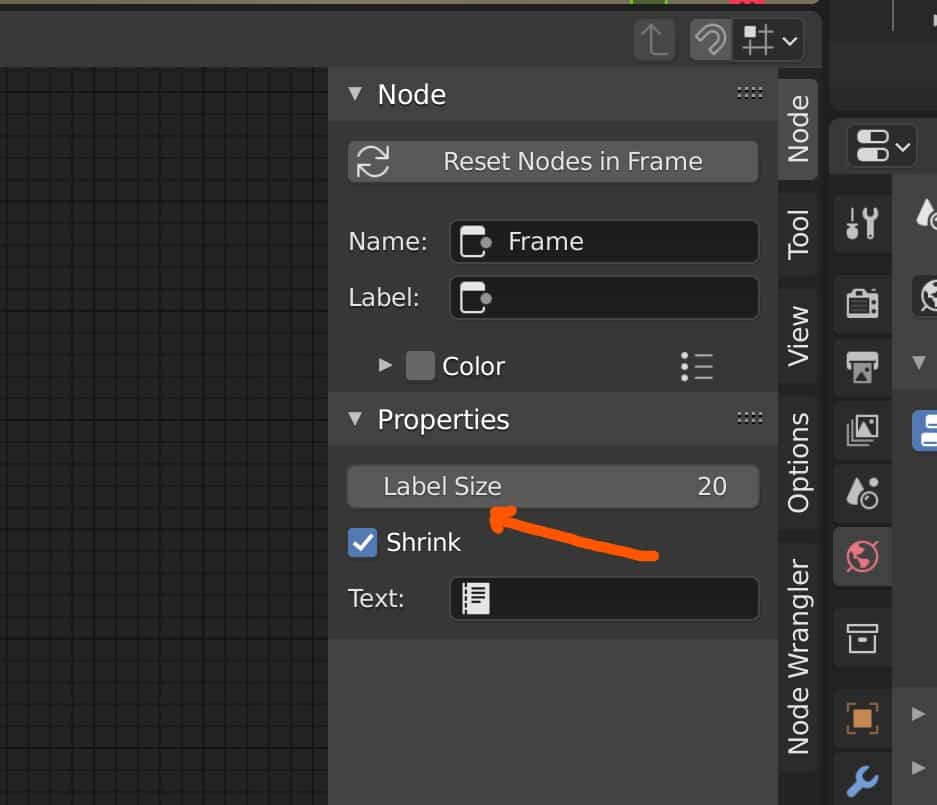
One difference between frames and nodes is that with frames you can adjust the size of the label text to a degree. In the nodes tab of the side panel, there will be an option for properties. Open this up and you can change the size of the label, although there is a limit to high you can go.
Changing The Color Of The Frame
A big issue when it comes to general usability is that in a typical node tree everything looks the same th=o the human eye. Each node is only slightly different in its appearance to the next and when you are viewing the whole node tree it can be hard to know where to look.
Color is a natural visual marker that helps the brain make sense of what it sees, and this phenomenon can also be helpful with our node setups.
It is possible to change the color of your nodes to better distinguish them from each other, but this takes time. A better tactic is to create different colors for the frames that you use.
This is useful when creating more than one frame as even at their full size the labels are not that big. Defining a section by the color of the frame makes things just a little bit easier.
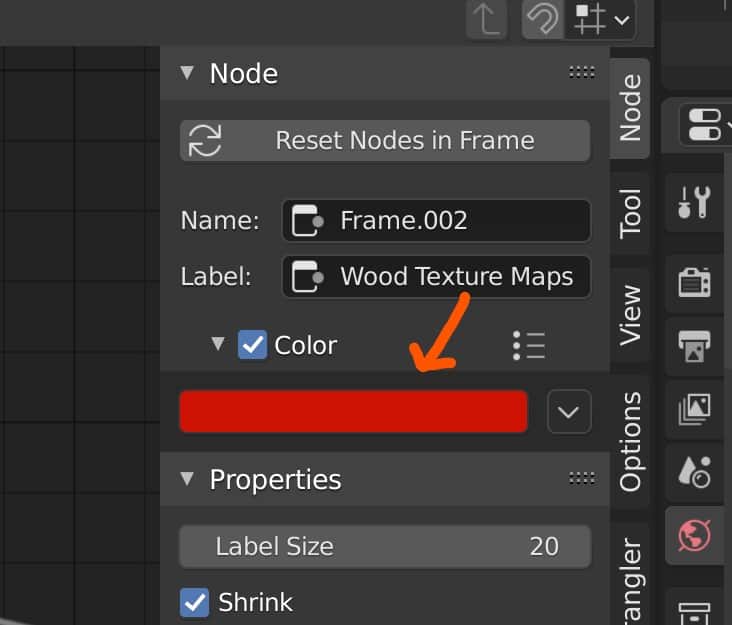
Changing the color of the frame can be done by going to the node tab in the side panel, and then enabling the color option.
Then you will be able to select the color bar and change it to the color that you want to use in real-time.
Thanks For Reading The Article
We hope you enjoyed reading through our article on using frames with your node setups. Below we have a list of other topics that we think you may be interested in.
- 8 Ways To Make Materials Easier With The Node Wrangler
- How To Apply An Image Texture To An Object
- Using The Node Editor To Make Materials
- Organizing The Node Setup For Materials
- Enabling The GPU For Rendering With Cycles
-
Bevel & Chamfer: Blender’s Edge Mastery
Mastering the application of bevels and chamfers for sharp edges in Blender.
-
Non-Destructive Workflow in Blender
Embracing a non-destructive workflow for flexible modeling in Blender.
-
Detailing with Booleans: Blender Techniques
Incorporating Boolean operations for intricate detailing in Blender.