In Blender, there are various ways in which we can maneuver our objects and various elements within our 3D viewport. If you want to position your 3D objects and even your 3D cursor quickly, then you should look to use these snapping wheel which is different from the snapping menu.
The snapping wheel can only be accessed using the shift + S hotkey. From this menu, we can snap our selected objects to various locations and snap the 3D cursor to similar locations from the same menu.
You may find the snapping wheel to be the perfect solution for positioning your objects in a precise location. It can also be a great way of resetting your 3D cursor back to the center of your world origin.
How To Access The Snapping Wheel?
Most tools and menus can be accessed from actual menu buttons within your 3D viewports. However, a few exceptions can only be accessed using a hotkey. The snapping wheel is one such exception.
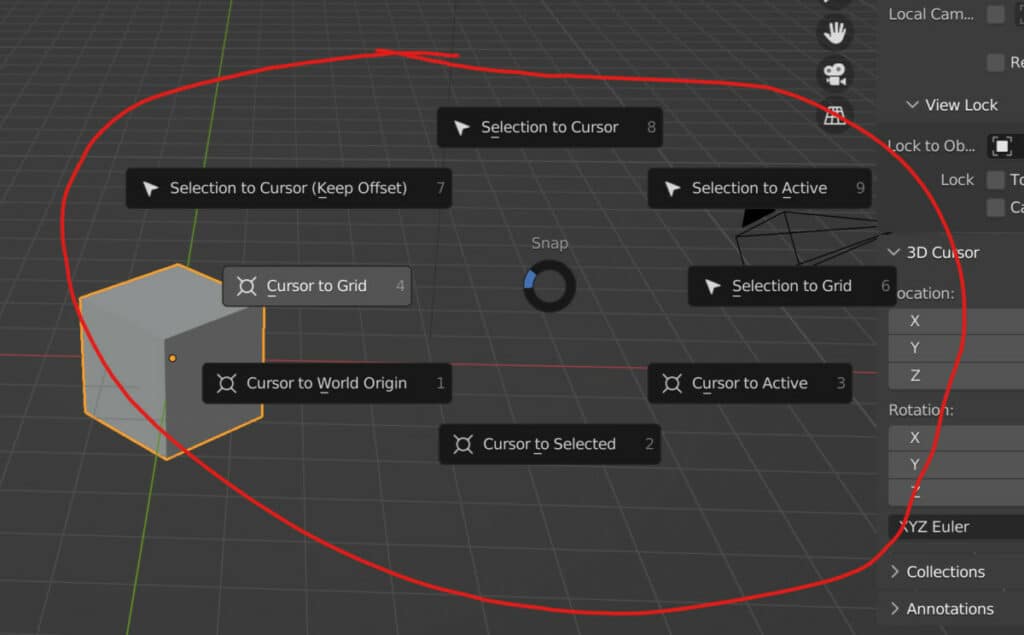
The only way to access the snapping wheel is to use the hotkey Shift + S. You should see a wheel menu appear labeled as snap. Half of these options will allow you to reposition your selected objects, while the other half will allow you to reposition the 3D cursor.
How Is The Wheel Different From The Menu?
The snapping wheel effectively has the same name as the snapping menu located in the header bar of the 3D viewport.
The critical difference is that the snapping menu allows you to grab, rotate, and scale your objects based on either increment or the geometric data of other models.
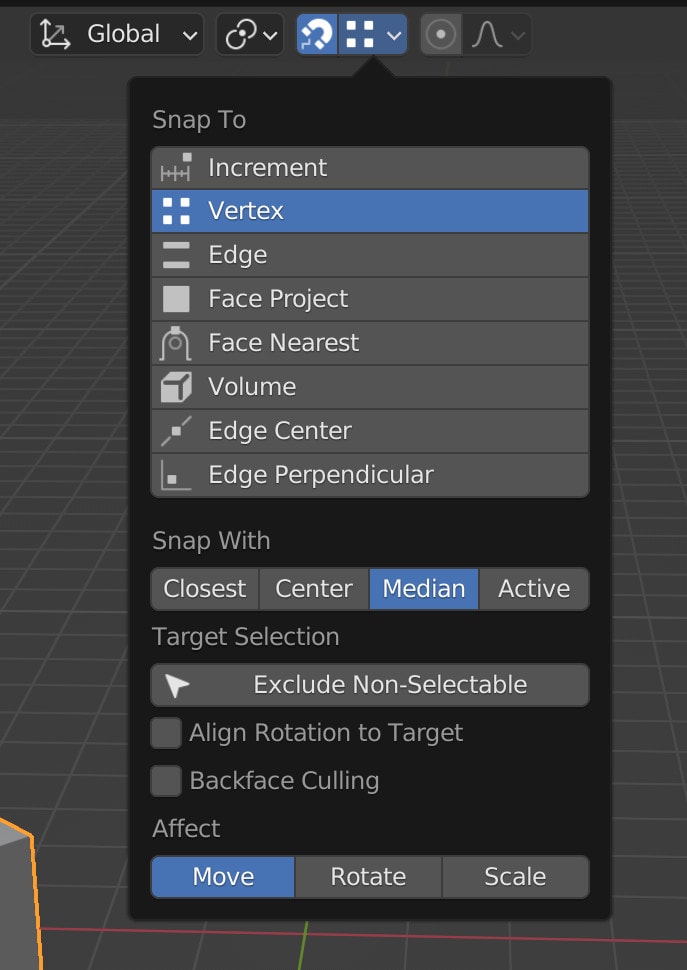
For example, you can enable snapping from the snapping menu and then set it to vertex. Then you can grab a cube object and position it on any of the vertices of a ground plane.
By contrast, snapping wheelhouses options that allow you to position or reposition objects and elements like the 3D cursor. It does so instantly by choosing any of the options from the wheel.
In this aspect, using the snapping wheel is easier than using the snapping tools from the menu. However, the use cases are very different.
Using The Snapping Wheel
The options that we find in the snapping wheel can be divided up into one of two categories. The first is the ability to manipulate objects and the second is the ability to manipulate the 3D cursor. Let’s start with the options to allow us to manipulate our 3D cursor.
Cursor To Grid
The 3D cursor is an invaluable tool for the creation and repositioning of objects in blender. Often we will move our 3D cursor around our scene, but it can be difficult to position it.
The cursor to grid option would allow you to snap your 3D cursor to the nearest whole numbers of your grid system. These numbers are dependent on the units of measurements that you have active. By default we tend to work with meters in Blender.
For example. If we move the 3D cursor to a value of – 4.2 on the X axis and then snap the cursor to grid, it’s going to reposition the 3D cursor to – 4 on the X axis.
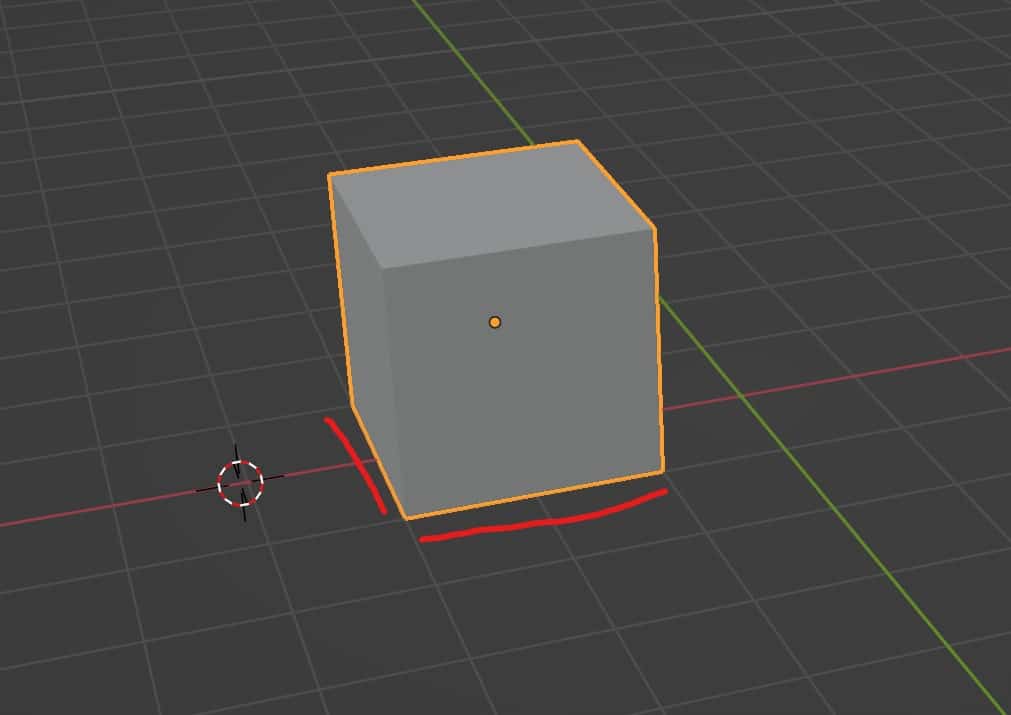
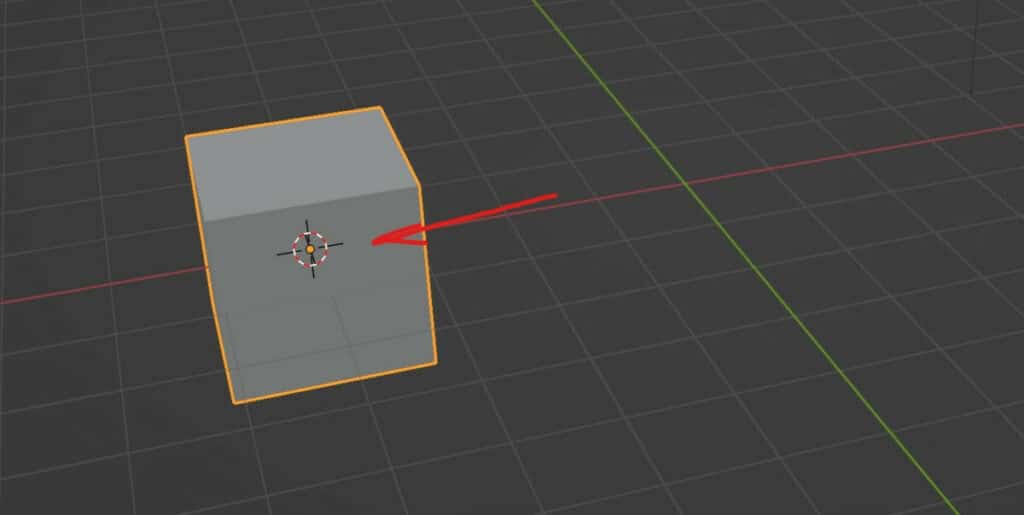
Cursor To World Origin
This one is simple to use and understand. It will reposition the 3D cursor back to the center of the world origin where the red and green lines intersect.
In other words the 3D cursor is repositioned back to the coordinates of 0,0,0.
Cursor To Selected
This option will position the 3D cursor at the location of the selected object. When a single object is selected, the 3D cursor will transport it to the exact coordinates of that object’s origin.
When multiple objects are selected, the 3D cursor will use the median location of the selected objects as the cursor’s new location.
Cursor To Active
This is similar to the cursor to selected tool as it transports the 3D cursor to the selected geometry. If a single object is selected, then the two tools are identical.
However, if multiple objects have been selected, the cursor to active tool will position the cursor at the location of whichever object is the active object.
The remaining options focus on repositioning objects instead of the cursor.
Selection To Grid
This option is similar to using the cursor to grid tool.
It takes the object’s position on each axis and rounds the value up or down to the nearest whole number based on the currently selected unit of measurement.
For example, if an object is positioned at the following coordinates:
X: 4.32, Y:-2.41, Z:0.93
Then the location on each axis will be rounded to:
X: 4, Y:-2, Z:1
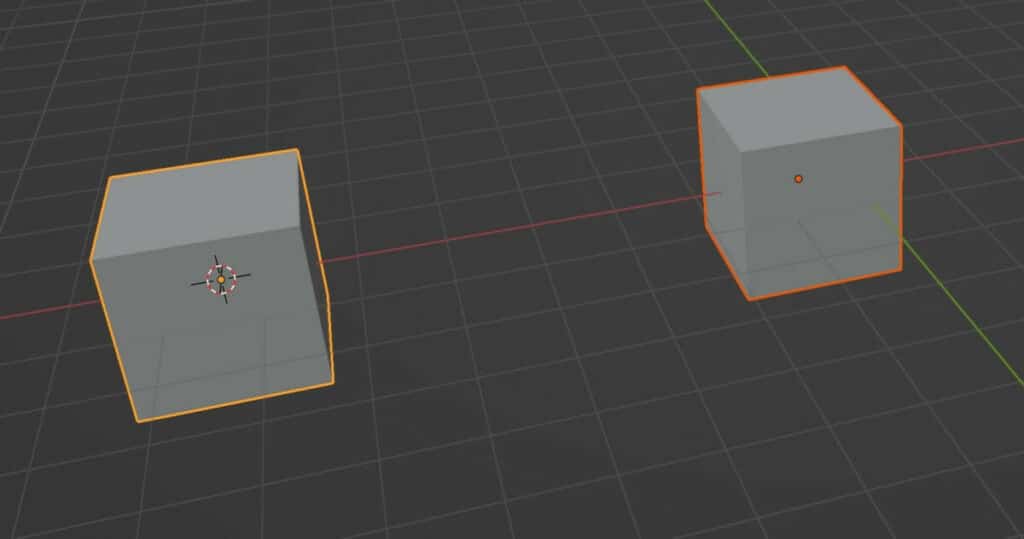
Selection To Active
This is used when you want objects to be located at the exact coordinates as the active object. It will not work with a single object as this will also be the active object.
Nonactive objects added to the selection will be moved to the exact location as the active object. This can be useful when using tools like parenting.
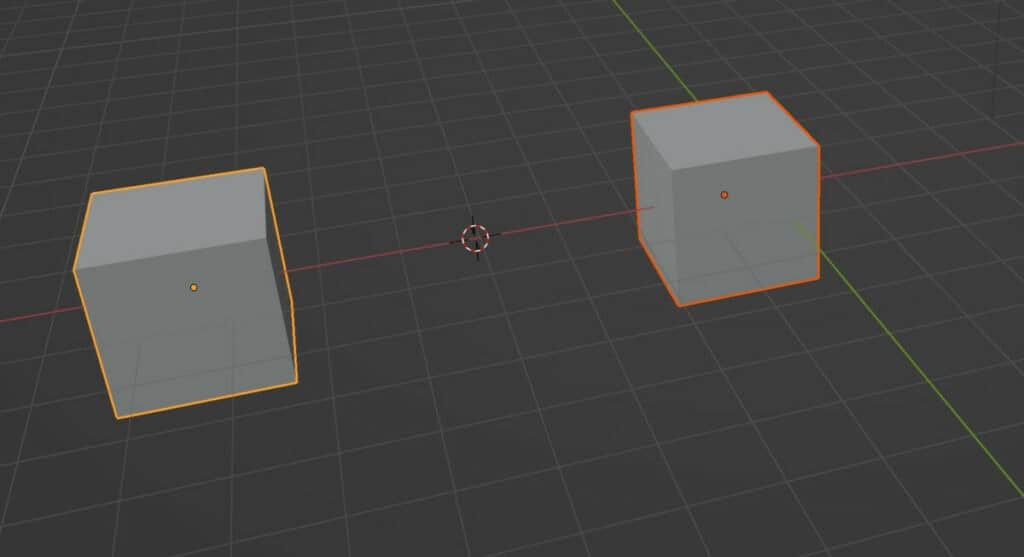
Selection To Cursor
For this option, we are performing the opposite function to the cursor to selected tool as the objects are transported to the location of the 3D cursor.
If multiple objects are selected, they will all be transported to the location of the 3D cursor and will overlap as they would with the selection to active tool.
Selection To Cursor (Keep Offset)
This works in the same way as the selection to cursor with one key difference. The distance between objects is maintained when using this tool.
If multiple objects have been selected and snapped to the cursor, it will be the median point that is transported to the location of the 3D cursor.
Thanks For Reading
We appreciate you taking the time to read through the article. We hope you found the information you were looking for. If you are interested in learning more about the Blender software, you can check out a few of the articles we have listed below.
- How To Use The Object Origin In Blender
- Getting The Cursor Back To The World Origin
- Using The Pivot Point System
- Using Different Transform Orientations
- Moving Models In The 3D Viewport