It’s, without a doubt, one of the most frustrating aspects of being a 3D artist. When your software decides, inexplicably, to crash on you, and this is even worse when you’re trying to render.
The main reason why Blender is likely to crash it drawing the rendering process is that the scene you are trying to render is just too heavy. Your computer has limitations in terms of RAM and processing power, and if you exceed these limitations then your render is likely to fail.
When doing an image can take minutes or even hours. And it’s going to be even longer if you’re attempting to render a full animation, which is a series of individual images. So we need to understand exactly what causes Blender to crash while rendering and how we can prevent it.
The Number One Reason Why Blender Crashes When Rendering Is…
The main reason why Blender is likely to crash during the rendering process is when you do not have enough video memory for the actual render.
When rendering a scene in Blender, take a look at the bottom corner of the user interface and you will see exactly how much memory your current setup is taking on your project.
This is an important value to keep an eye on while you were building up your scene, as your hardware will have a specific amount of video memory that it can use.
If you are using a CPU, this value is a lot less important as the CPU will be able to render any scene without limitations to the video rendering, so long as you have an adequate amount of RAM for your system hardware.

On the other hand, if you are using a GPU, then this value becomes more important. Every GPU has a set amount of video RAM or be round for short that it uses for rendering things like animations, images, and even video game streaming.
The higher this value is, the more capable your graphics card is going to be with the more intensive scenes. The VRAM is important in gaming, as most graphics cards will require at least 8 gigabytes of video memory in order to successfully play games at a 4K resolution.
In Blender, the resolution isn’t as important as the amount of detail in the scene itself, and this detail can surface as geometry, materials, and lighting data.
For example, if you’re working with a lot of objects that have attributes like caustics and are highly reflective, then that is likely to bump up the memory requirements of the scene.
When you begin rendering a heavy scene like this, Blender will begin to calculate during the rendering process how much video memory is going to be required.
As soon as that threshold is surpassed, Blender will halt your render. You are likely to get a prompt at the bottom of your user interface to indicate that you have run out of video memory.
Regardless of how far along you may have been in the render, the entire image will appear blank if your render has failed due to a lack of video memory.
The main solution to this problem is to keep an eye on that memory statistic at the bottom of the user interface and ensure that you are working within the boundaries of your current hardware.
Alternatively, if you have the finance to do so, you can get a new graphics card that has a higher cap for video memory. We recommend 8GB as the minimum VRAM for rendering projects.
Too Much Geometry In Your Scene
The number two reason why Blender is likely to crash during the rendering process is because of the intensity of the scenes, geometry lighting, materials, et cetera.
It should be said that the amount of geometry in your scene doesn’t play as much a role as it used to. Now that hardware is much more powerful and our applications like Blender are able to use much more geometry while still maintaining a respectable degree of performance.
That being said, if you do push the bounds too far, then you may notice in the 3D viewport while editing that navigation becomes a lot more difficult.
This does not guarantee that Blender is going to fail as a result of excess geometry, but the probability of the failure occurring will increase if you push your geometry density too far.
My old setup for example has an Intel 10700 processor with an NVIDIA GTX1070. I find that performance is compromised in Blender once I reach a density for my scene of around 800,000 triangles.
Your threshold will defer from this value depending on the setup that you have. If you find that performance is compromised in the 3D viewport as a result of excess geometry, then you will need to look at reducing that geometry density before you attempt to render.
Again, excess geometry does not guarantee that your render will fail, but it does increase the probability of it doing so as having excess geometry in your scene is one of the primary factors in an increased memory requirement.
Using An Operating System That Is Not Supported
With each new version of Blender that comes out, that version has to be formatted in order to be successfully installed and used on the most modern operating systems available for Windows, Linux, and Mac.
But to keep the process simple, newer versions of the blender software are not supported on older operating systems. For example, Blender version 3.0 cannot be used with Windows Vista.
Actually, I should say that it is not supported with Windows Vista. It is possible to use it, but the probability of Blender crashing on this operating system is far higher than what it would be on Windows 11.
We have tested how Blender behaves on each operating system and we have even found that the geometry density required to result in weakened viewport performance is reduced significantly on Windows Vista.
We also experienced a crash after using the Bevel modifier on one of our objects, something that does not happen on Windows 11.
We also tested how Blender would behave when attempting a render. On an older operating system. While the render of a simple sample scene works on an older operating system, increasing the complexity did result in Blender refusing to begin the rendering process at one stage.
It is recommended if using the most recent version of Blender to check the system requirements from the Blender website. Make sure that you are using an operating system that is directly supported by your current version of Blender 3D.

Not Updating The Driver To Your Graphics Card Can Also Cause Issues
One of the hidden issues that a lot of people may not be aware of is the graphics driver. Like many other 3D modeling applications, Blender requires that your graphics driver for your GPU is up to date as often as possible.
If you are using an older version of your graphics driver then you may not have access to certain features in the background that can improve performance in applications like Blender 3D.
This also increases the risk of blender failing during the rendering process as not upgrading your graphics driver can reduce the effectiveness of your GPU when rendering on the most recent version of the software.

Whether using an NVIDIA or AMD graphics card, you should research how you can upgrade the graphics driver on a regular basis.
You should be able to access your graphics card settings from your control panel. Locate your graphics card on your device and then make sure that the graphics driver is set up to the current version.
If it is not, there will likely be a link that will take you to a download page where you can install the latest driver of your GPU.
What Changes Can I Make To Prevent My Render From Failing?
If your blender software crashes while rendering, then it’s likely that your hardware is unable to calculate the geometry, lighting, and materials of the scene you have created.
So the best way to prevent your renders from failing is going to be to edit your scene to reduce its intensity on your hardware.
There are a variety of different ways in which you can do this, and not all of them require you to actually change the object’s positioning of your scene. For example, you could go to the properties panel and you can change some of the render settings there such as the base resolution.
If you’re trying to render your scene at a 4K resolution, you can try a smaller resolution size like 1440P or 1080P.

Alternatively, light bounces can have a significant effect on rendering times and intensity as well. So you can go to the same properties panel and you can reduce the number of light bounces in your scene.
Experiment with these values and then see what the best settings are for you without compromising the appearance of your project.
Material resolution is another factor that can influence your scene intensity. If you are using 4K textures for smaller models in your scene, consider replacing them for lower resolution textures.
If You Do Not Want To Change Your Scene Try This Instead…
In most cases, you’re not going to want to make any changes to the scene itself. But in addition to the methods already listed above, there are many ways in which you can edit the rendering process without making significant changes to your scene.
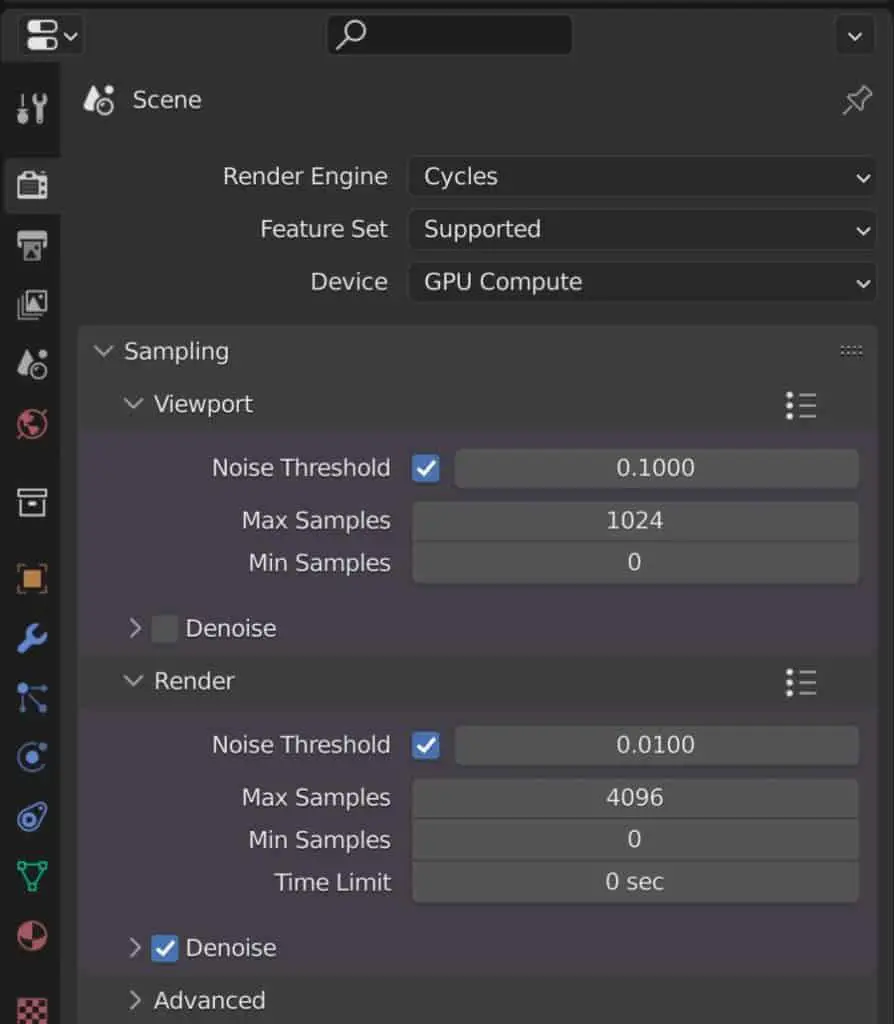
For single images consider using a lower sample count when rendering. If using these cycles render engine, you can dictate these sample counts as a means of defining the quality of your scene.
The higher the number of samples, the greater the quality. Experiment with a lower number of samples and then test out the render to see if it gives you the same result. If you find that the result is grainy, you can enable image denoising from the same properties menu. This will allow you to clean up any noise on your model and maintain much of the detail that you already had.
When it comes to animations, what you can try is rendering your animation as an image sequence instead of a movie file.
It’s actually far more likely for Blender to crash during an animation render than it is for a single image render. If attempting to render a movie file and blender crashes, you will lose the entire rendered file. So if you had spent three hours rendering the movie, then those three hours will have been wasted if Blender fails during the process.
However, if you render it as an image sequence, then each image that is rendered will be saved as a separate PNG file. If, for example, you have 120 frames to render and blender crashes after 100 frames, then the first 100 frames will have been saved.
You would then be able to go back to Blender. Set up your timeline to start from frame 101 and complete the rendering process from there. You can then use the video sequence editor to convert your image sequence into a movie file in a process that is a lot less taxing on your device and a lot faster.
Thanks For Reading The Article
We appreciate you taking the time to read through the article and we hope that you were able to find the information that you were looking for. We have compiled a list of additional topics that you may be interested in reading which you can see directly below.
- Blender Not Loading When I Try To Open It
- Can You Create A 3D Print Directly From Blender?
- Why Does blender Crash While 3D Modeling?
- Is Blender Safe To Download Or Is It A Virus?
- Can I Use Blender 3D To Generate An Income?
-
Blender Kitbashing: Complex Shapes Made Easy
Simplifying complex shape creation with Blender’s kitbashing approach.
-
Custom Normals: Blender Hard Surface Tip
Enhancing hard surface models with custom normals for realism.