I am sure this has happened to you before, you work on your project’s material library so that you can then apply those materials to other objects that you create. You close Blender down for the day and then come back to your project the next day only to find half of your materials are gone!
Materials in Blender are deleted from the project if they have no users. This means that if a material has not been assigned to the geometry of at least one object, then it will be deleted when you close Blender as a means of saving project memory, even if you save the project itself.
This is a nasty bump in the road if you were not aware of it, and losing material data happens to almost everyone at some point. The question is how to prevent this from happening in the future?
Why Do Materials Get Deleted From Blender?
Most of what you do in Blender revolves around what is going on in your 3D viewport. We create 3D objects for our scenes and then we apply materials, image textures, lighting, etc to create our final renders. Materials play a crucial role in defining the look and character of a 3D asset, so why do materials get deleted?
In Blender, we have what is called a data block that represents some of the key elements of scene creation. these data blocks can be viewed in the outliner panel and here you can see that there is a hierarchy to these blocks.
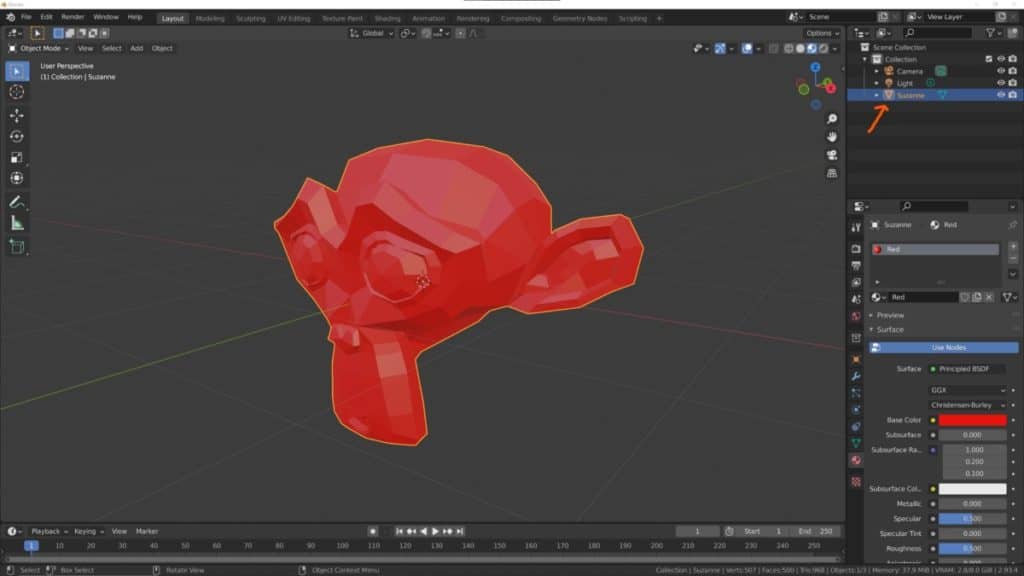
We have below a basic example where we have Suzanne and a simple red material. In the outliner, the first thing we see is the object data for Suzzane, which is displayed with a yellow icon.
If we open this up we gain access to the mesh data block for the object. This is different to the object data block as the object actually stored the mesh data inside it. Think about how object mode and edit mode work, object mode uses the object data while edit mode changes the mesh data.
If we go down one further using the little arrow icon next to the mesh data, we then gain access to the material data block, which stores all of the information with regards to the material.
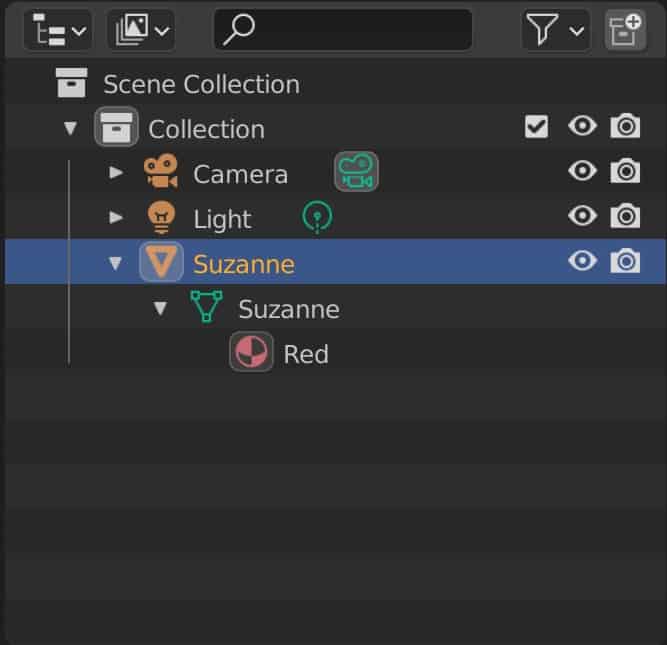
So the material data is stored inside the mesh data which is stored inside the object data…..clear? Well to keep things simple, if a material is not connected to any objects in our scene, then Blender will consider it as garbage data, and will wait until you close Blender before deleting the material.
How To Prevent Materials From Getting Deleted?
There are a couple of methods that you can use to keep your materials from getting deleted, the most obvious of which is to assign your materials to an object. So long as a material is assigned to an object data block in your scene (mesh data cannot be in the scene without object data) then it has a purpose and Blender will not delete it upon closing.
Another method is the ability to create what is known as a fake user. This is where we tell Blender that the material is assigned to an object or user as it should be called, but the user does not exist in the scene. Adding a fake user to an object will prevent that material from being deleted even if the material is not used by any of the objects in our scene.
Identifying Materials That May Require A Fake User
You can apply fake users to all of your materials if you want to, as there are no drawbacks to doing so, but you may be looking to only add fake users to the materials that currently require them.
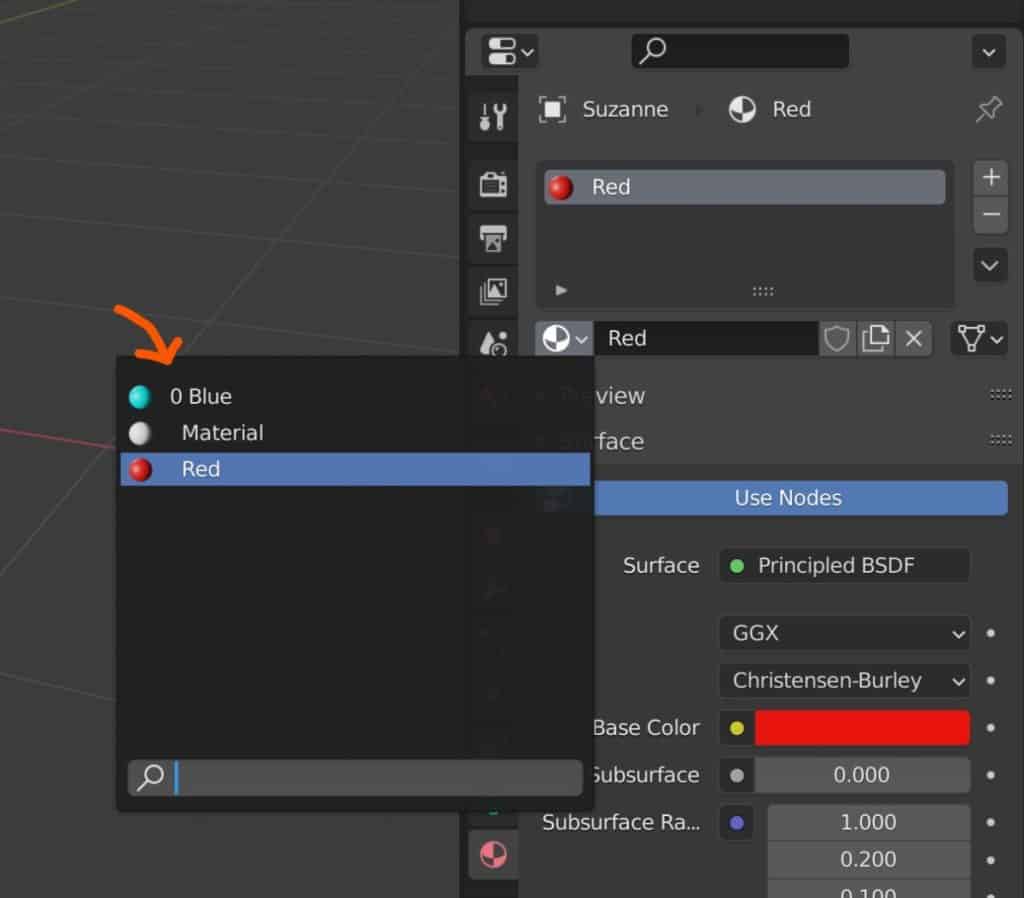
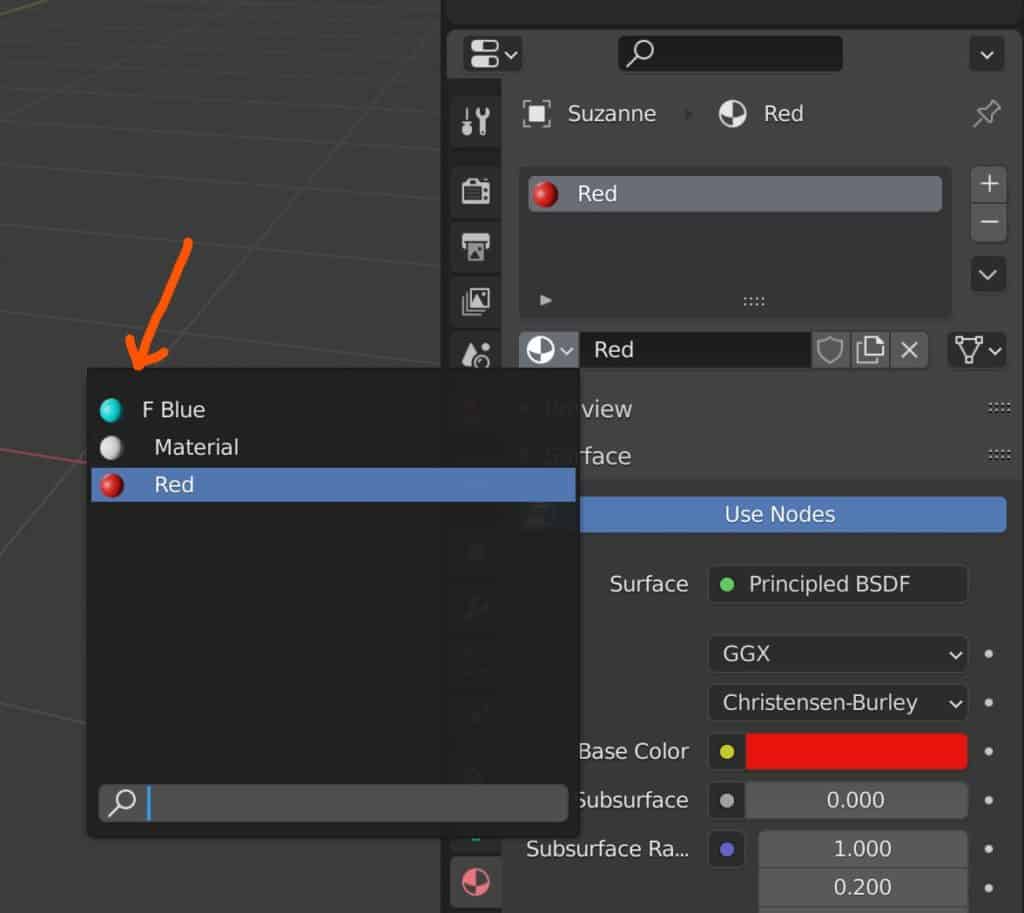
If you open the menu for selecting your materials you may see a 0 for some of them, like in the example below. This 0 indicates that the material in question is not being used by any of the objects in our scene. If you select an object it will no longer have that 0 because it is now being used, but we can only apply a fake user to a material that is currently active.
Adding A Fake User To A Material
So for our example, let’s switch out the red material with our blue material. As the red material is not being used anywhere else, it will have the 0 next to it in the menu. For the blue material, take a look at the data options where you can select and name the material. One of the bottoms looks like a hollow shield, and this is the option for adding a fake user to the active material.
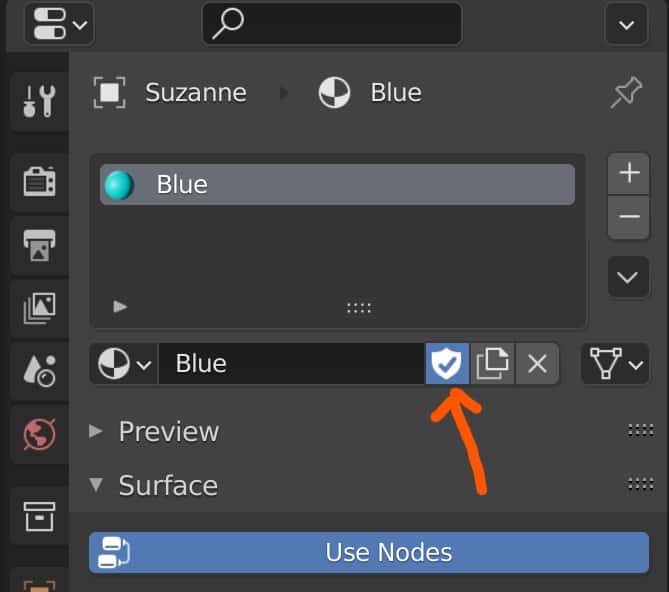
Click on the icon and it will change to a blue icon with a white shield and a tick. Now change the material back to red. If you return to the menu again after changing, You will notice that the 0 next to the blue material has been replaced with an F, which stands for fake user.
Now if you were to close Blender the material will be saved the next time you open it again.
Creating Placeholder Objects To Store Materials
A more old-school and slightly redundant approach is to create a material ball from a UV sphere. This object exists solely for the purpose of holding materials and preventing them from being deleted and is itself hidden from view in both the viewport and the renders unless needed to assign new materials to.
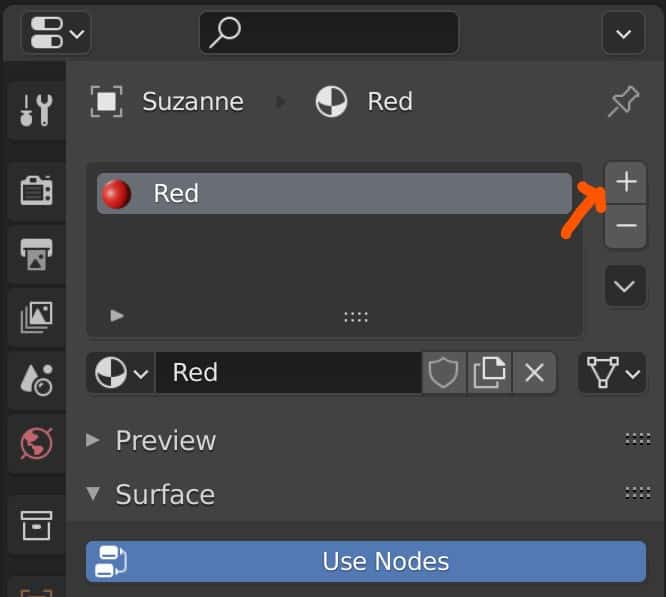
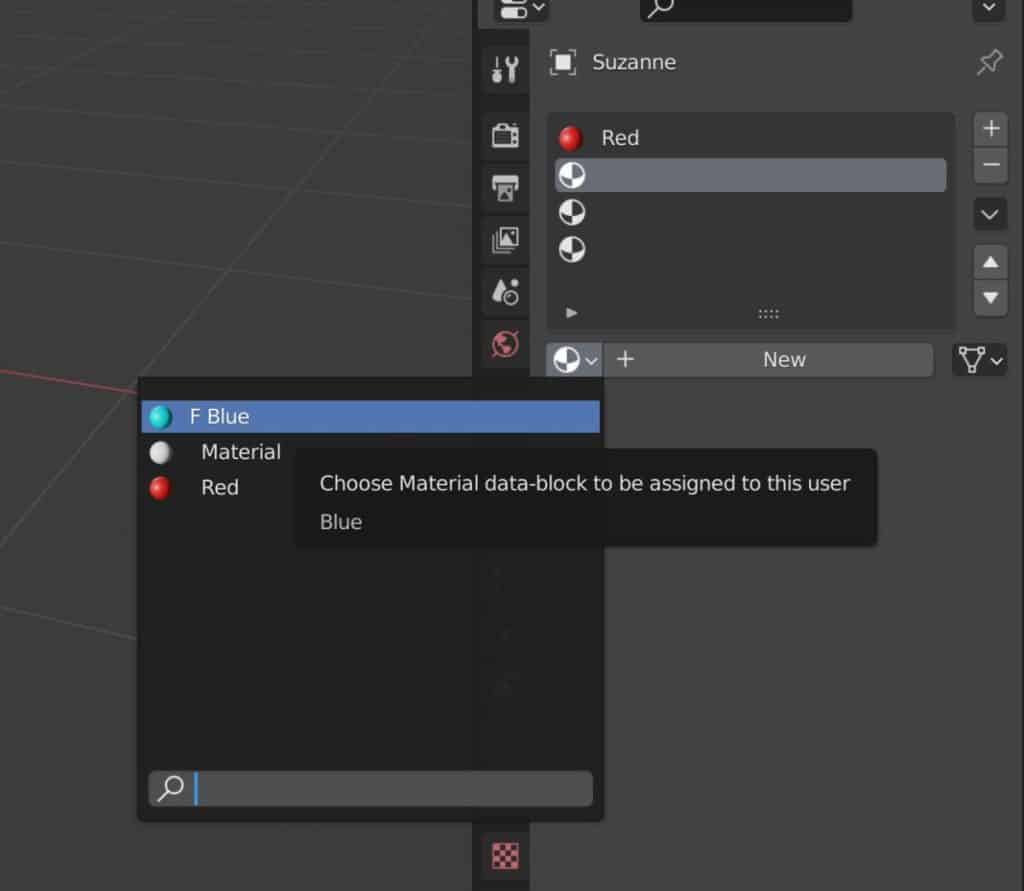
In the material tab of the Properties panel, you get a list of all the materials that are attached to your selected object. You can press the plus button to the side to add a new material data block to the object, then add a material to that data block. You don’t even need to assign the material to the geometry of the object, just the object data to work.
This is best used as a backup to other methods if at all, as there can be times where you forget to dave a fake user to a material and then delete the object that material was assigned to.
Using The Asset Library To Store Materials
A newer, much more powerful method of saving your materials is to save them to your asset folder. The asset folder is a library that you create which can store different types of data ranging from objects to meshes, to materials and beyond.
You can use it to store your materials either for use in the current project or for use in other projects by defining a neutral location to send your assets to.
We won’t worry about the second part here, as we only want to make sure that our material does not get deleted. Note that this is a new feature for Blender version 3.0 onwards, so if you have an older version of Blender, you probably do not have the asset library available to you.
To mark a material as an asset, select the material in the outliner and right-click to bring up the options menu, then select mark asset.
Thanks For Reading
We hope that you found the article useful to you. We have gathered a list of additional articles that we believe may be of interest to you…
- How To Use The Node Editor To Create Materials
- 8 Ways To Use The Node Wrangler Add On
- The Best Methods For Organizing Your Node Tree
- How To Render An Image
- How To Apply An Image Texture To An Object
-
PBR in Blender: Realism Techniques
Implementing PBR techniques for lifelike materials in Blender.
-
Material Mastery: Blender Shader Nodes
Achieving material realism with Blender’s powerful Shader Nodes.
-
Layered Textures: Advanced Blender Tips
Creating complex, layered textures for advanced Blender projects.