With the many different tools at an artist’s disposal, there are also many different ways to go about solving a problem or creating an object. The boolean tool is powerful in that you can create custom shapes very quickly. However, this workflow presents the challenge of creating a poor topology.
The best way to ensure that your topology remains relatively clean when using the boolean is for the boolean object to match the geometry density of the target object as best as possible, and then use the merge tool to clean up the area where the two objects connected.
The boolean modifier can be used in different ways and each method changes the effect on the target object’s topology, changing the way it needs to be adjusted after the tool is used.
Make Sure That Your Target Object Has Enough Topology
When beginners decide to use the boolean modifier they often do not consider the difference in topology between the target object and the boolean object,
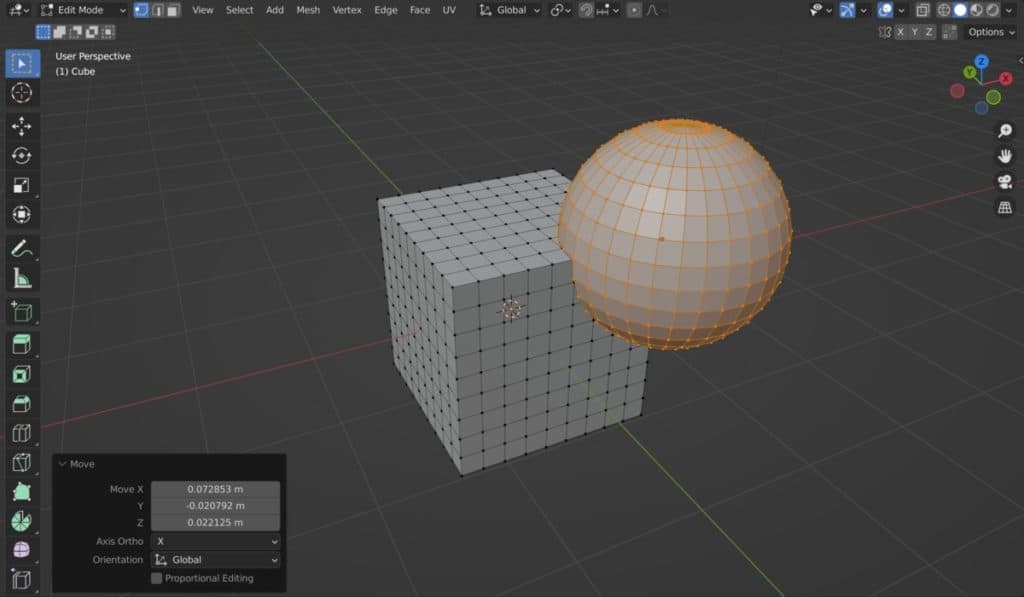
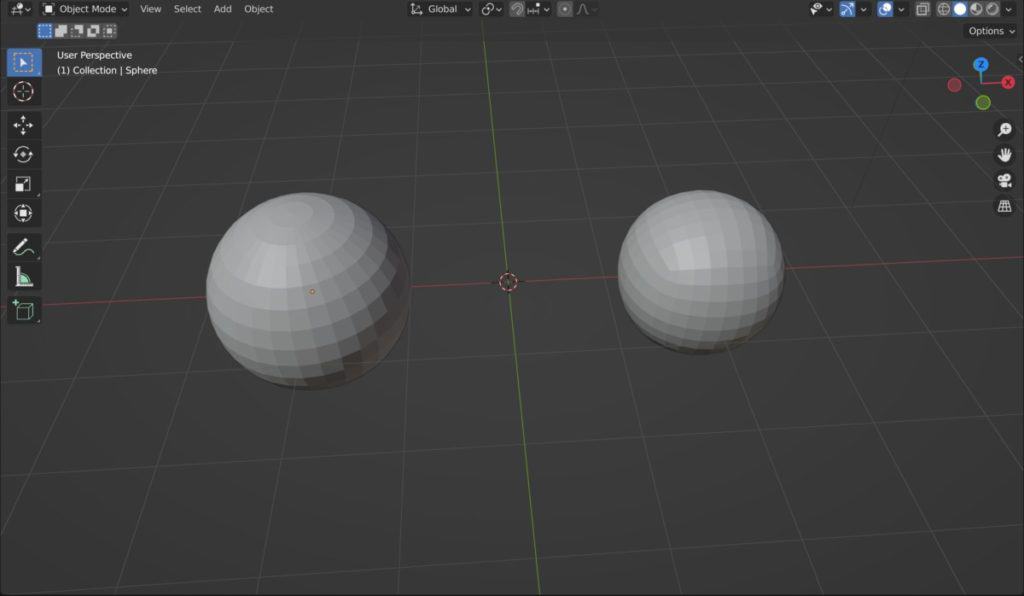
Let’s use a basic example of having a UV sphere act as a boolean for a cube object, as seen in the image below.
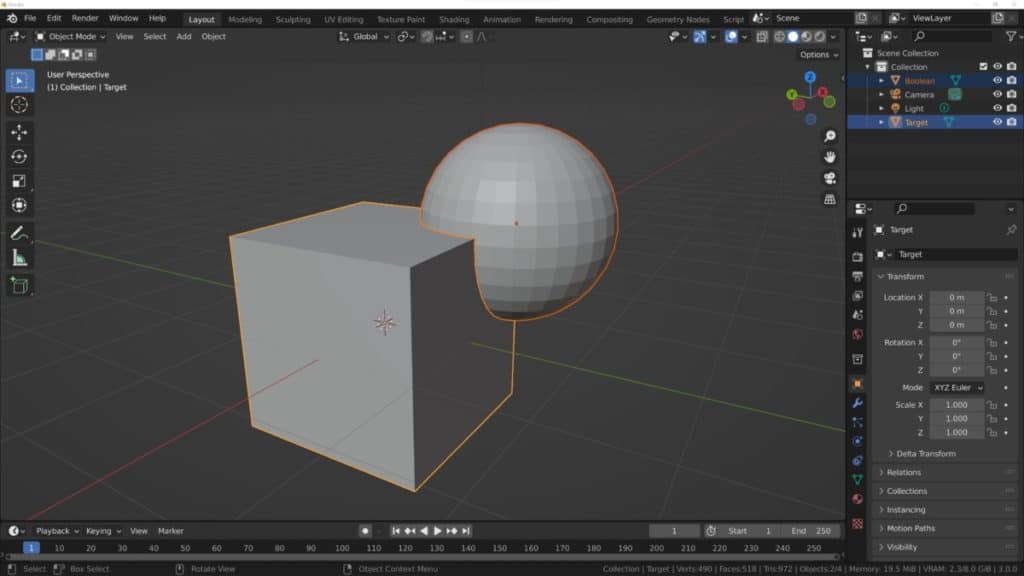
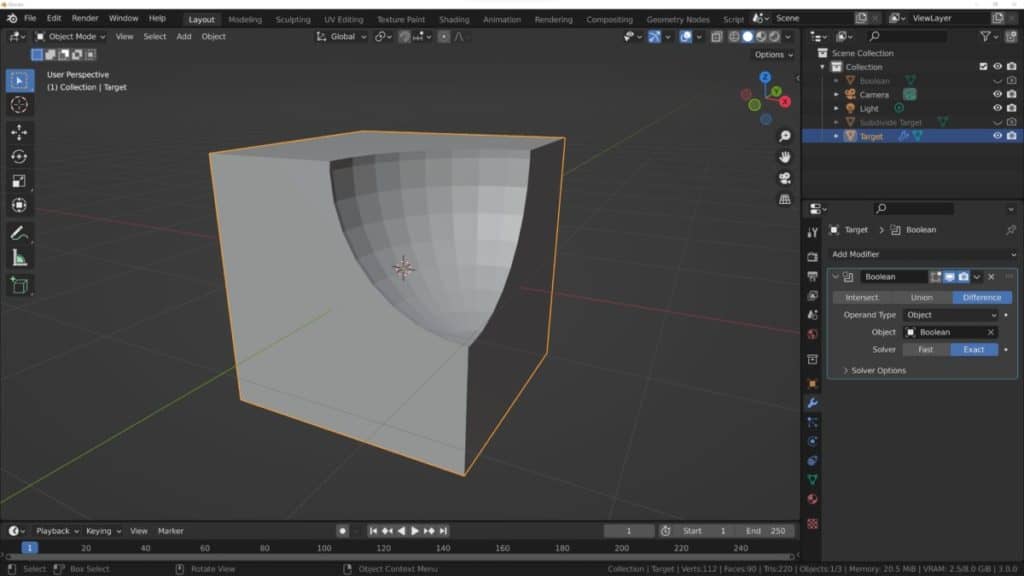
You can already see that the boolean sphere has a lot more geometry than the target cube, and while this does not affect whether the boolean will work, it does affect what the end result will be. Here we have used the boolean to indent our cube, and you can see that the indentation has more geometry than the rest of the object.
To prevent potential issues from shading, texture application. animation and UV maps, later on, it is good practice to make sure that the geometry density is comparable across an entire model. So for our basic example of the cube and sphere, we can subdivide the cube a couple of times so that it has a similar geometry density to the sphere before using the modifier.
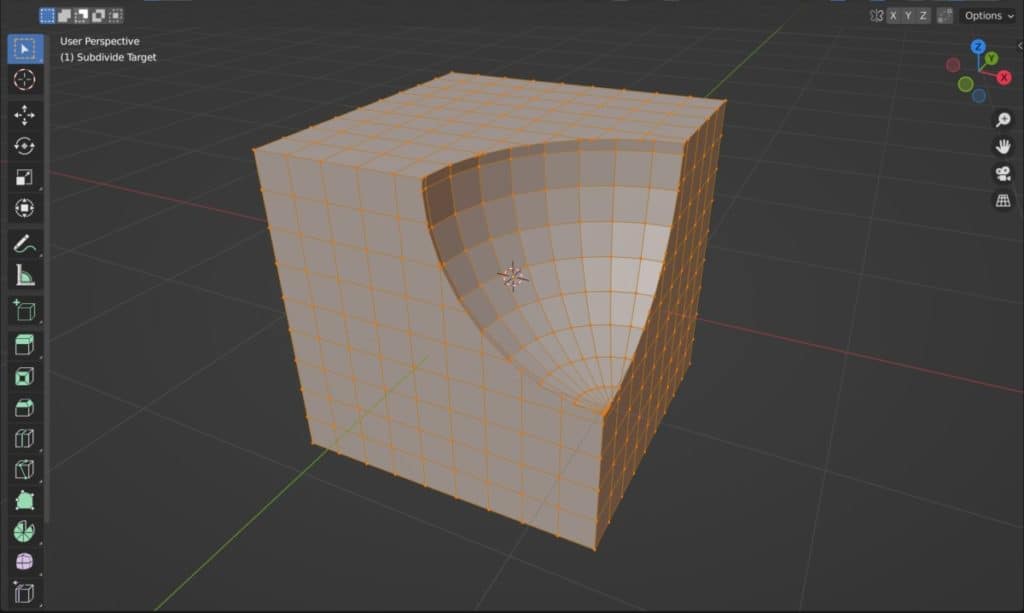
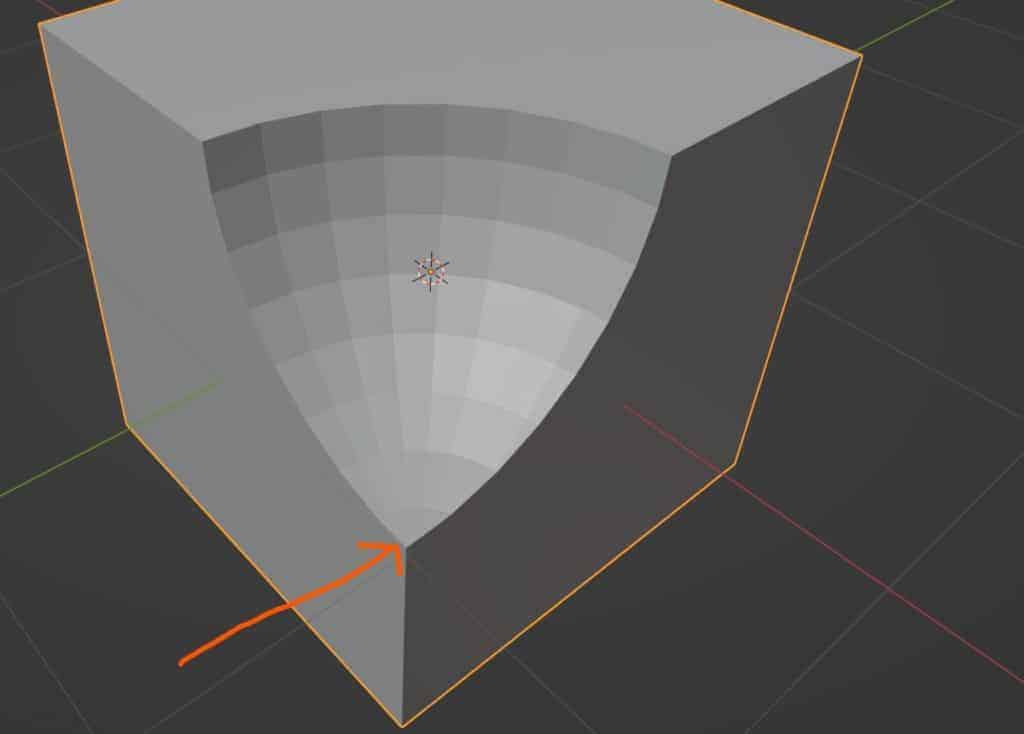
The image above is an example of applying the boolean modifier onto the subdivided cube and its effect on the topology in edit mode.
The Shading Issues That Occur When Using The Boolean Modifier
When using a boolean to shape your models, you will inevitably have to deal with sharp edges created at the intersecting points between the two objects.
This, along with the likely creation of ngons at these positions, will create shading artifacts on the model when you decide to apply smooth shading to the main object.
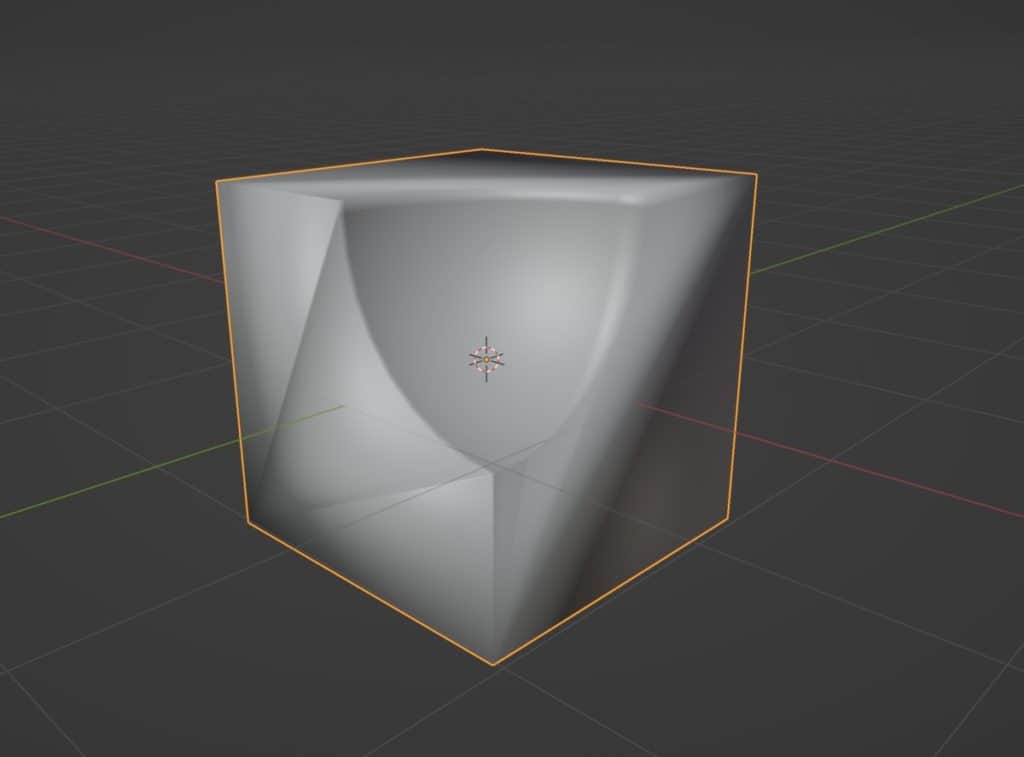
Below is the example of combining the sphere and the cube using the difference value of the boolean, but this time with smooth shading turned on.
We also have an example of when the boolean is used on the lower poly cube that was not subdivided. The issue here is that the shading artifact affects the entire side of the cube because of the lack of geometry.
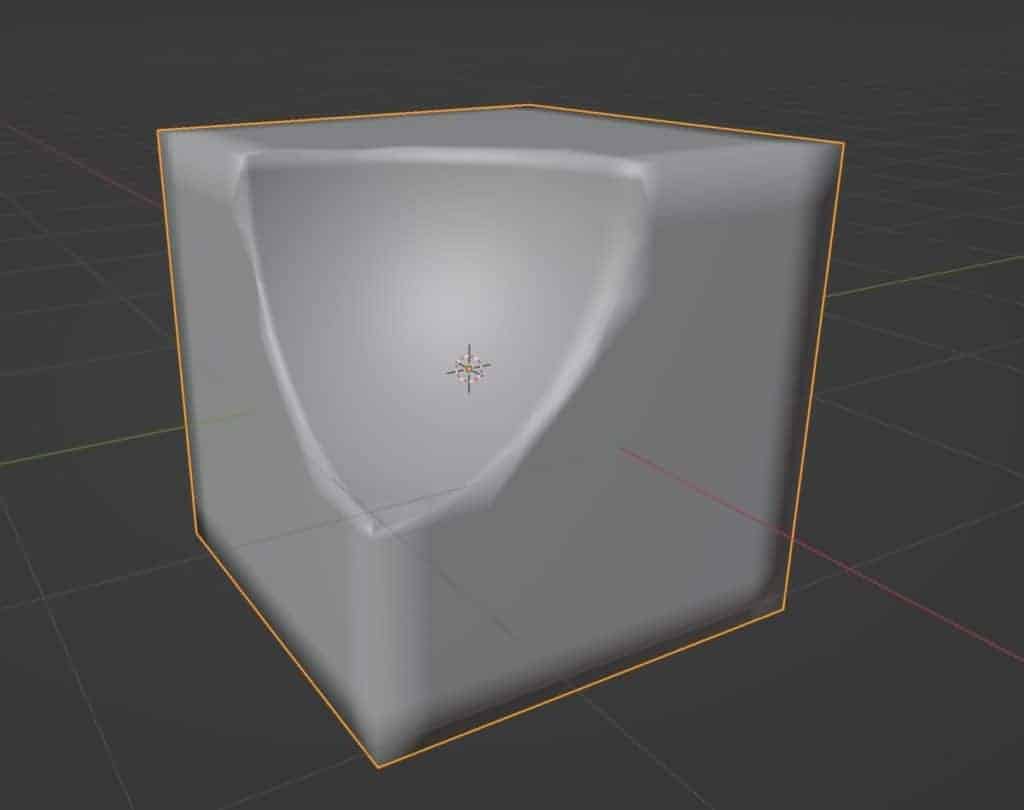
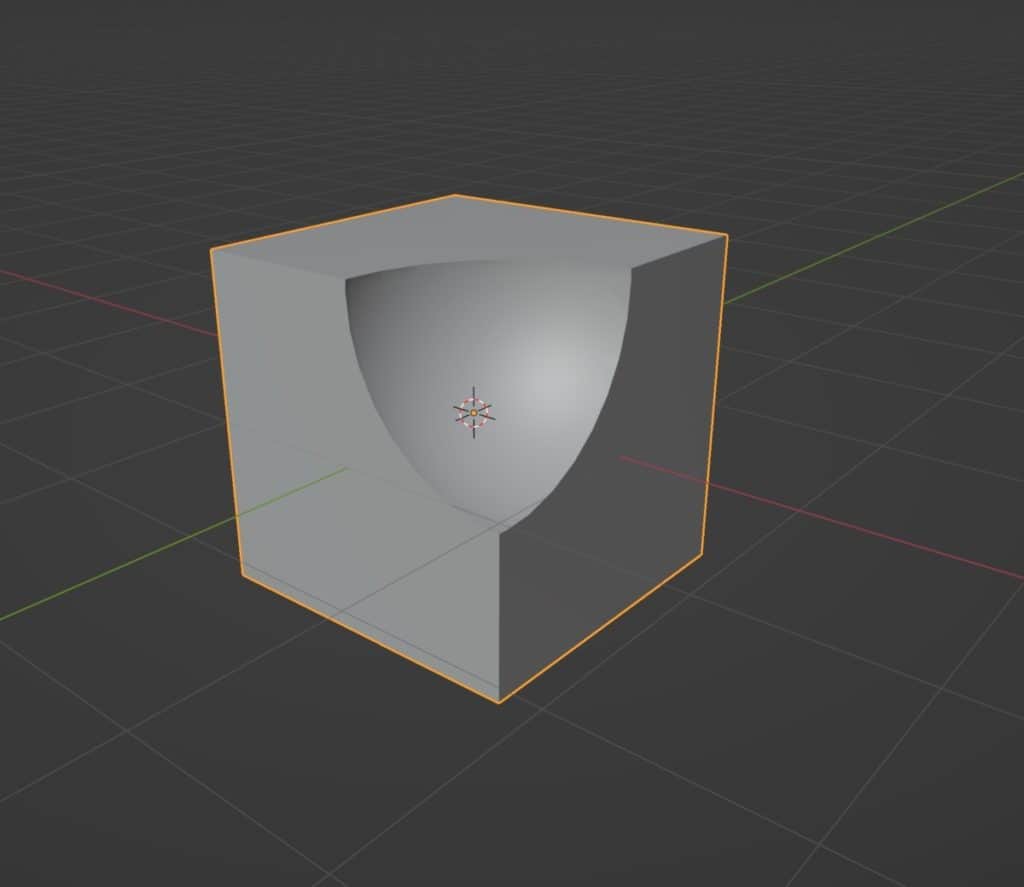
From here we can tell that the more geometry we use, the less impactful the artifacts will be. However, we want to be rid of the artifacts entirely. The quickest solution here would be to enable auto smooth, which we can do by going to the object data tab in the properties panel, finding the normals section, and checking the box to enable auto smooth.
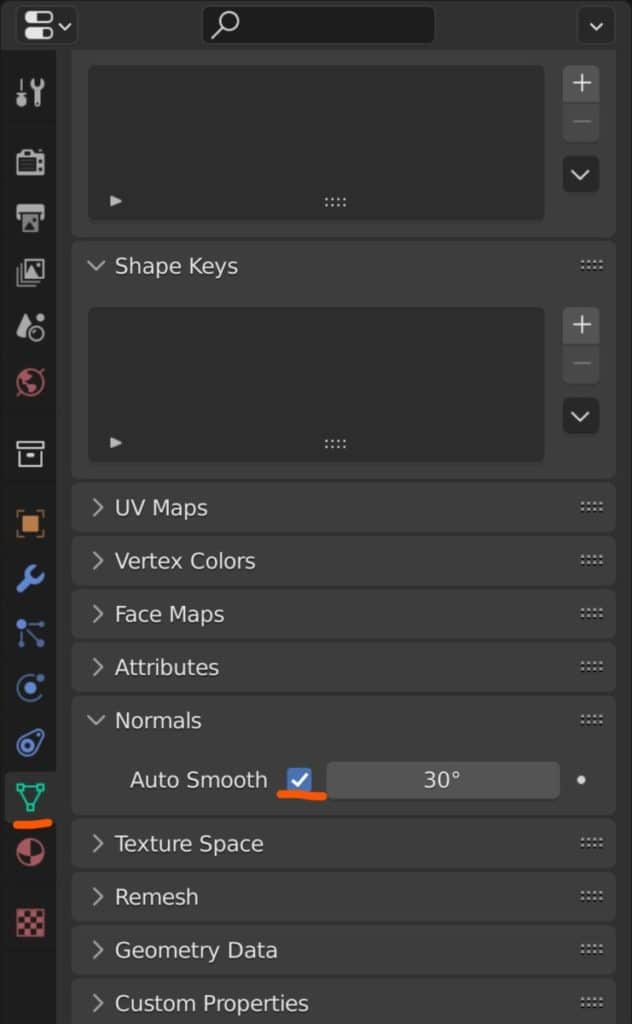
This results in a much cleaner look for the model, which you see in the image below.
Using The Boolean Modifier Correctly To Avoid Issues Occurring
While it is easy to use the boolean modifier you can avoid issues occurring further down the line by applying your boolean correctly, or at least to the point where it becomes easy to fix the topology of your model after using it.
As we have mentioned, you will want the geometry density of both the target object and the boolean object to be about the same.
Depending on the shape that you are using for the boolean you will also need to line up the vertices of each model as best you can so that it becomes easy to merge geometry at the intersection to clean up the model.
The optimal way to do this is to select both of your models at the same time, then hit the TAB key to go into edit mode. This way you can deselect everything and then use the L key to select the boolean model and line it up with the target object’s geometry, as seen below.
Next, you would return to object mode and add the boolean modifier to the target object as normal. Regardless of how well you do this, you will always need to fix your geometry after you apply the modifier if you are looking to confirm the new geometry.
The object that you choose as the boolean can make a big difference in how much work is needed after using the boolean. Our UV sphere example is in fact not the best choice for our cube because with our UV sphere the geometry gets tighter towards the poles. You can see this in the image below where the pole is a part of the intersecting geometry.
A good replacement here is the subdivided cube using the subdivision surface modifier. This type of sphere is relatively uniform across the surface and is a much better option as a boolean tool.
Implementing The Merge Tool To Fix The Topology After The Boolean
Once you have applied your boolean modifier you will likely be required to fix some of the topology around the areas where the two objects intersected. This is true regardless of the method that was chosen for the boolean. The rest of the model should remain as it was, so you only need to focus on these intersections.
After you have applied the boolean modifier, you will need to merge some of the vertices at the intersection where the two objects met to clean up the topology.
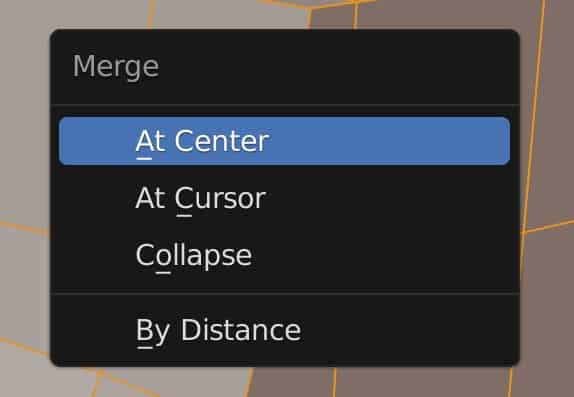
To do this you can select your whole model using the A key, and then use the M key to open up the merge menu. At the bottom of this menu is the merge by distance option. When using you may need to increase the distance value in the operator panel but be careful not to go too high here to avoid losing detail in other areas.
Another recommended tool here is the vertex slide, which is activated by pressing G two times in a row and allows you to reposition vertices along the existing edges. You can move two vertices closer together and then use merge bu distance to combine them.

Thanks For Reading The Article
We appreciate you taking the time to read through the article. Below we have compiled a list of additional topics that we believe you will be interested in reading.
- The Difference Between Subdivision Surface And Multiresolution
- Smooth Shading And The Auto Smooth
- Blender Not Opening When Trying To Load
- Unsubdividing A Model To Reduce Geometry
- Why Does The Boolean Modifier Not Fill In The Holes?
-
Hair & Fur in Blender: Particle Systems
Creating realistic hair and fur with Blender’s particle systems.
-
Skin Texturing: Subsurface Scattering Techniques
Mastering skin texturing with Subsurface Scattering techniques in Blender.