It is one of, if not the, most common modifiers that we are likely to use in 3D modeling when using Blender 3D. The subdivision surface modifier has become a crucial part of many artists’ workflows and is the fastest way to add a lot of geometry to your model.
The Subdivision Surface Modifier can create issues in the modeling process much like any other tool. For example viewport performance can become slow and unresponsive when using the modifier, artifacts can be caused in areas where geometry is too tight and your hole model can be messed up if you position your modifiers in the wrong order.
When learning how to use a tool, one of the most important things to learn besides learning how to use it is how not to use the tool. Let’s take a look at some issues that can be caused when using the subdivision surface modifier and how to fix them.
How Best To Use The Subdivision Surface Modifier?
There are many 3D artists that use the subdivision modifier as an active tool during the modeling process. They will normally add the subdivision surface before doing any real modeling to the object. Then they will edit the object shape while the modifier is in effect on the object.
In edit mode, you will be able to see the effect that the modifier has on the object, and how it changes its shape accordingly when edited. However the base geometry is also visible in its original form, so it’s almost as if you are looking at two objects.
There is no right way to model, but this approach brings into play two issues. First, it is difficult to know how your geometry will be affected before you actually apply your tools, and second, it assumes that you will just apply the modifier later anyway, as you are working with that shape.
Our preferred method is to use the subdivision surface modifier to add detail to the shape that we create, rather than use it as the primary tool for creating our shape. As such it is best used to preview how your model looks at various stages.
Loss Of Viewport Performance
One issue that is easy for anyone to replicate is a loss in viewport performance. The subdivision surface modifier is the number one method of adding a lot of geometry very quickly, and this can cause problems for your machine.
While over the years hardware has continued to advance and newer versions of Blender do a better job when it comes to optimization, there remains a limit to the amount of geometry that your scene can hold. The modifier uses a level system to define how much geometry is added and this level system is capped to a maximum value of 6.
Ironically for most users of Blender, even this is too high a limit. Let’s use a cube as an example, where we have 6 faces to work with initially. Add the subdivision surface modifier to the cube and set the level value to 1 and the face count increases to 24, with a total of 4 faces replacing each original.
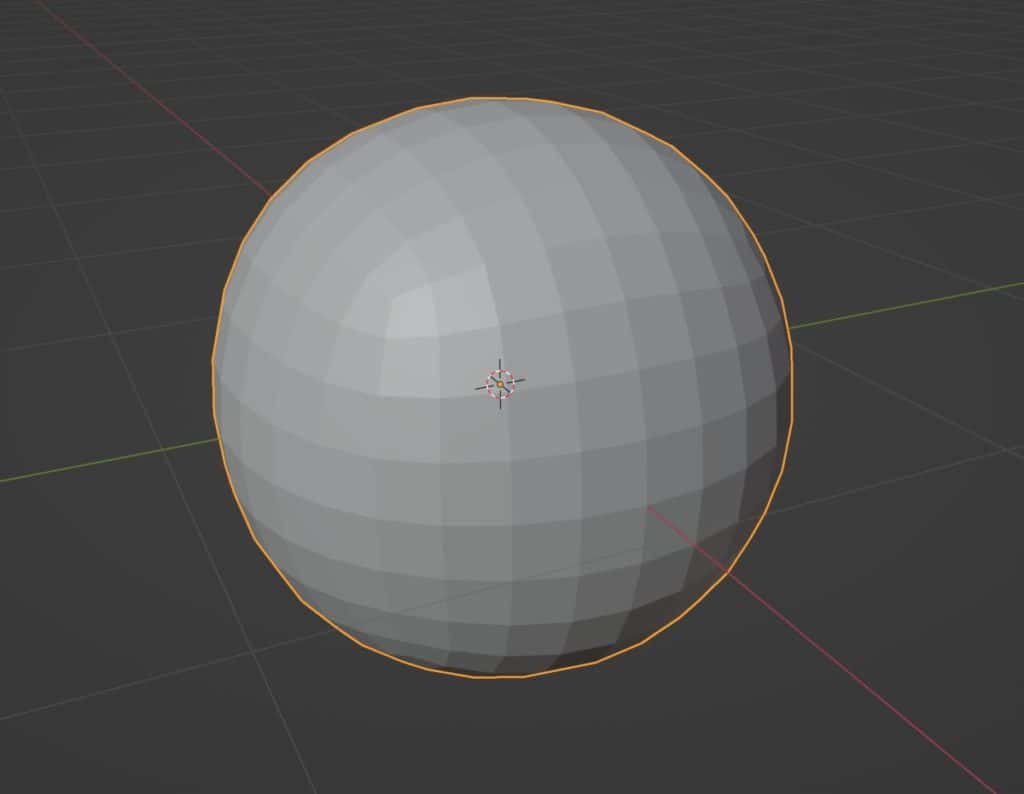
Each level up will further divide the faces into 4, so setting the modifier to a value of 2 will result in there being 16 faces on each side or 96 faces in total.
This trend continues with each level that you increase the modifier by, so by the time you hit level 6 then your once 6-sided cube is now a 24,576 face sphere. Imagine using that level of subdivisions on a character model that will already have a few thousand faces without the modifier.
The idea of the modifier is to add that bit of refinement to the base design by eliminating jagged edges. In mouse cases, you will find that setting your modifier to level 2 or 3 is normally sufficient for the task. Level 4 is fine if you really need to go further but level 5 is where problems in the viewport can begin to show depending on the model being adjusted.
Unwanted Changes To The Objects Shape
Using the subdivision surface modifier is different from using the subdivide tool in two ways. First, the calculation for each level of the subdivision is different between the two, and second, the subdivision surface modifier changes the shape of the model as you increase the levels.
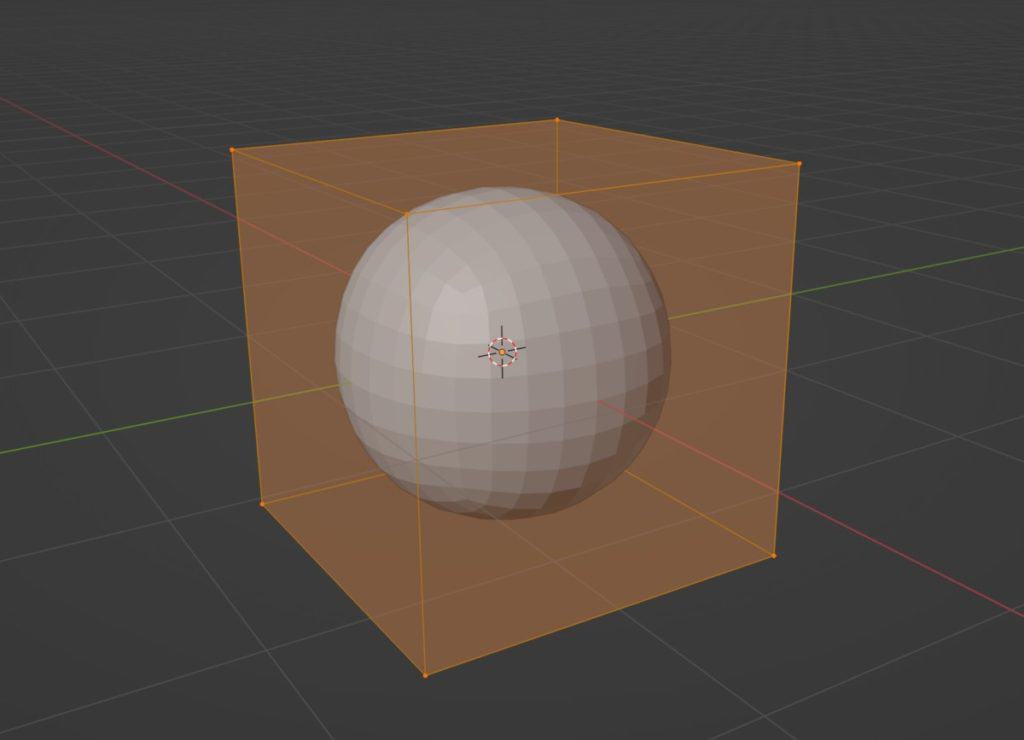
The idea of the modifier is to smooth out the geometry of the model to create a more natural look. The most basic example of its effect can be applied to a simple cube. The more levels we add to our modifier, the more our cube begins to look like a sphere.
To be clear this does not happen the same way on every object where the size of the faces may not be uniform. Having geometry closer to the edges of the model will allow you to maintain the shape a little better while creating a beveled look on the edges.
This may not be what you are going for, as you may only want to use the modifier to increase the density of your object’s geometry.
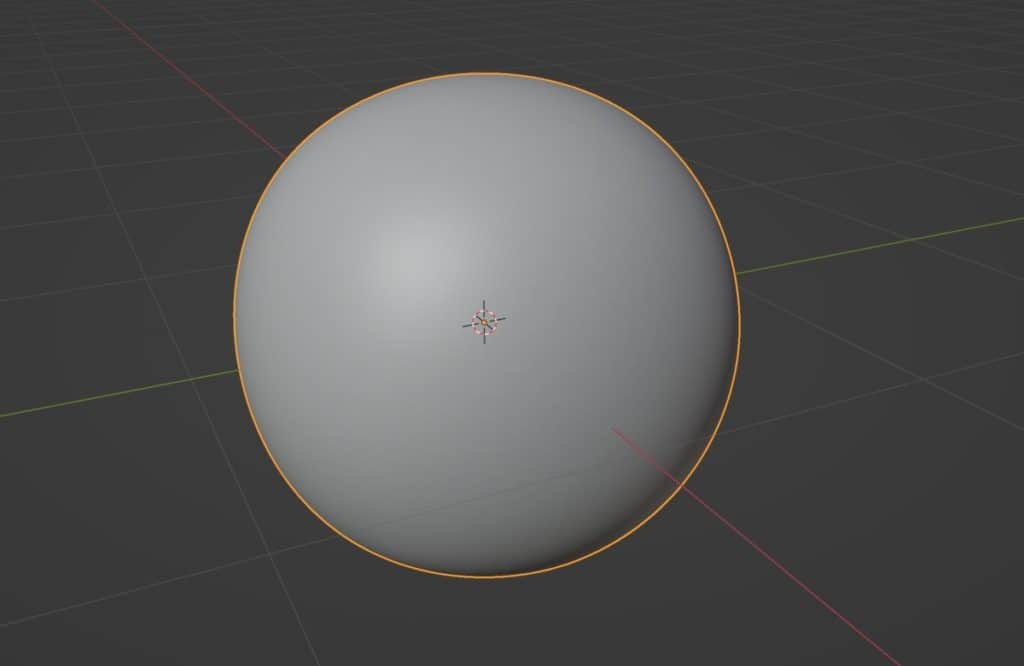
If we go to the modifier itself in the properties panel, we will see that we can switch between two methods of subdivision. The default method is the Catmull-Clark formula that is used to create that more spherical shape with those curved edges.

The other method is the aptly named simple method, which only increases the geometry count and does not alter the form of the model, so select this method when you want to keep your object looking the same but with higher geometry density.
Issues That Can Be Caused By Poor Modifier Stacking
While the method used for the modifier can alter the base shape to add more curvature, changing the method is as simple as a button press and is in truth not even that big of a deal. But what if you use the modifier and then your model just completely falls apart for seemingly no reason. Well, there is always a reason, and the most likely one is that the object is using other modifiers.
Modifiers work as a non-destructive method for altering the object that we can adjust or delete at any time so long that we do not apply the modifier. However, these modifiers also affect each other in terms of their potential impact on the models’ geometry.
In the properties panel, we have our modifiers tab which is where all of these modifiers are stored. We can view these modifiers as a list and edit each one independently. But this list is also referred to as the modifier stack, and where a modifier is in the stack changes the effect it has on the model.
When there is only one modifier in the stack there is nothing to worry about, but when you add more things get a bit complicated.
The stack works in descending order, meaning the effect of modifier 1 is applied to the model first, then modifier 2 is applied to the object taking into account the first modifier.
For example, in image 1 below we have a cube that has two modifiers enabled for it. The first is the edge split modifier and the second is the subdivision surface modifier.
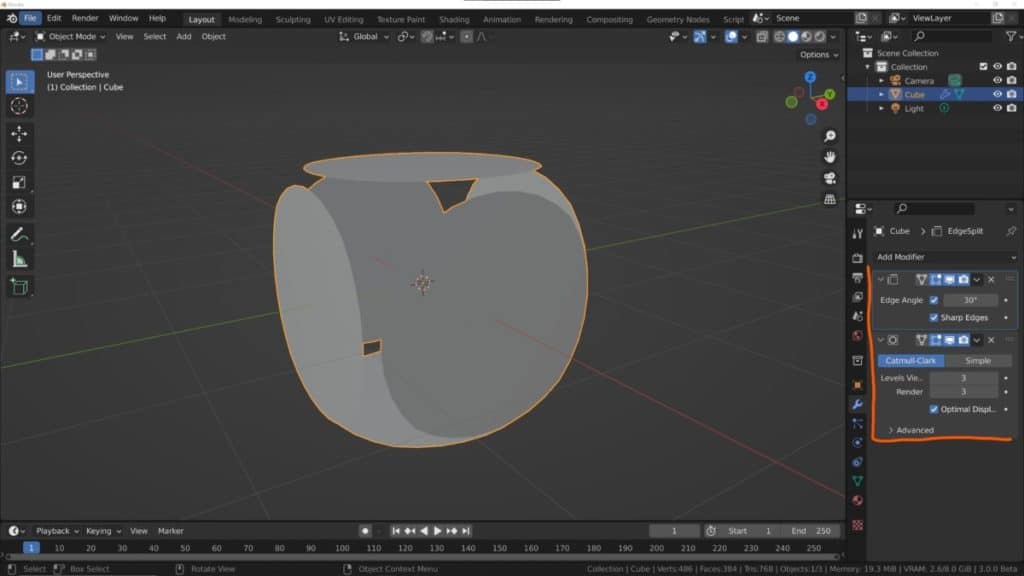
Now we have the exact same object with the same modifiers enabled for it. The only difference is that the order has been switched for the modifiers, meaning it now comes before the edge split.
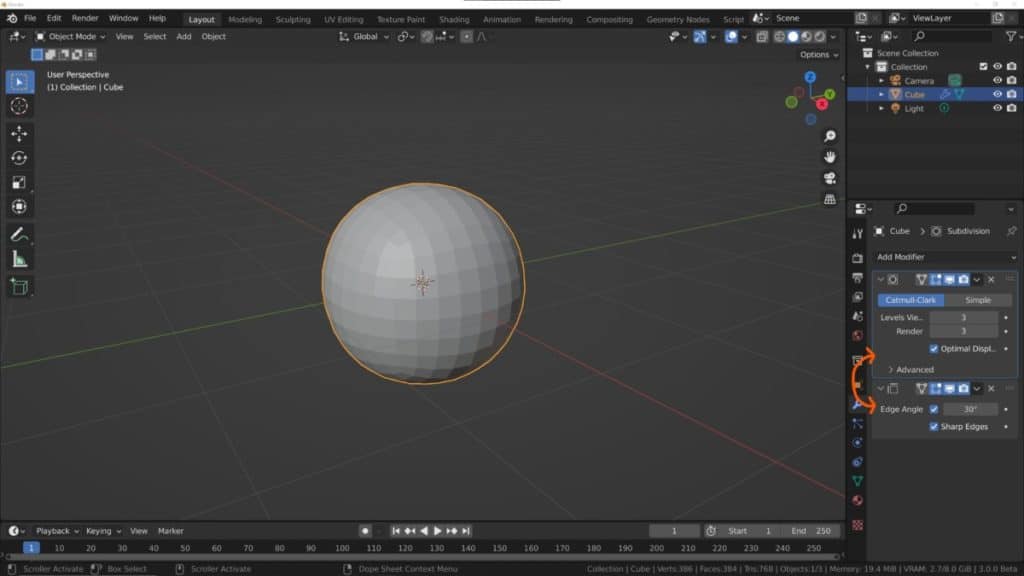
The impact that this has on the model itself is profound, so check different combinations when using multiple modifiers. In general, we recommend having the subsurface modifier take priority in the modifier stack over most other modifiers, so position it first as a rule of thumb and then move later if you need to.
Modifiers can be moved up and down the stack by clicking and dragging on the icon in the corner that looks like 8 little dots.
Dealing With Shading Artifacts Caused By Subdivision
Shading artifacts are little blotches of discoloration that can appear on your model that are usually the result of poor geometry. They are most common on curved surfaces, which is what is normally created when using the subdivision surface modifier.
Now the modifier itself is not the cause of bad geometry but can highlight it to a greater extent, especially when other tools are then used such as the knife tool to cut into the geometry. Combining the Subsurf modifier with the behave modifier is another easy way of creating artifacts, where the geometry around the edges can begin to cross other the same space.
Dealing with these artifacts requires one of two solutions. If you are working with tighter edges, go to the object data tab in the properties panel, go normals and enable the auto smooth option.
Since artifacts are caused by overlapping geometry, you can also open up the merge menu by pressing Alt + M and then select the merge by distance tool to merge overlapping vertices together.
Thanks For Reading The Article
We appreciate you taking the time to read on this topic of how best to use the subdivision surface modifier. If you are interested in learning more Blender-related topics, consider checking out our list of articles below.
- How To Unsubdivide A Mesh To Reduce Its Geometry?
- Why The Boolean Tool Does Not Fill In The Holes Created By The Modifier?
- The Difference Between Fast And Exact Solvers With The Boolean Modifier
- What Are The Shortcuts For Edit Mode In Blender?
- What Is The Shortcut To Adding A New Mesh Object?
-
Sculpting Organic Shapes in Blender
Sculpting lifelike organic shapes with advanced techniques in Blender.
-
Animation Ready Hard Surfaces in Blender
Preparing hard surfaces for animation with optimized topology in Blender.