Blender has a lot of tools that are both visible to the user in the 3D viewport and many more hidden away in the various menus and editors across the application. Many of them also have shortcuts and so you may from time to time activate a tool by mistake.
If the faces on your object have disappeared, then you have likely gone into wireframe mode, which only views the edges and vertices of your models. To restore the viewport to its normal view press the Z key and then select solid, or go up to the top corner of the viewport and select the second of four buttons for viewport shading.
It is easy enough in Blender to use a tool without even realizing that you have used it and if you don’t know then you may be left scratching your head over what happened or what to do next.
Why Have My Faces Disappeared In The 3D Viewport?
There are several causes as to why your object’s faces may have disappeared or changed in the 3D viewport, and normally this is a result of activating a tool without your knowledge.
Because Blender uses a hotkey system, it is very easy to press the wrong keys on your keyboard and activate a tool that you did not intend to.
As a reminder, faces on your model are a type of geometry used to create the model’s shape, and the face is the flat surface that makes any object look truly three-dimensional. The other forms of geometry are the edges and vertices, which are used to create the structure of the model.
It is likely that you may find the faces of your model become invisible at some point, but you are still able to see the vertices and edges of the object.
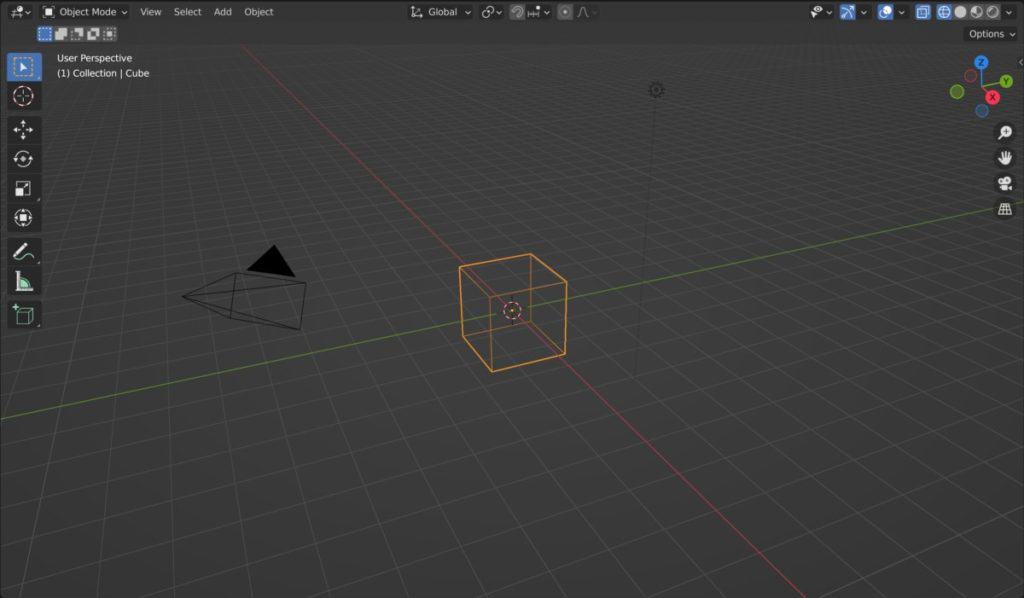
If this is the case, then you have likely transitioned into wireframe mode in your viewport. The 3D viewport has a series of viewport modes, that each display the scene to various levels. These modes can be found as a row of buttons at the top corner of the viewport.
The first option is wireframe, where only the edges and vertices of the models are displayed. The second is solid view, which is the default view and displays all forms of geometry. Then we have material preview, which adds the base material colors and patterns to the scene. Finally, we have rendered view, which adds the appropriate lighting in the viewport depending on the chosen.
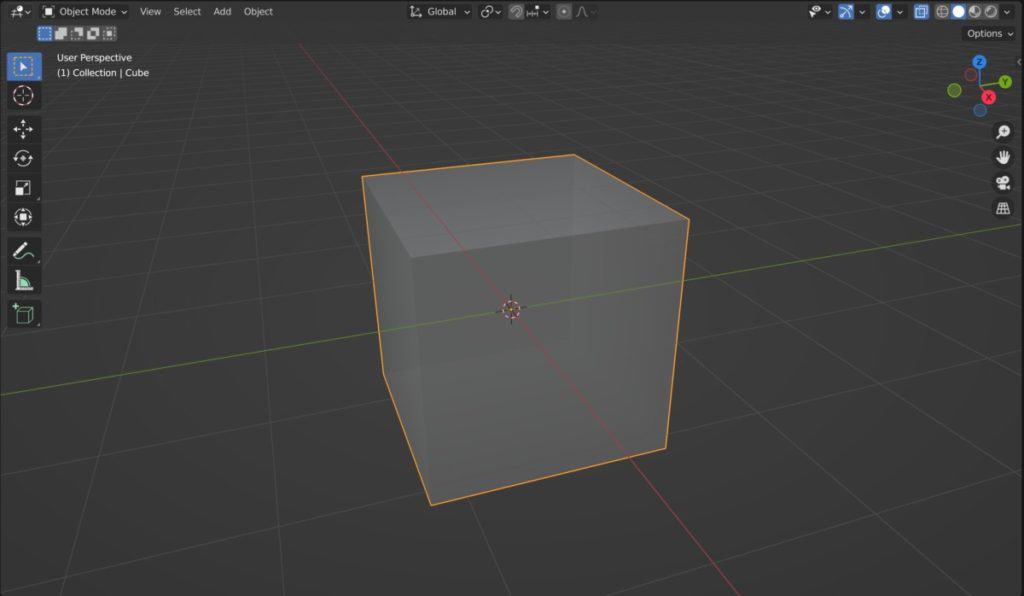
If the wireframe button is blue, then that shows that you are in the wireframe view. Select the solid view option next to it to restore the visibility of the faces in your viewport.

Only One Object Has Had Its Faces Hidden From View, Why?
It’s much harder to do this by mistake, but you may find that a single object has its faces hidden from view rather than all the objects in the scene.
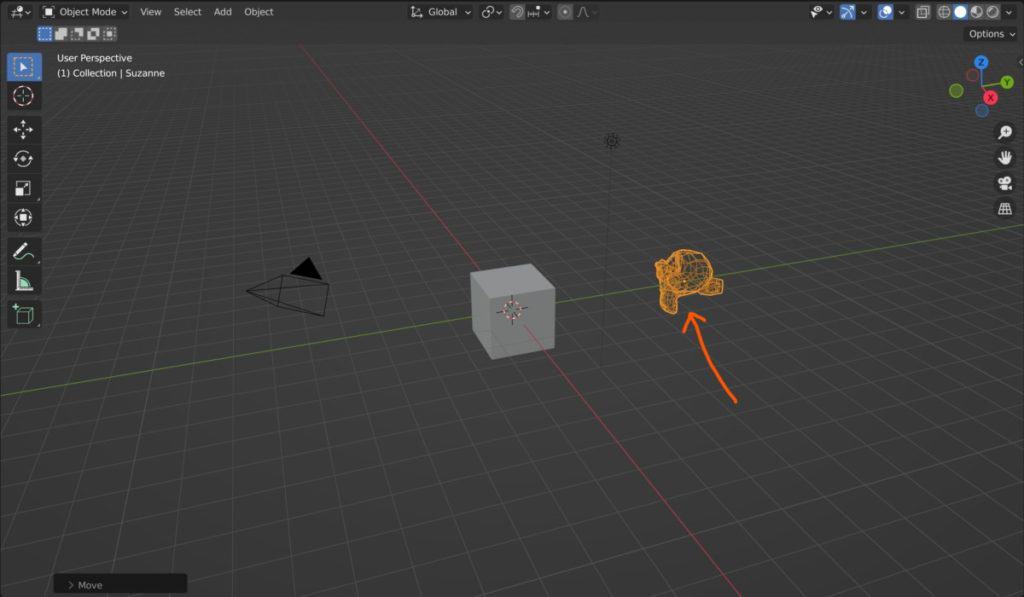
This is because we are able to control the display settings of our models individually, which can help when working with certain tools like the boolean modifier.
To change the display settings for an individual object, select the object and go to the properties panel, then locate the object tab.
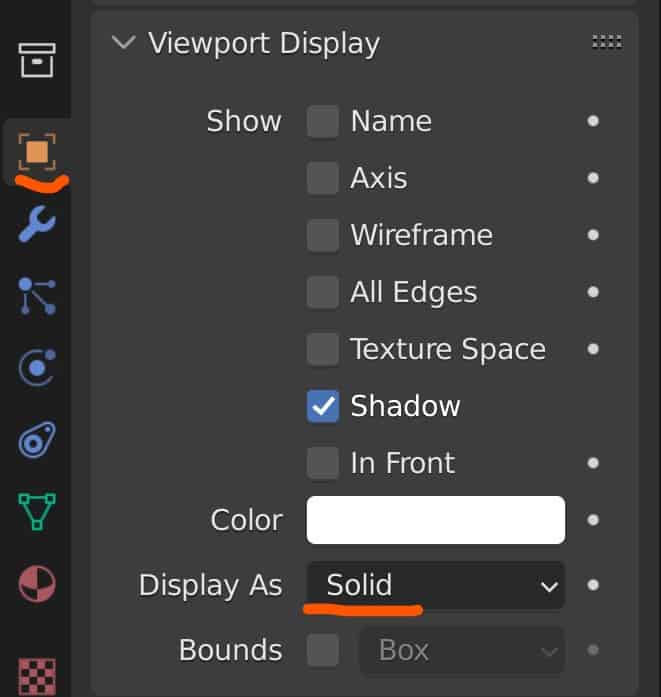
In this tab scroll down towards the bottom where you should find the subsection for Viewport Display. Open this up and go down to where it says viewport display. Open up the menu and select either the solid option or the texture option.
I Can Still See My Faces But I Can Also See Through Them?
What if you are still in solid view, and instead of your faces completely disappearing they instead appear transparent, allowing you to see straight through them.
This is caused by the x-ray tool, which maintains the visibility of the faces but allows you to also see what is behind them.
In object mode, this has little benefit, but in edit mode for an object, it allows you to select any vertex, edge, or face on your model regardless of where you are viewing the model from.

There will be a button on its own near the view methods in the viewport, with the icon of two squares overlapping. If this button is blue then the x-ray option has been enabled. Press the button to deactivate and restore your original view.
If you want to learn more about Blender you can check out our course on Skillshare by clicking the link here and get 1 month free to the entire Skillshare library.
It’s Not Just The Faces, I Can’t See My Object At All?
And then you have the scenario where you cannot see your objects at all. This is where your objects have been hidden from view using the hide tool. You can hide objects in the viewport by pressing the H key on your keyboard, or by pressing the eye icon next to the object name in the outliner panel.
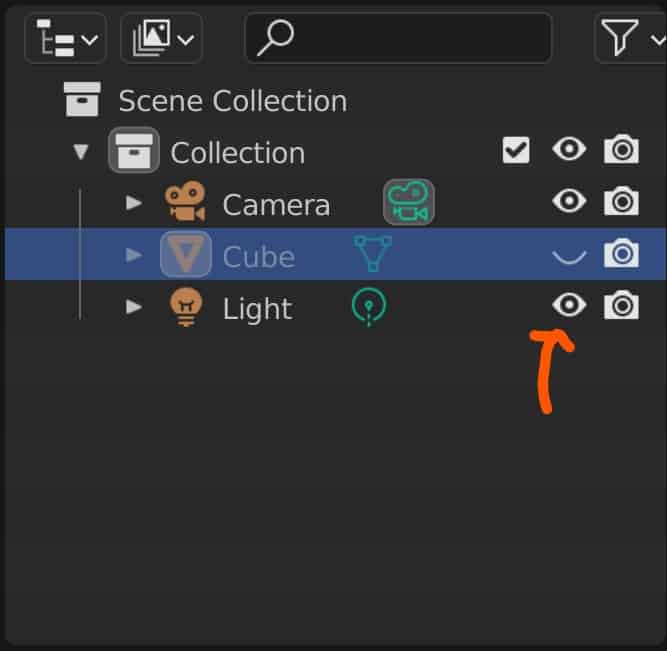
If the eye icon is closed, it means that the object is hidden from view. Click on the icon in the outliner panel and the object in question will become visible again.
Alternatively, you can use the hotkey Alt + H. This hotkey restores all of the hidden objects back to view in the 3D viewport.
The Phenomenon Of Backface Culling
Finally, you have the effect caused by backface culling, which is used in video games to ignore the inside of faces when rendering. This makes those faces invisible when you view them from the wrong side and creates a clipping effect. For example, when you view the world through the character’s body and parts of the body become invisible.
This effect also exists in Blender, and when turned on makes faces invisible when viewing them from the inside. To turn this option off, go to the overlays menu located at the top of the viewport, as should in this image.
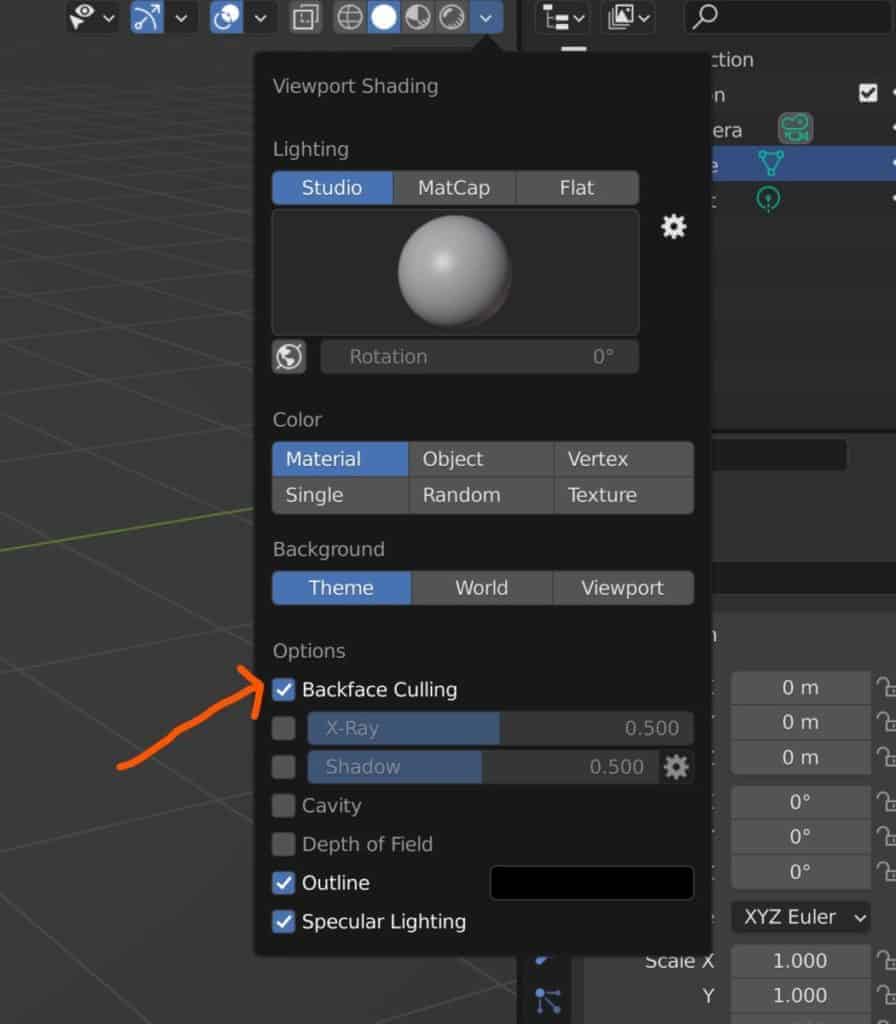
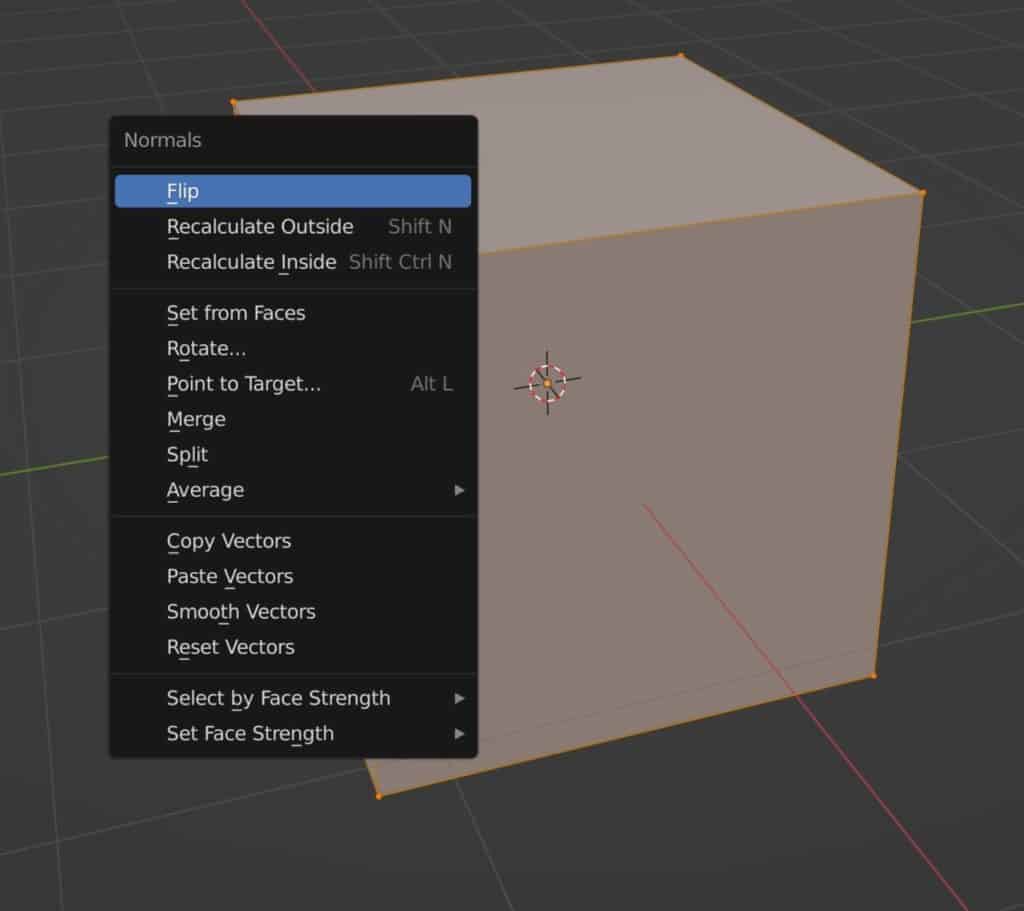
Then uncheck the box labeled Backface Culling to turn the effect off. Backface culling does help however to highlight a more pressing issue, the occurrence of incorrect normals. For the same reasons as listed above in video games, having incorrect normals creates issues when your model s sent to another application.
To fix this issue, go into edit mode and select your entire model, then use the hotkey Alt + N to open up the normals menu, and select the recalculate outside option. Even with backface culling enabled, your geometry should be visible from the outside of the model.
Other Articles That You Can Check Out
Below you find a small list of five topics that we have covered at Blender Base Camp that you may consider reading to expand your 3D knowledge even further.
- How To Unsubdivide A Model In Blender?
- What Is The Shortcut For Using The Subdivide Tool?
- What Are The Shortcuts For Navigating In The 3D Viewport?
- The Best Plugins For 3D Printing With Blender
- Downloading A Test Branch Of Blender 3D
-
Detail with Shrinkwrap: Blender Modelling
Achieving intricate detailing with Blender’s Shrinkwrap modifier.
-
Edge Loops for Hard Surfaces in Blender
Utilizing edge loops for defining crisp hard surface details in Blender.
-
Blender Kitbashing: Complex Shapes Made Easy
Simplifying complex shape creation with Blender’s kitbashing approach.