It is practically limitless the number of objects and scenes that you can create using a 3D modeling suite like Blender 3D. That versatility comes in part from the volume of tools that you can use to edit objects, but also from the variety of object types that you can create, including the use of text objects.
To create a text object, use the hotkey Shift + A to open the add many in the 3D viewport and then select the text option. You can edit the text by using the TAB key to enter edit mode and can change other properties of the text such as the kerning in the properties panel.
There are many reasons why you would want to use text objects in your projects, and there are more ways to use text than you may initially think.
How Do I Create 2D Text in Blender?
Being able to create 2D text objects is a handy skill to have for any 3D artist, and depending on the project text can be an important factor in telling the story of the scene.
A text object is created the same way as any other type of object in the 3D viewport. You can either go to the add menu in the header of the 3D viewport or you can press the hotkey Shift + A to open the same add menu.
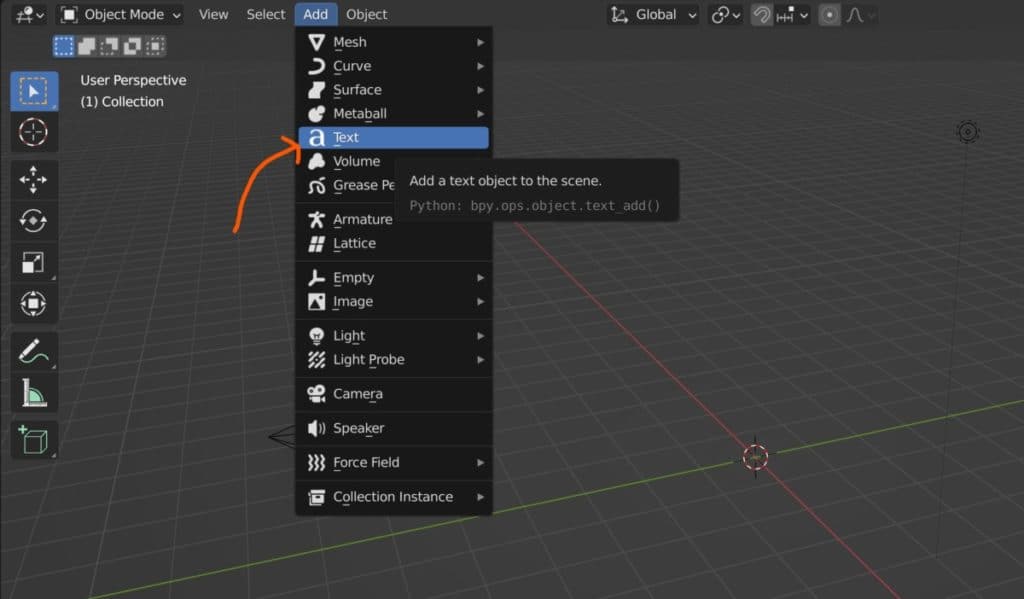
You will find the text object about a quarter of the way down the list. Unlike other object types, there is no submenu here, and the text is just the text. This is unlike mesh objects, where we have variations like the cube, cylinder, and Suzanne.
When you select the text object from the list it will be added to the location of the 3D cursor, which will normally be set to the world origin unless you moved it.
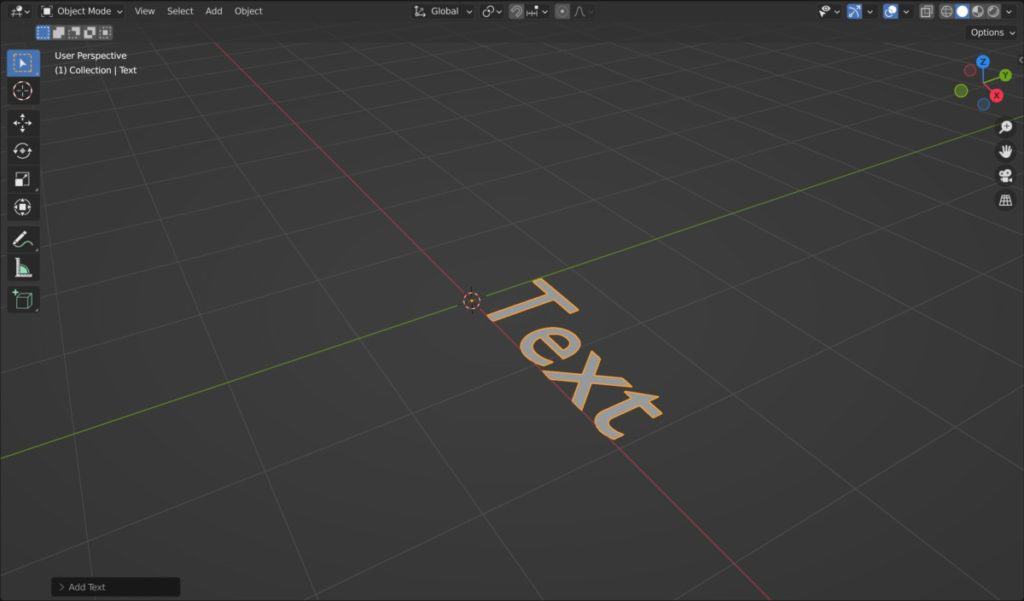
The text will be oriented facing up in the direction of the Z-axis, which in Blender means the text is effectively laid out on the floor.
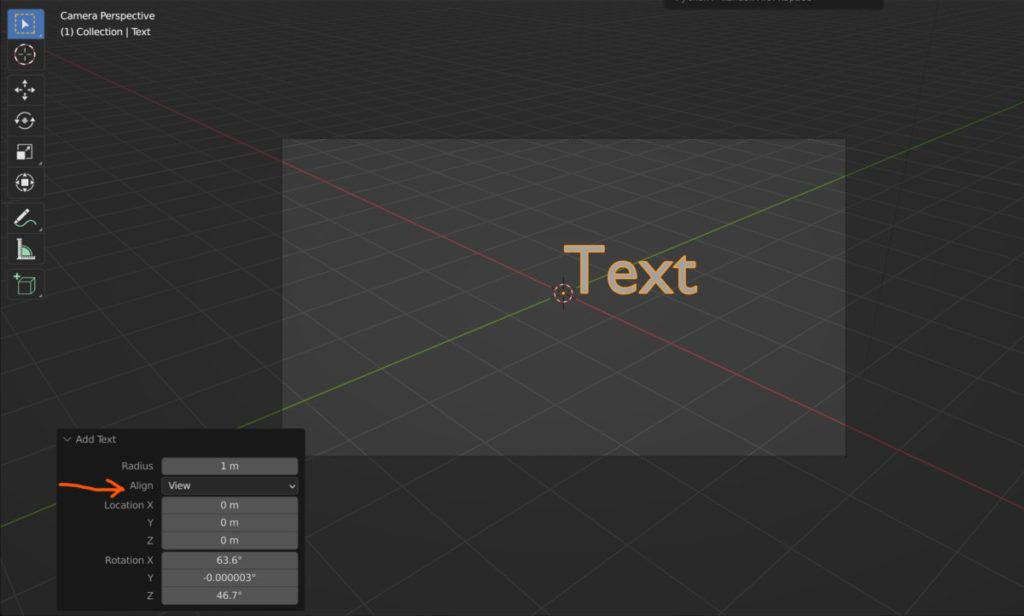
In the corner of the viewport, you will have the operator panel for the add text tool. Open this up and you will be able to change the orientation and positioning of the text straight away, allowing you to position the text in your scene.
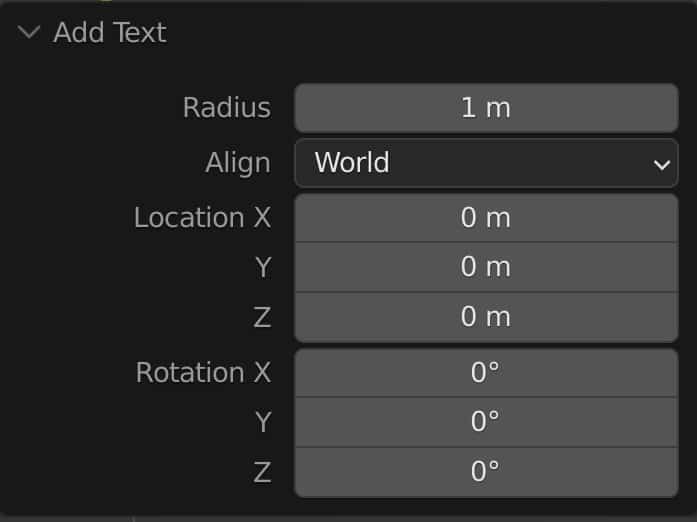
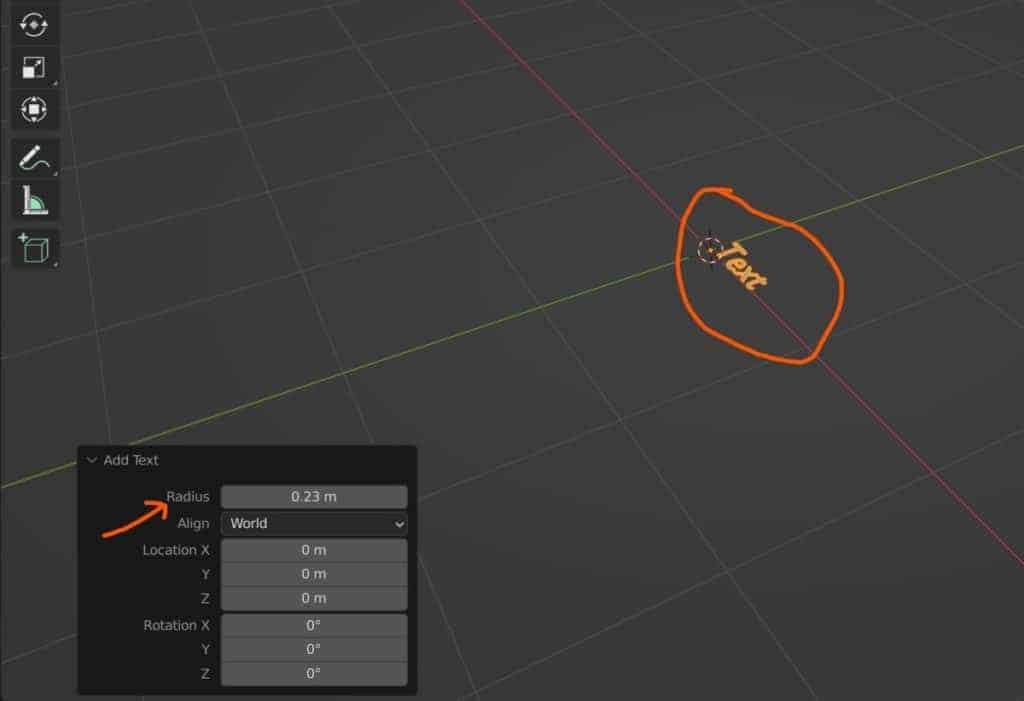
The radius option is the first option here and allows you to adjust the actual size of the text, which is not the same as the scale.
The align option is very useful for text objects, which are often created to face the scene camera so that the text can be viewed.
This is set to ‘world’ by default, but if you change it to ‘view’ then the orientation will snap to the view angle of your viewport.
A good trick here if you want to angle your text to face the camera is to press Numpad 0 to view through your camera, add the text object, and then set the align option to view so that the text faces the camera.
The cursor option will orient your text based on the rotation values of the 3D cursor, which offers more control than the other options for when you want the text facing a specific direction other than straight toward the camera.
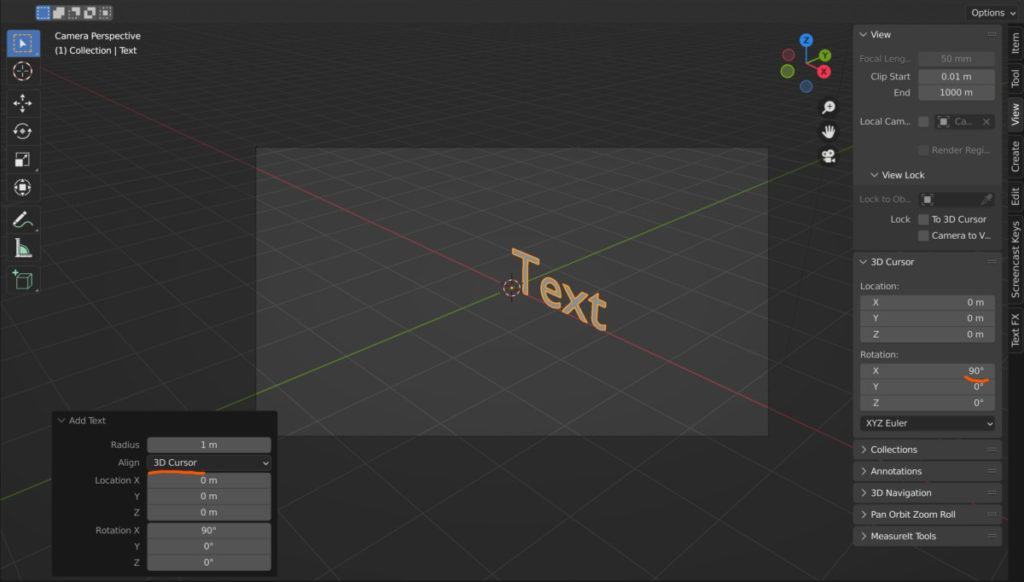
Then we have the location and rotation values which are fairly self-explanatory, as they allow you to change the location and rotation of the text as soon as it is created.
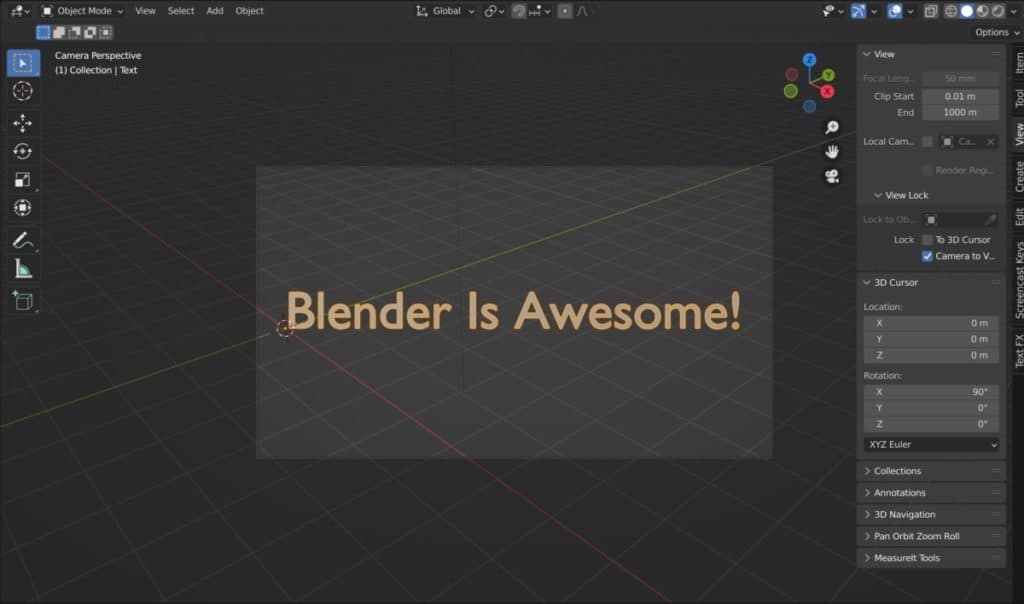
When you have added your text you will then want to edit it, and there are many ways of editing text objects in Blender. The main thing right now though is to change the words that the object displays.
By pressing the TAB key we can transition into edit mode for the text object. With mesh objects, we use edit mode to change the form of the model, but with text, it acts more like a traditional typing program.
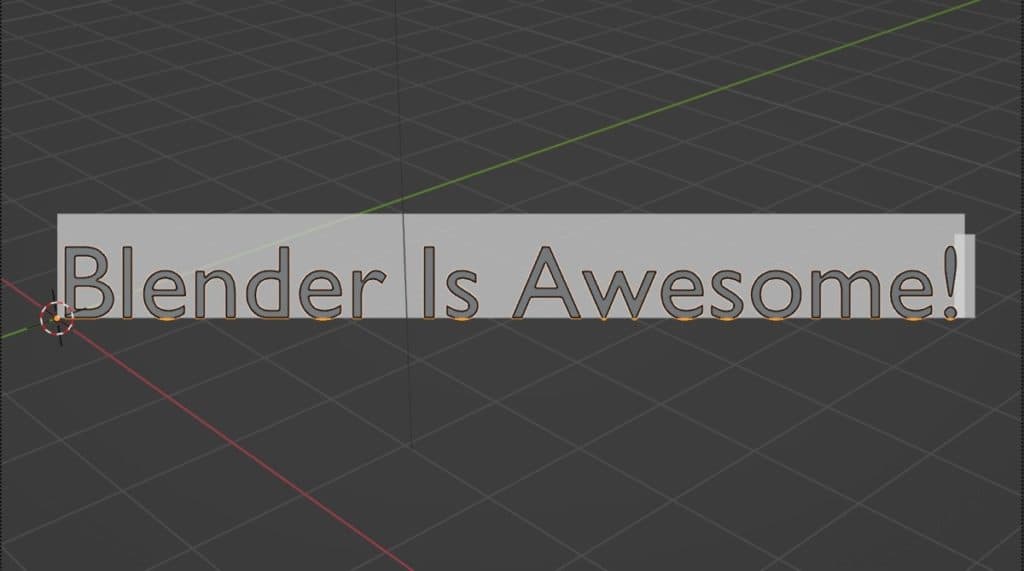
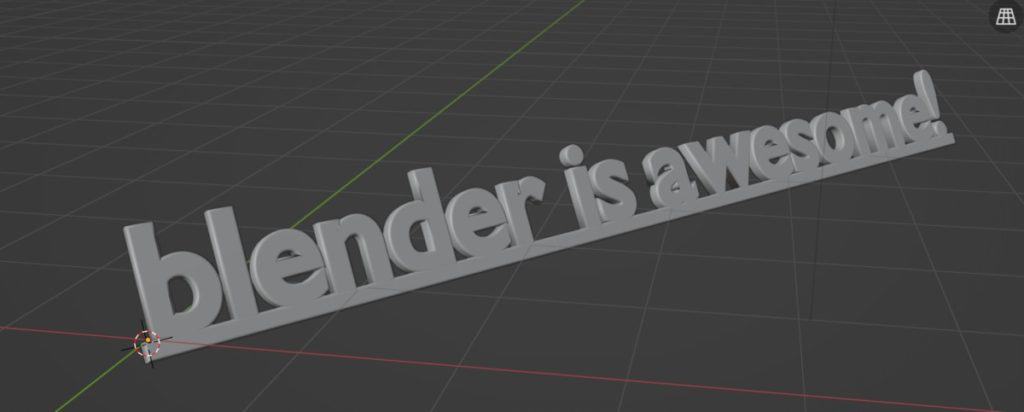
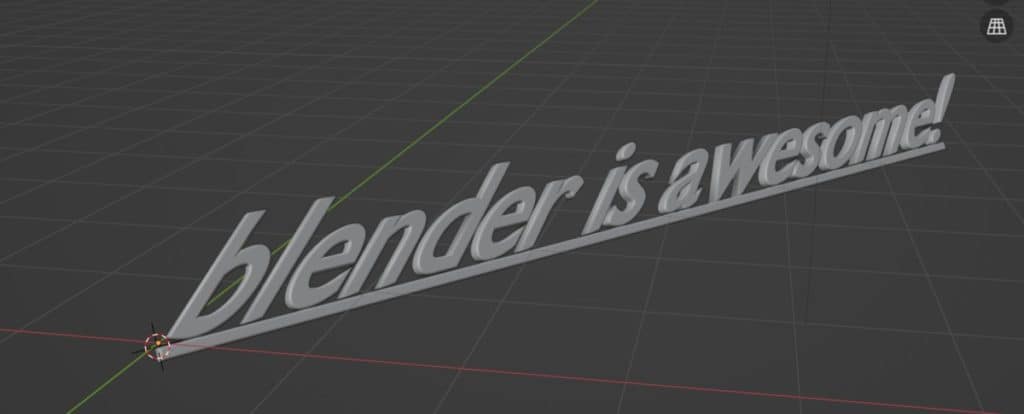
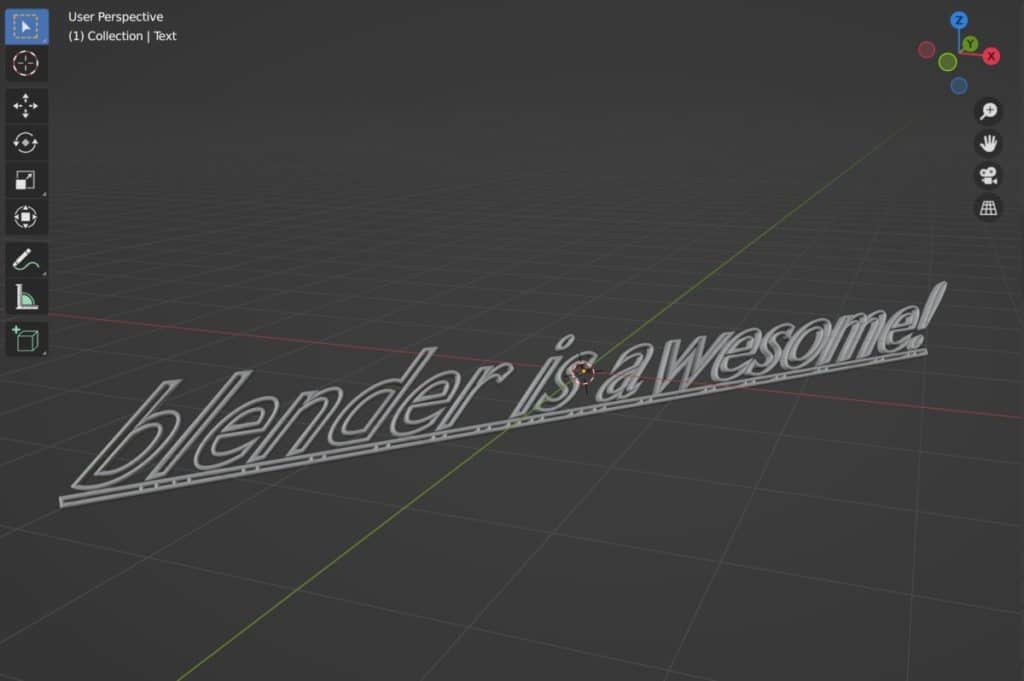
We can use backspace to delete the letters of the word and then type in what we want to use as our text. For example, here we use the text Blender Is Awesome!
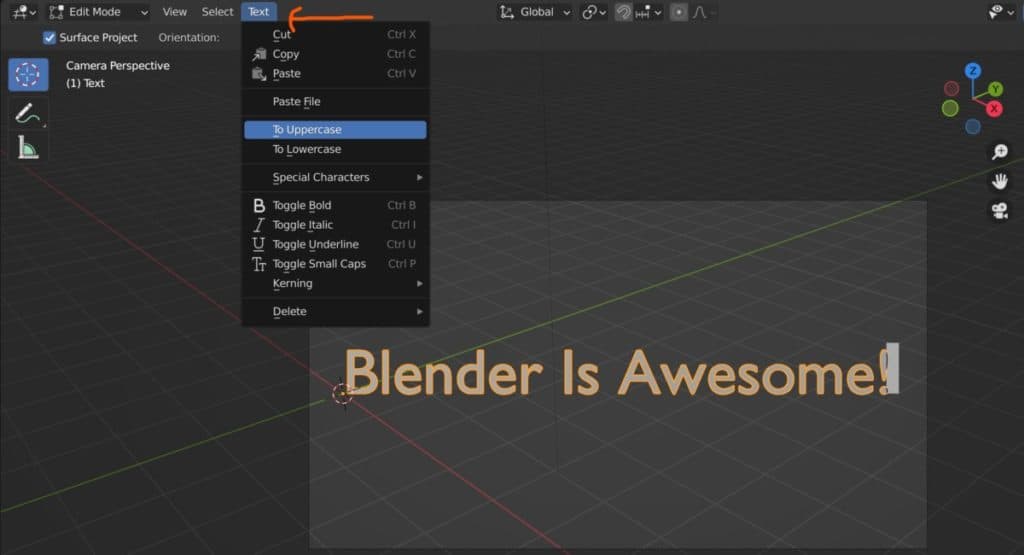
Edit mode also has a few other options for our text that can be found under the text menu in the header bar.
With these options, we can change some of the more basic properties of the text and can have more control over what we select, edit and delete.
Editing Your Text Using The Text Menu
For many of these options to work, you will need to select your words similar to selecting geometry with mesh objects to edit them. However, pressing the A key in edit mode for your text will in this case just add the letter A.
Instead, use the hotkey Control + A to select your entire text object. You should be able to see the highlight across the text.
The Control + A Hotkey will not deselect the text, but this can be down just by using the arrow keys to move the cursor across.
Cut, Copy, And Paste
From the text menu, you can use the cut, copy and paste tools to either cut or copy your selection, then use the paste tool to paste the text either in the same text object or another text object. Paste will not work here unless you are in edit mode for a text object.
The paste from file option allows you to open your file browser and select a text document that will allow you to paste the text from that file into your Blender project.
Uppercase And Lowercase
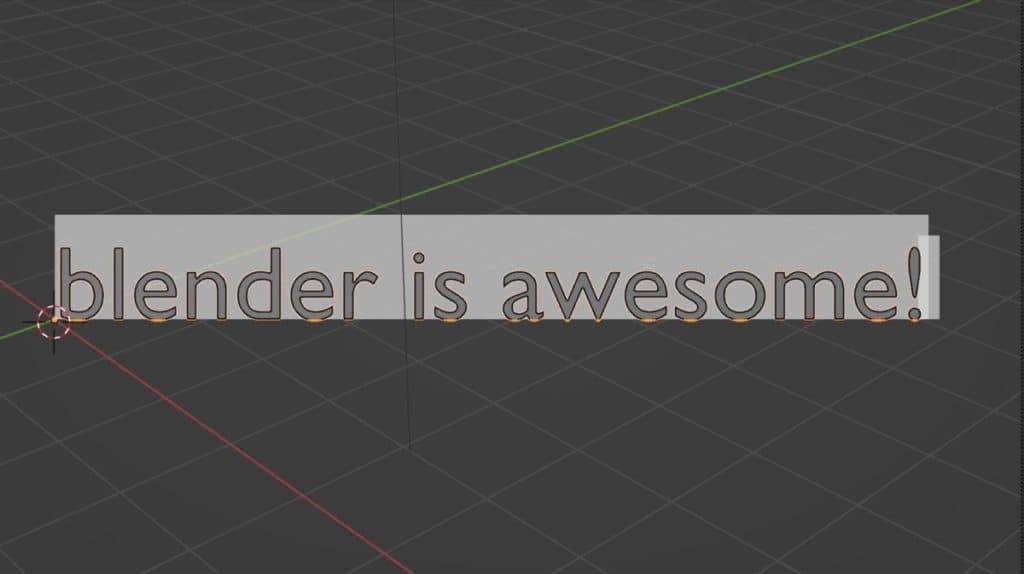
The next two options allow you to change your text to become either 100% Uppercase letters, or 100% Lowercase.
Toggle Options For Text Styling
The next set of options will allow you to change the styling of your text so that you can make it bold, italic, or create an underline, as well as the ability to toggle small caps for your text.
Note that the first couple of options, for Bold and Italic, will not work until you assign a font to these stylings, which we will cover shortly.
Kerning Your Text
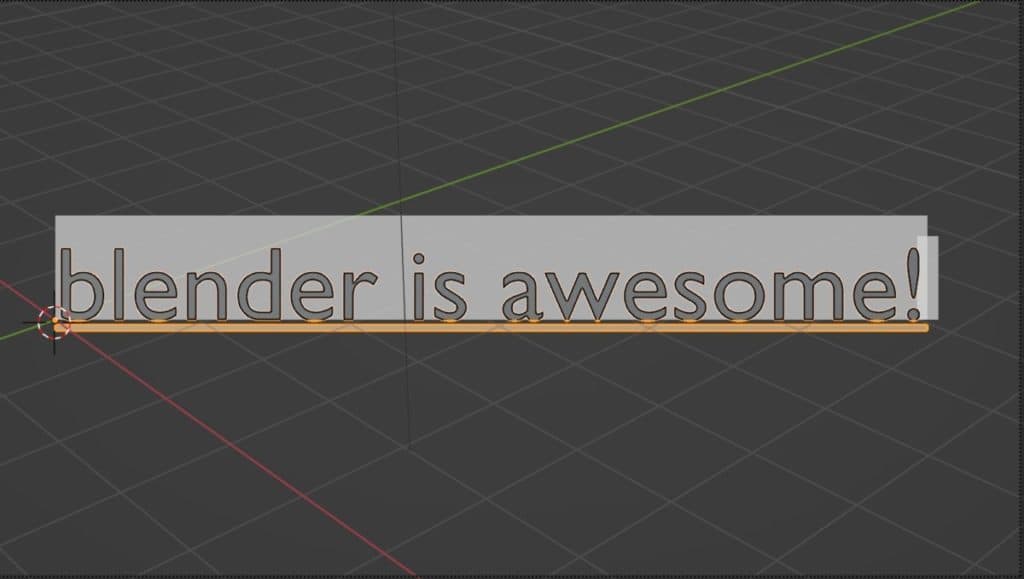
The term kerning is used to describe the spacing in between your letters, words, and lines. it represents the amount of white space on a page.
From the kerning submenu, you can either decrease the kerning of your selection, which reduces the space between characters, increase the kerning to add space or reset your kerning level.
If you use the tool from the text menu, then you can edit the effect by using the delta value in the operator panel that is labeled as Change Spacing.
An easier way is to use the hotkey Alt + Left Arrow to decrease, and Alt + Right Arrow to increase your kerning.
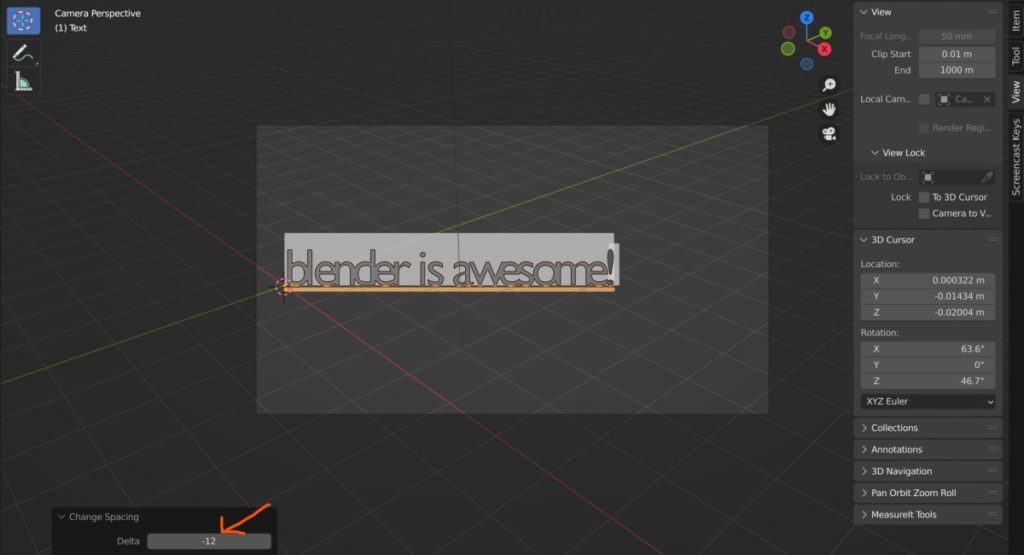
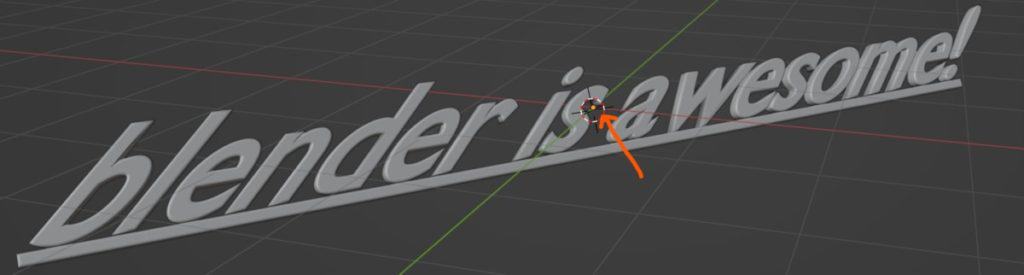
Note that while you have selected the text the kerning effect applies to the text as a whole, but if you don’t select the text then the kerning will be limited to the location of the type cursor.
For example, in the image below we position the type cursor between the a and the w to increase the kerning between these letters.

Deleting Parts Of Your Text
Finally, you are able to delete parts of your text beyond just using the backspace button to delete a single letter at a time.
From the delete menu, you can delete letters in either direction, and you can even delete entire words here as well.
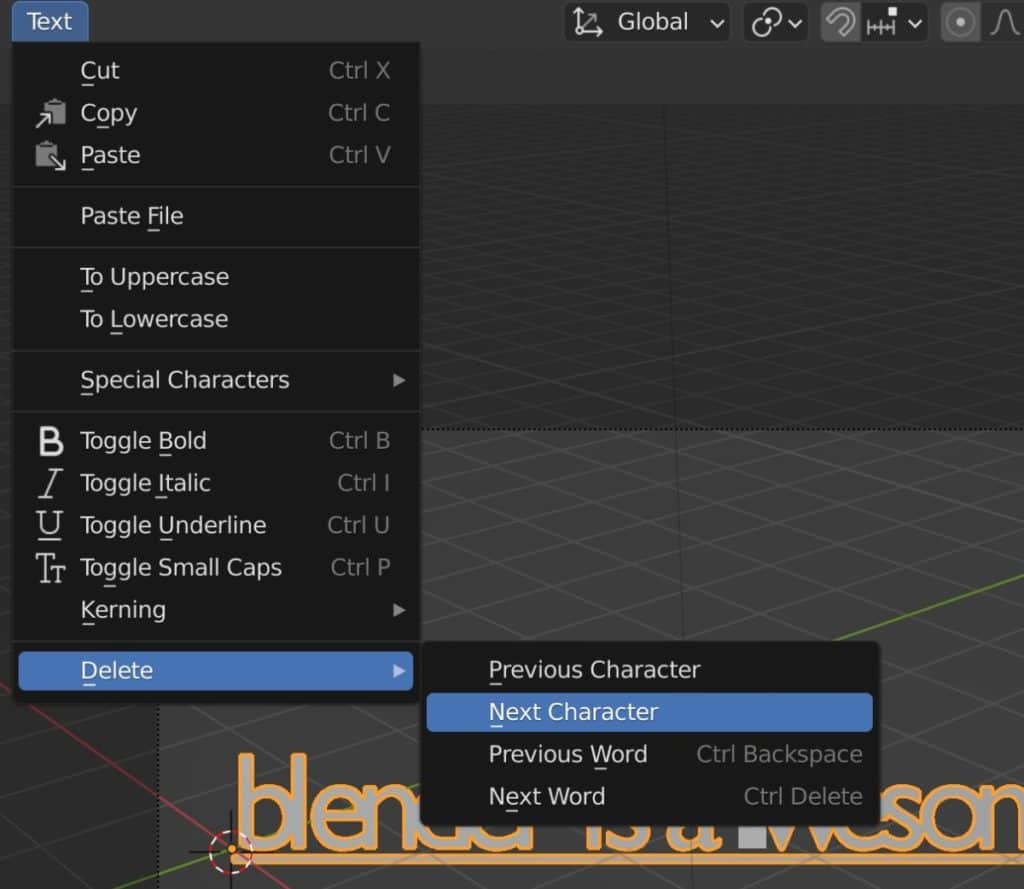
This is another example where it may be more natural to use the hotkeys rather than using the menu. Control + Backspace will allow you to delete the previous word based on the position of the typing cursor.
On the other hand, Control + Delete will remove the next word in the phrase based on the cursor location in the text.
The Easy Way To Make My 2D Text Become 3D Text With The Extrude Tool
There are more ways to edit our text objects in Blender, and as we are working with a 3D application we should highlight how we can transform our 2D text into a 3D shape.
We do not have the availability to do this in the text menu, which allows us to make changes to the letters and words of our text. We need to make these changes to the object itself.
This means our mouse cursor needs to take the trip down to the properties panel. With the text object selected in object mode, you will see a tab with a green a. This tab represents the object data tab, not to be confused with the object tab above, for our text object.
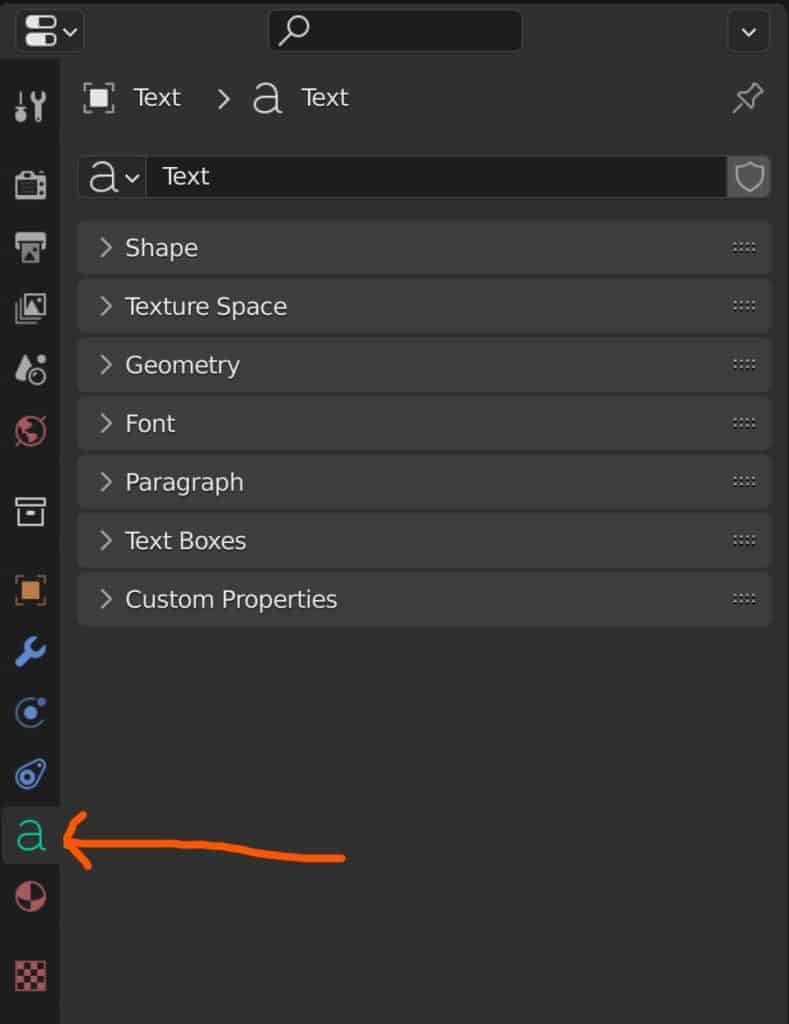
We want to make a 2D shape 3D, so we need to find the tool that will allow us to create the 3D effect. This can be found under the geometry section, so open up the geometry section and you should find your extrude option.
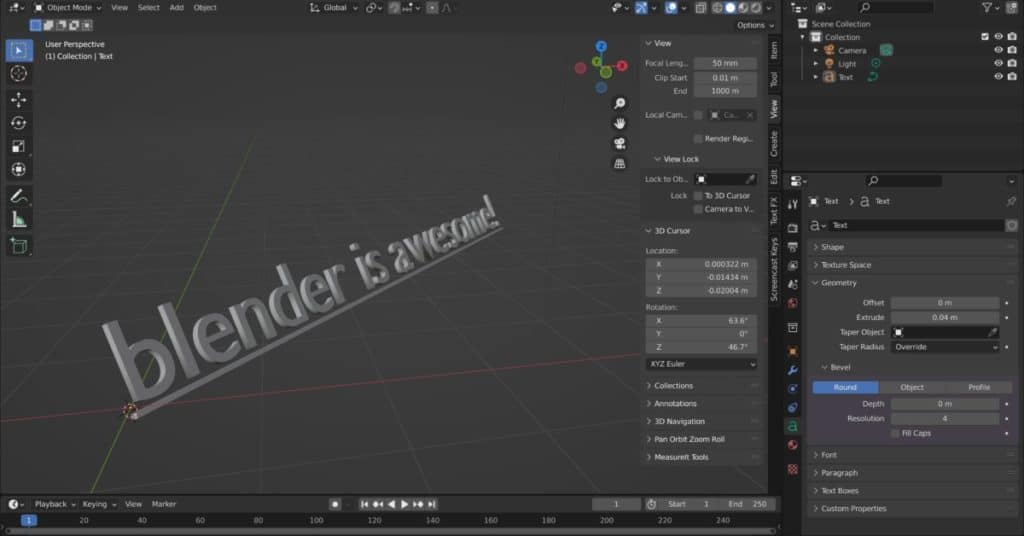
Using the extrude tool you can increase the value as a means of increasing the amount of extrusion for your text. The higher the value, the more your text is going to extrude by.
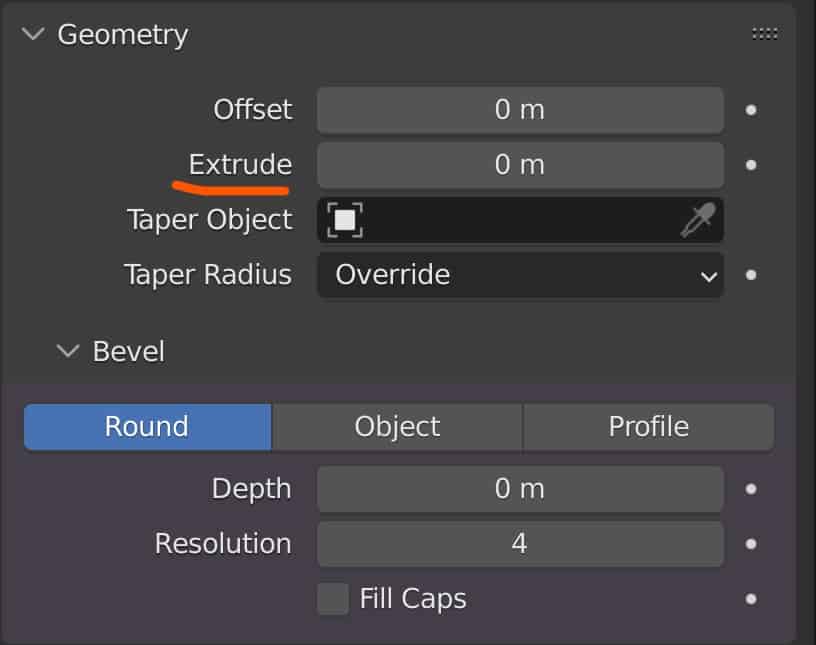
You can either click and drag to increase or decrease the amount of extrusion, or you can left-click on the value and then type in the value that you want for your extruded text.
Changing The Text Font
Another important tool is the ability to change the font of your text. At default Blender only has a single font known as BFont, but we can add additional fonts to our blender project and we can use those points as well.
If you are using a Windows device then you can use the Windows Font library. What we need to do here is tell Blender to use our Windows font library whenever we want to add or change our fonts. By the way, the fonts can be located under the fonts tab in the object data properties.
To define where our front library is and to tell blend out to find it, we need to go to the preferences panel. So go to the edit menu at the top of the blender UI and then select preferences from the list.
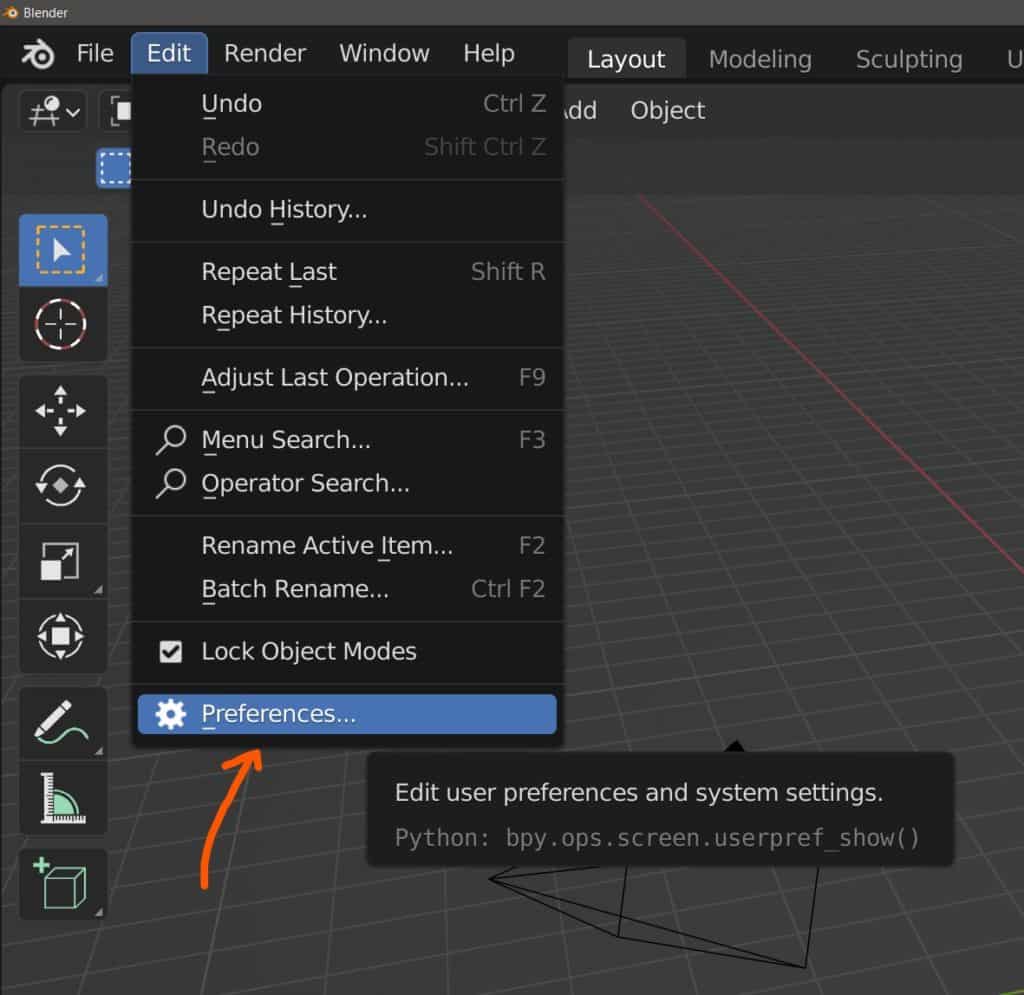
The preferences menu will be divided up into a series of tabs located to the side. The tab, or section, that we want is going to be the file path section. In this section, the very first option that we have is for our fonts.
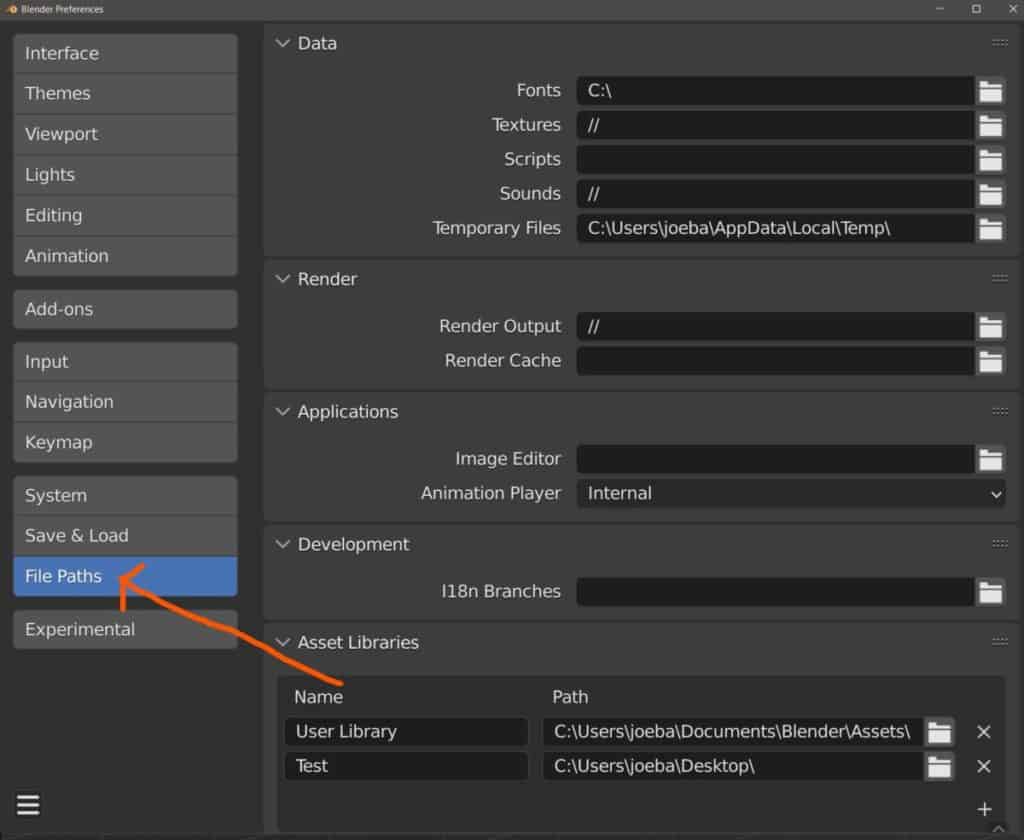
It should currently be blank, so we’re going to press on the folder icon to the side and this is going to open up the file browser.
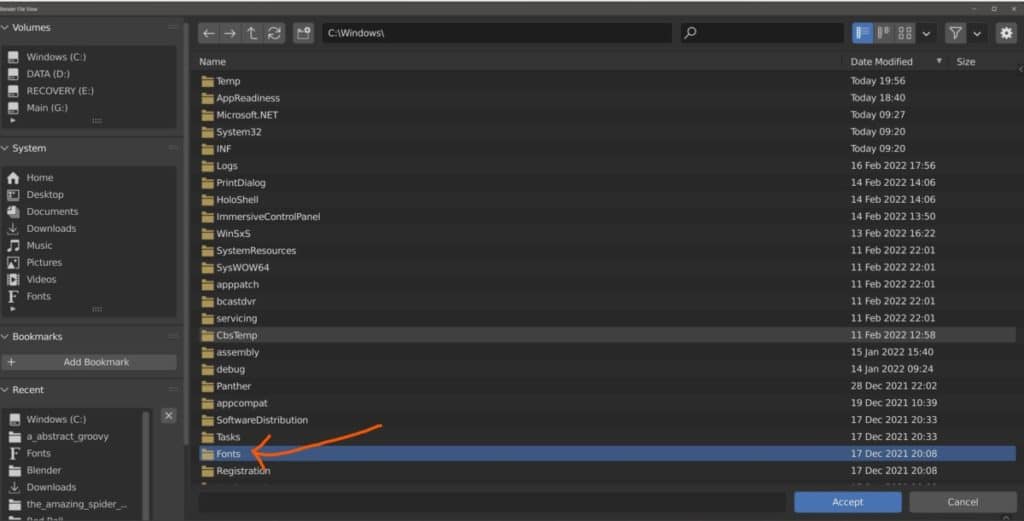
Now we need to tell Blender exactly where our font library is. Your font library is going to be located on the main drive that you installed the operating system to. Select the main drive and then select the Windows folder.
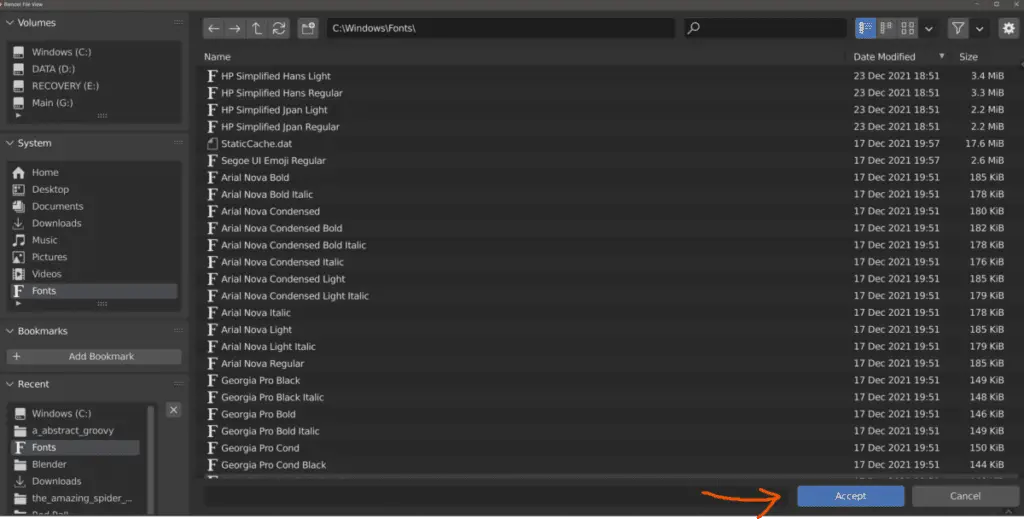
Within the Windows folder, you will want to search for the fonts folder. When you do, select the fonts folder and open it. You will now see the library or fonts that we are able to use from the Font library. So just click on the blue button in the bottom corner to confirm this as the new location for your fonts.
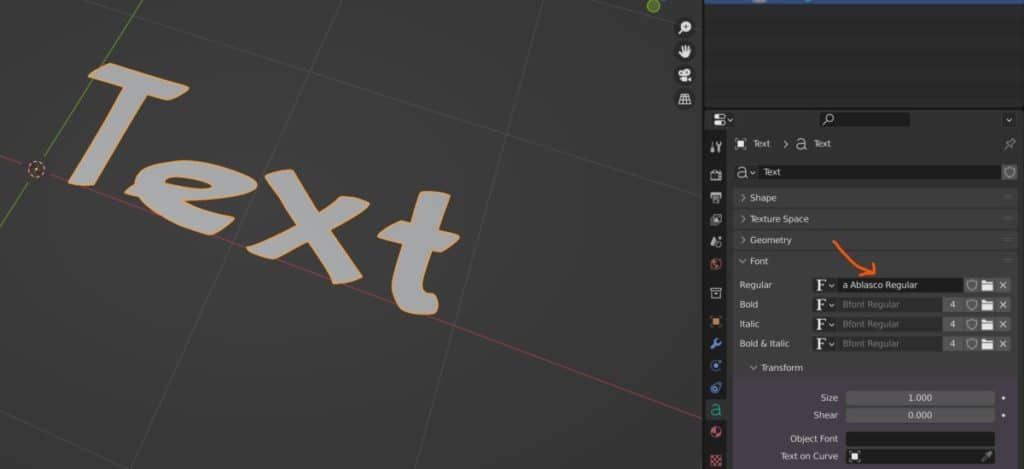
Next, return to the properties panel for your text object and click on the folder icon for the regular fonts. This will now take you to your font library, select the font that you wish to use from your font library, and then select the open font button, which should appear blue. As soon as you do this, the fonts will be imported into your blender project and your text will appear. With the new font as seen in the image below.
Adding Fonts For Text Stylings
The other options here below the regular type are bold, italic, and both. These options allow you to change to these stylings, as we saw from the text menu.
So what we need to do is we need to add a font to each of these. If you return to your font library, you will see that many of the fonts actually have different variations for bold, italic, both, etc.
For the font that you wish to use, also import the bold version of that font for the bold styling and the Italic version for italic styling.
In order to use these new stylings, go back to edit mode for your text object and use Control + A to select the text. Then go to your text menu and choose one of the styling options.
For example, if you choose the bold option, then your font will switch to the bold version of that font, which you determined in the properties panel. You can also use the various hotkeys associated with the stylings. For example, you can use Control + B for the bold styling or Control + I for the Italic styling.

Adding Bevels And Offsets To Your Text
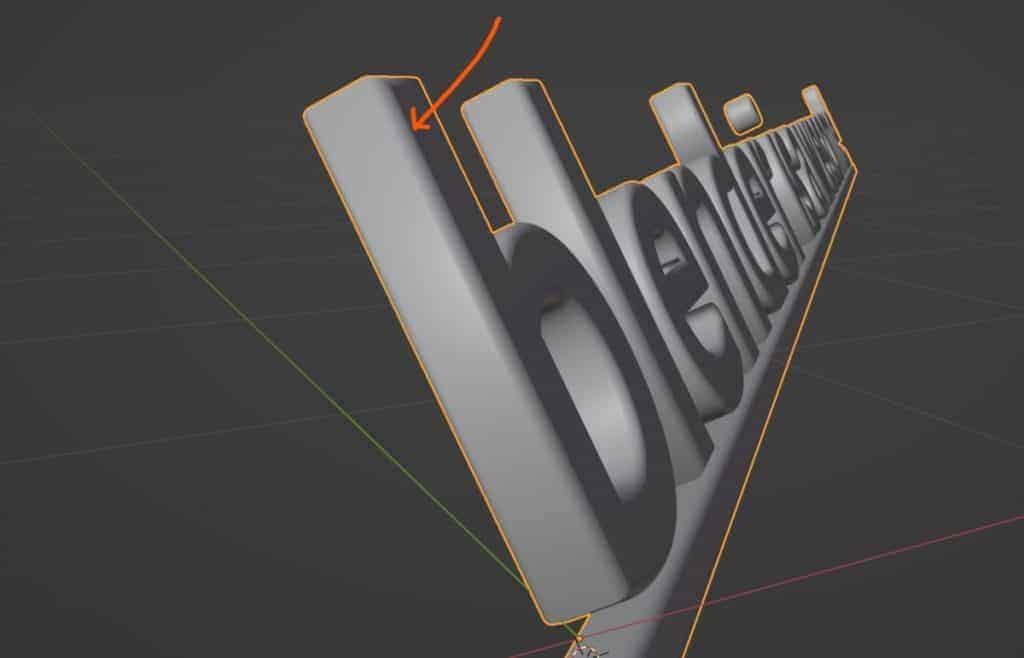
Going back to the 3D aspects of our text, we can not only extrude our geometry for our texts, but we can also create bevels and offsets. If you are used to 3D modeling, which you should be by this point, then you will know what we mean by a bevel.
A bevel is effectively creating a smoother version of a sharp edge. We create the bevel by adding segments and then smoothing across those segments to create a softer edge around our objects. This can also be done for our text objects and letters as well as mesh objects, and that tool can be located under the geometry tab for our text object.
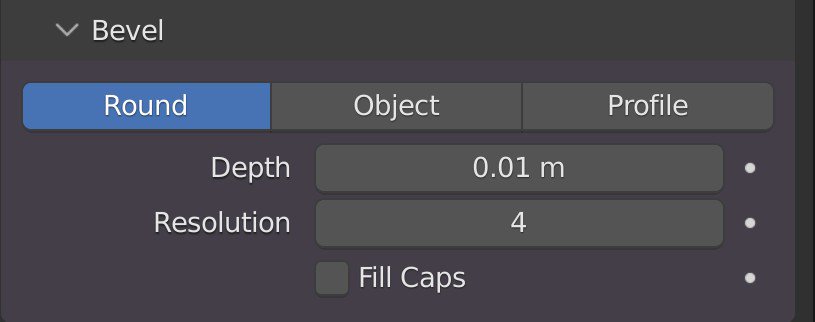
There are three forms of bevel here. The typical round option will allow you to create a standard bevel across the entire word. The objects option will allow you to create your bevel based on the positioning of another object. The profile option will allow you to create a customized bevel for your text using a graph.
Beginners should use the round option just to start with and they can adjust both the depth and the resolution. The depth is the size of the bevel and the resolution is the number of segments. So for example, a smaller level of depth and a higher resolution will create a thin, but at the same time smooth bevel effect for your letters.
The other tool that is found directly below the extrude option is the offset. This tool is a little bit more tricky to use, but effectively it’s used to increase or decrease the thickness of the individual letters based on the normal direction of each letter.
Going too far in either direction for your offset value is going to mess up your letters and text object very easily, so be cautious when using the offset value.
What Are Some Other Ways That You Can Edit Your Text?
In addition to changing the font and the 3D properties of your text, there are other ways in which we are able to edit our text objects. For example, we are able to under font manipulate certain transforms relating to our text, including the size and sheer.
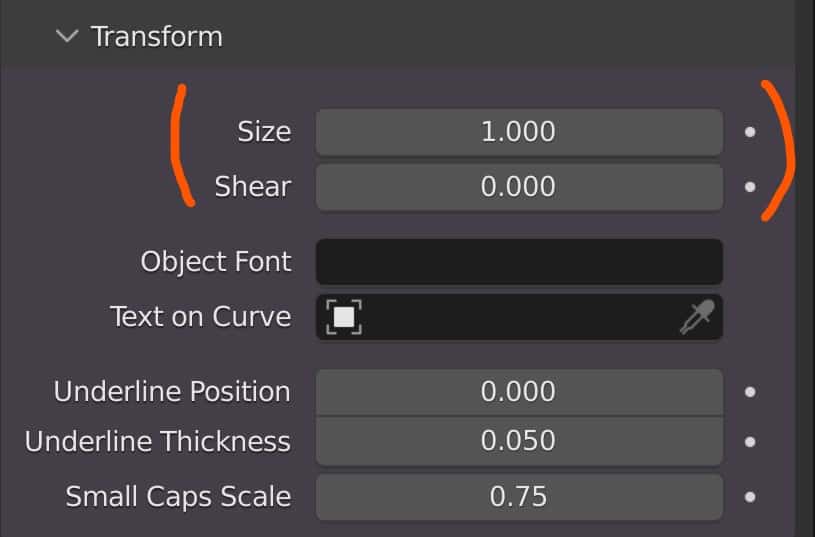
The size of your text is as it says, the size of your text as a whole, and it will scale up your text across the main two dimensions of the text, not including the extruded dimension.
The sheer on the other hand will create an incline for your individual letters and you can position this incline either to the left or to the right to create an effect not too dissimilar to the Italic styling.
Another thing that we are able to do is realign our text based on the object’s origin. By default, the object origin is positioned at the start of our text, but this can cause issues if we want to create things like animations where we are going to be manipulating certain properties like rotation and scale.
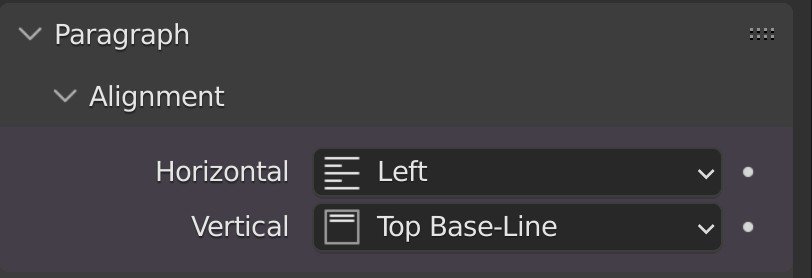
Under where we have the alignment options, we can choose how we want to align our text based on the horizontal and vertical axes. For example, for our text, we’re going to set the horizontal axis to be the center.
This will position the text in the center of the object’s origin, so the origin will be in the middle of the text. However, the object origin is still located just below the text, so we want to get it right in the center. To do this, we’re going to change the vertical alignment to be center as well.
Also, under the paragraph section, we have the spacing options. This is effectively the same as the kerning options that we saw in the text menu, but here we have a little bit more control.
In this menu, we are able to change either the character spacing, the word spacing, or the line spacing, and we can do so independently.
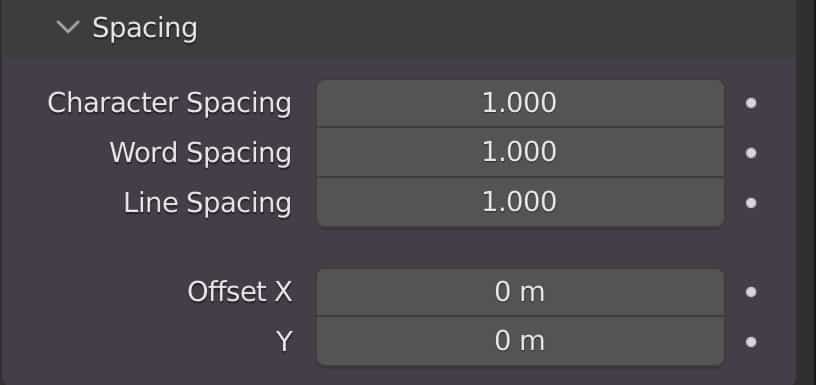
The only thing that we are not able to do here is to control the spacing between individual letters which we were able to format the text menu.
Also under spacing, we have the offset options. This is different from the offset tool that is found under geometry. We can offset our text on either the X or the Y-axis based on the positioning of the object’s origin.
So the X-axis is going to allow us to move our objects horizontally so that we can move them further away from our object’s origin if we wish to the left or to the right. Alternatively, if we manipulate the Y offset, then we can push our text up or down based on the positioning of the object origin.
Lastly, we are able to alter the resolution of the text object as a whole under the shape tab. We can’t change the resolution for both the preview of the 3D viewports as well as the rendered results.
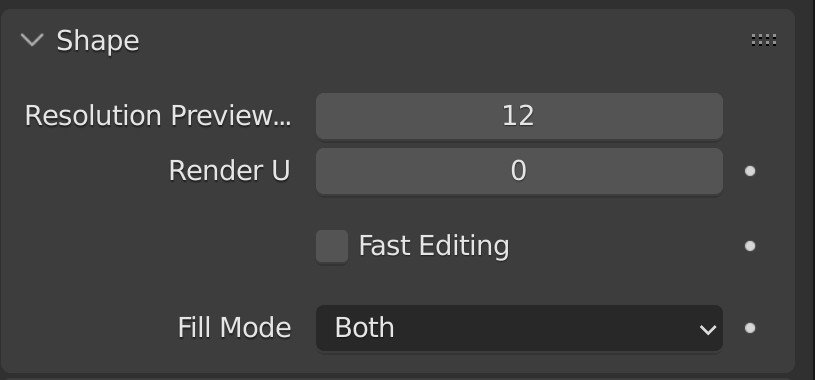
In the same area, we have the fill options, so our text is often filled in to make it look solid and by default, this value is set to both. But if we open up this menu we can set this to either none, which will have it hollow on both sides so we can see straight through the text, and only have the outline of the text visible.
We can choose to only fill in the front of our text. To only fill the back of our text, or to fill both the front and back.
Converting Your Text To Another Object Type
If you are looking for even more ways to edit your text objects, well, there is another thing that you can do and that is to actually convert your text objects into mesh objects instead. Text objects have their own set of properties and attributes that you can edit, which we have looked at already.
However, there is a lot more that we can do if these letters were mesh-based. Currently, they are just letters, but if we were to convert them into mesh-based objects then we would be able to do a lot more with them.
If you want to convert your text object into a mesh object, keep in mind that some of the options that you will find in the properties panel as well as the entire text menu will no longer be available once you make the conversion and you will not be able to convert back from a mesh to a text object.
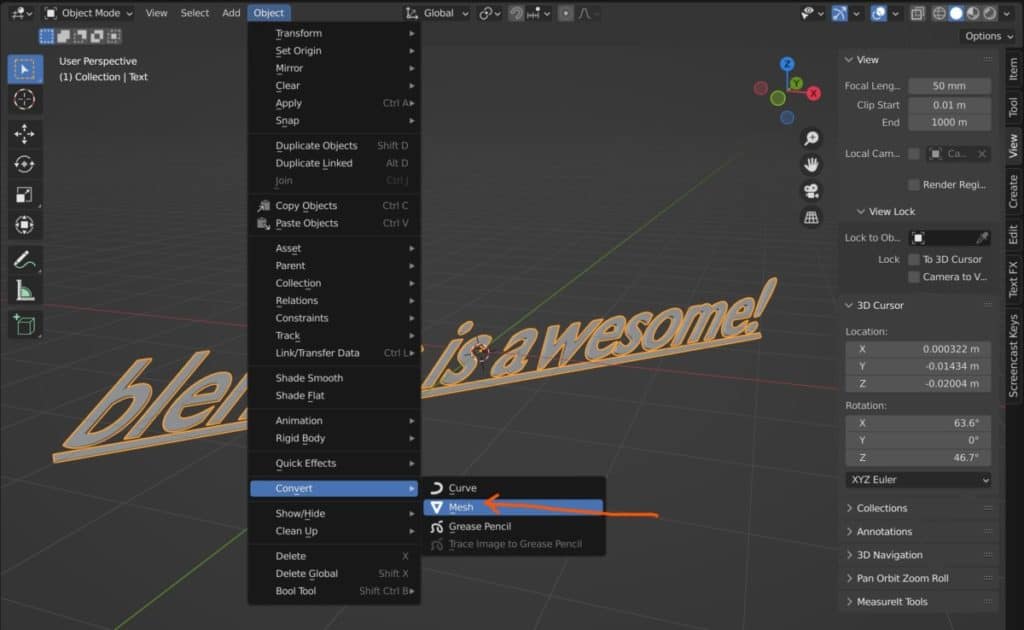
The font, for example, is one aspect of the text that you cannot change once you convert it into a mesh. To convert a text object into a mesh object, go to the Object menu in the header bar of the 3D viewport.
While in object mode, go down to where it says convert. Open up this menu and you will find that you have several options. The one that you will want to choose is the mesh option. Select that option to convert your text to a mesh.
In the operator panel, you also have the ability to keep the original text object. This is going to be useful if you want to change some of those text-based parameters, such as your font style. It is advised to at least tick this box so that you can keep your text and then move it off to the side away from your scene.
Adding Text In Blender For 2D Animation
One of the newer workflows with Blender 3D is the ability to create 2D animations and scenes using the 2D template. But are we still able to use text objects when we are working with the 2D animation template, which is a little bit different from working in the 3D viewport standard?
Well, the answer is yes, we can still add our objects in Blender as normal with the 2D animation template. The main difference for 2D animation is the use of a different background. So we have the pure white background as well as the general perspective of the view, and the inclusion of draw mode.

However, we still have object mode, edit mode, and the other modes related to creating 3D objects, and we can easily use them in our 2D animations if we wish. Therefore, yes, we are able to still add our text objects into Blender when creating 2D animations.
Creating Text Elements in The Video Sequence Editor
So we can use our text objects in both the 3D viewport as well as the 2D viewport for 2D animation. But another place where we can use text in Blender is the video sequence editor.
Text here exists as an overlay or an element that we can add on top of our video files when editing them in Blender. To add a text element, just go to the add menu in the video sequence editor and then select text from the list.
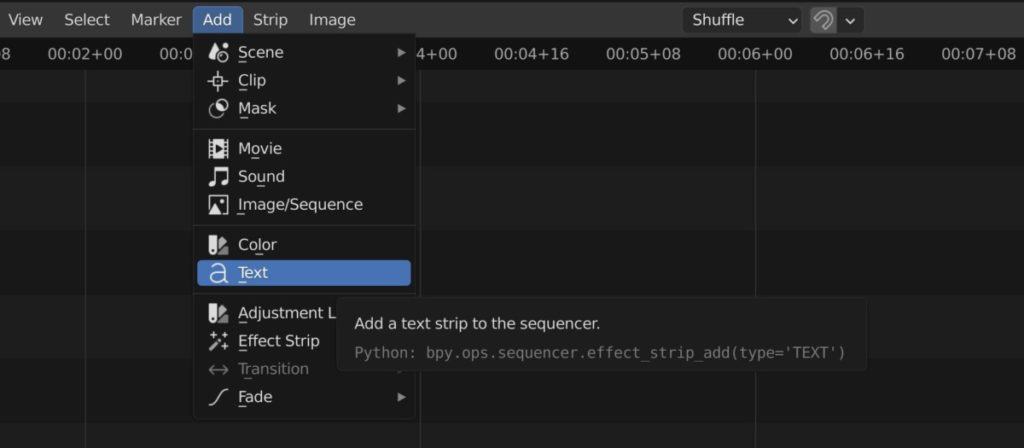
A clip for your text element will now appear in the timeline. You can position this clip anywhere in the timeline, as well as increase or decrease the length of the clip, which will determine how long your text lasts on the screen.
When you select the text element and then press the N key to open up the side panel, you will get a variety of different options that you can use to change the text elements starting from the actual wording itself, and also including other properties such as the font and size.
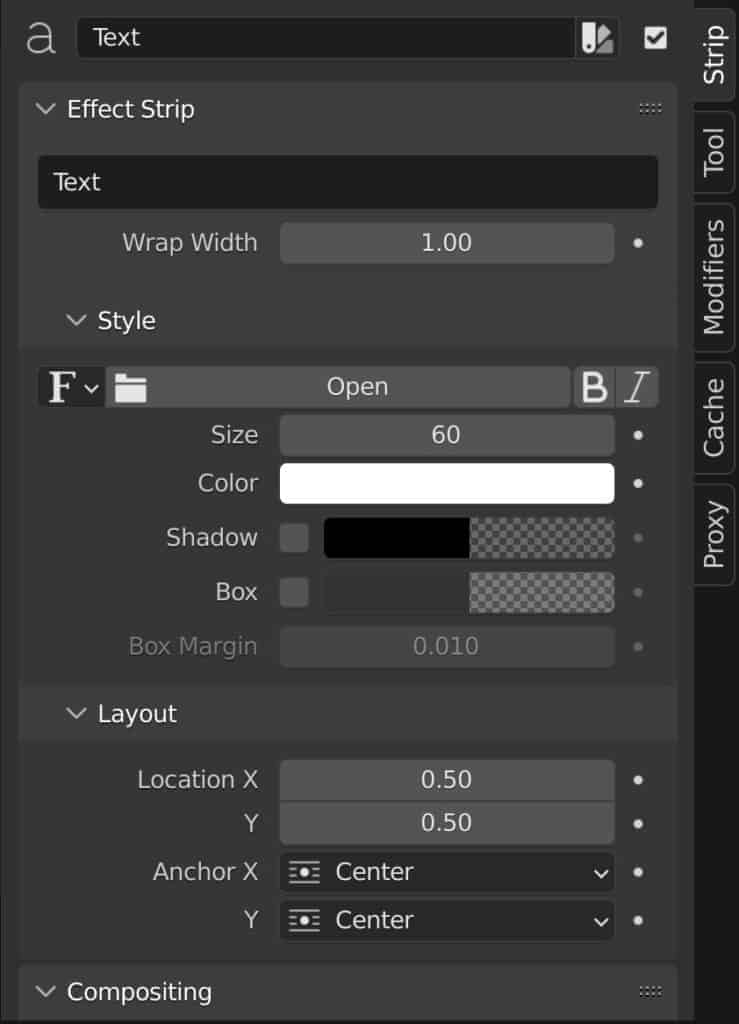
You can even change the color of the text here as well, something that you could not do in the 3D viewports without going to the shading menu to create materials.
Thanks For Reading The Article
We appreciate you taking the time to read the article. We hope that you were able to find the information that you were searching for. Below we have compiled a list of additional topics that you may be interested in reading.
- Is Blender A Good 3D Modeling Program?
- What Does Index Of Refraction Mean In Blender?
- Paint Transparency Into Your Image Textures
- Why Materials Get Deleted When You Close Blender
- Adding An Image Sequence As An Overlay
-
Normal Maps: Adding Detail in Blender
Enhancing models with the subtle details of normal maps in Blender.
-
Image vs Procedural: Blender Texturing
Exploring the advantages of image versus procedural texturing in Blender.
-
High-Poly to Texture: Blender Baking
Transitioning from high-poly models to detailed textures with Blender baking.