When creating our animations in Blender, we can control a few settings to define the output of our animated scenes. One of the most fundamental of these is our animations’ resolution or pixel density.
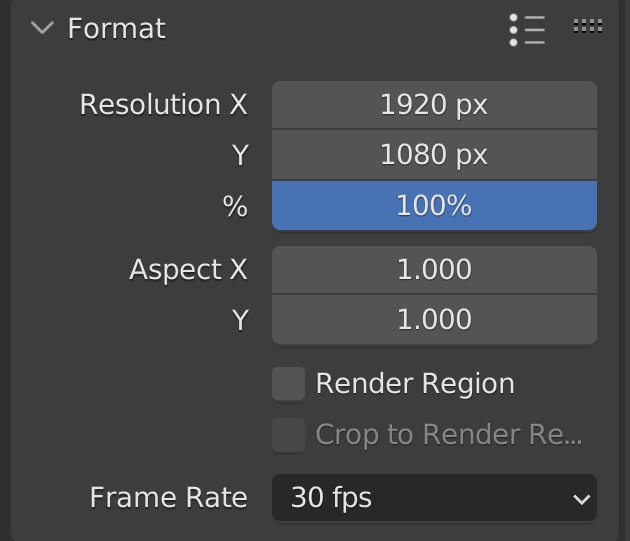
To change the rendering resolution of our animations, go to the output tab in the properties panel. In the format section, the first option is to change the resolution. We can do this manually or use the preset menu in the top corner to choose from one of the ready-made rendering resolutions.
As with any setting, there are pros and cons to changing your resolution in Blender. Pros can include things such as improved image clarity, while cons can include the increase in rendering time.
Changing The Resolution Of An Image Or Animation?
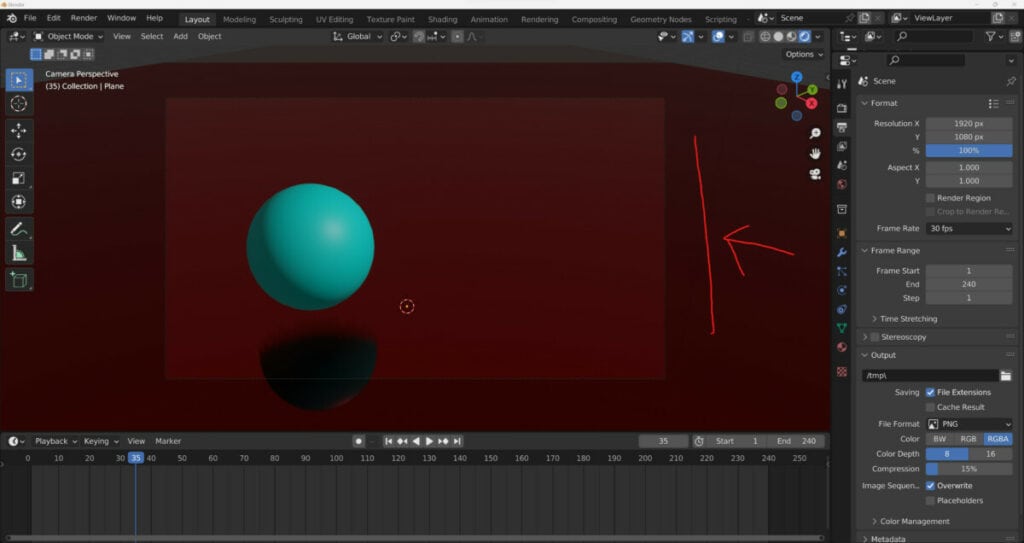
Creating animations in blender requires more than just the inclusion of keyframes to animate the various aspects of your scene. We also need to manipulate the settings for the animation itself in preparation for rendering.
This preparation can be divided up into four tasks. The first is to change the resolution of our target animation or rendered image.
The second relates to the frame right, which is the number of frames rendered per second of our animation.
The third is going to be for the frame range, which is the total length of the animation. This goes hand in hand with the frame rate but should be determined based on the frame rate.
The fourth part of the process is to define the output of the animation and where it will be sent. There’s no point rendering your animation if you don’t know which folder it will be stored in because then you’ll have to go looking.
If we go to the properties panel and the output tab, you can change each of these four settings.
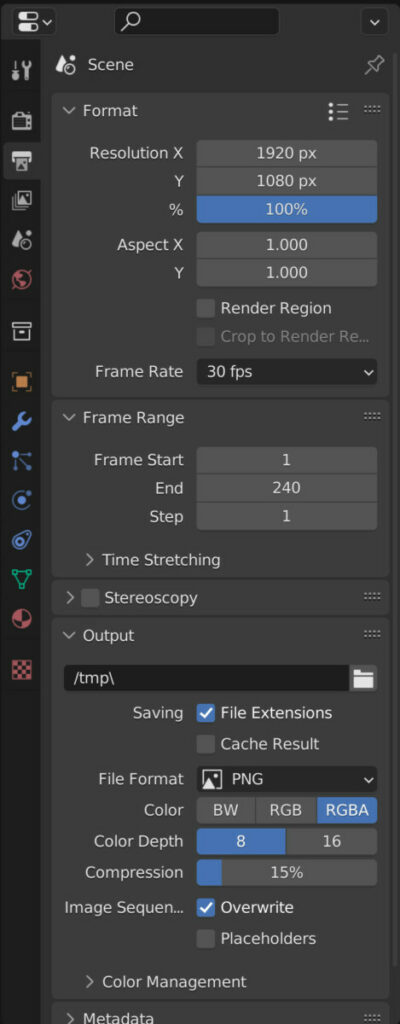
The first option is to change the resolution, and there are a couple of ways to change the resolution of our animations.
The first is to type in the resolution on the X&Y axes manually. We can left-click on one of the two axes and then type in a new value to define our resolution.
When each axis’s resolution independently changes, the aspect ratio of our rendered image will change.
To view this, press 0 on your number pad in the 3D viewport to view your scene through your camera. The camera creates a border, and anything within that border will be rendered.
I should change the values of your resolution. You’ll notice that the shape of the border changes to match the aspect ratio of your resolution.
In addition to clicking and then typing in your own value, you can also click and drag on the resolution values.
Below that, we have a percentage slider; this would allow us to scale up and down at the resolution of our image or animation based on the current resolution settings.
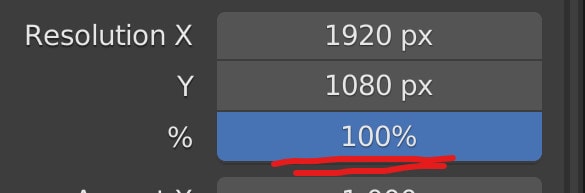
For example, if we set the resolution slider to 50% of a 1080P animation, then that means that the number of pixels will be halved on both the X&Y axes, which is, in fact, 1/4 of the resolution for our render.
Another way in which we can change the resolution of what renders is to access the resolution preset menu. This is located directly above the resolution option; the icon appears as a bullet-pointed list.
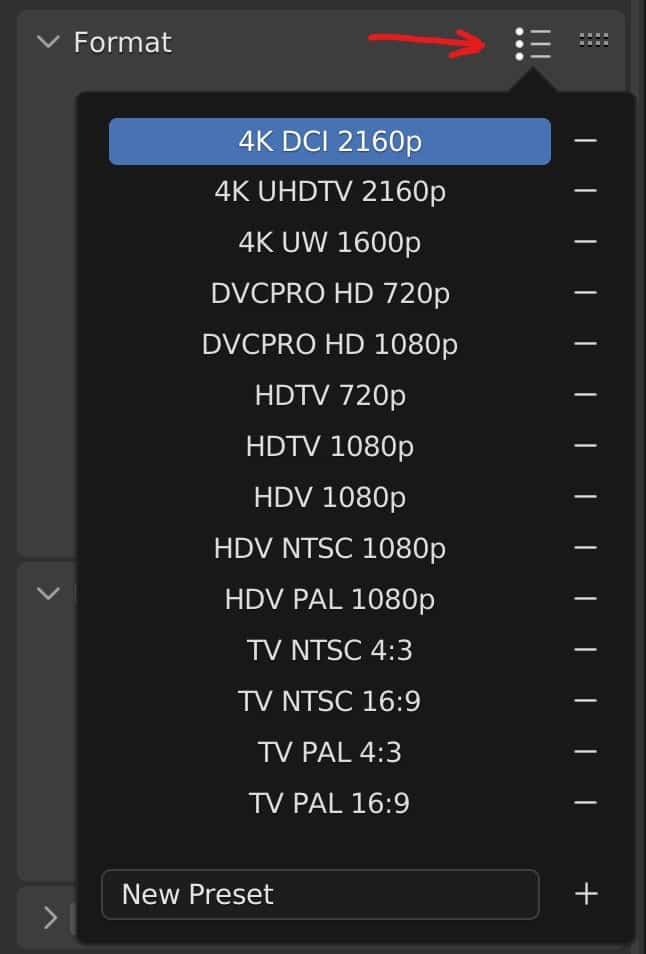
Many of the options within this menu are industry-standard resolutions from fields such as television and film. This is the best way to define the base resolution for your rendered images. In most cases, you will want to use HDTV resolutions ranging from 720P to 1080P and even 4K.
Note that if you create a custom resolution, say for a youtube thumbnail, you can save that resolution to the presets list by clicking on the + button at the button of the menu.
Where it says New Preset, click and type the name of the new preset resolution and click on the plus button to add it for future use.
What Are The Aspect Ratio Settings For?
Directly below the resolution settings are the settings for the aspect ratio. By default, these are set to one and one on the X&Y axes.
But if changing the resolution pixel counts alters our render’s actual resolution and aspect ratio, what do these settings do?
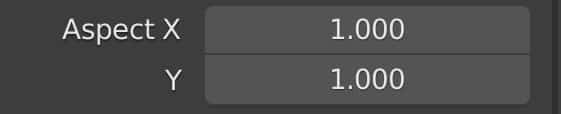
The resolution settings allow us to increase and decrease the number of pixels on the X&Y axes, but the aspect ratio settings allow us to change the shape of the individual pixels.
By default, our pixels are effectively squares, and the higher the resolution of our image, the smaller the individual squares are.
The absolute minimum resolution that we can make any image is four by four pixels. If you create an image with such a low pixel count, 16 different squares make up the image. Each of these squares may be different depending on the image you were trying to render.
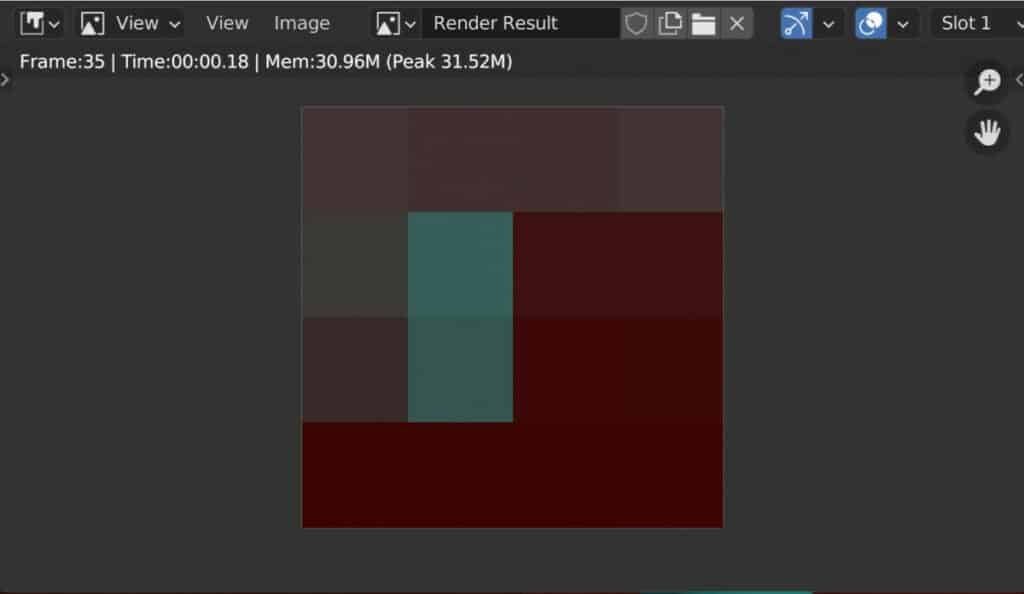
Increasing the aspect ratio of even the ex or axes will stretch that pixel in the appropriate direction during the rendering process.
Blender will calculate those pixels to appear as squares in the final output. Still, if you manipulate the aspect ratio values, you will be able to see how they affect which area of your screen is rendered through the camera lens.
Does Resolution Affect Render Times?
When creating your animations, two properties have a linear one-to-one effect on the amount of time it takes to render your animation. The first of these is the frame range. The more frames there are in your animation, the more frames need to be rendered.
This is often dependent on the animation itself, so if changes are made throughout the animation,, those changes may influence the render times further.
However, if you had two animations of varying frame rates, the amount of time of those animations and the animations themselves were the same. The one with the higher frame rate would have more frames and therefore take longer to render.
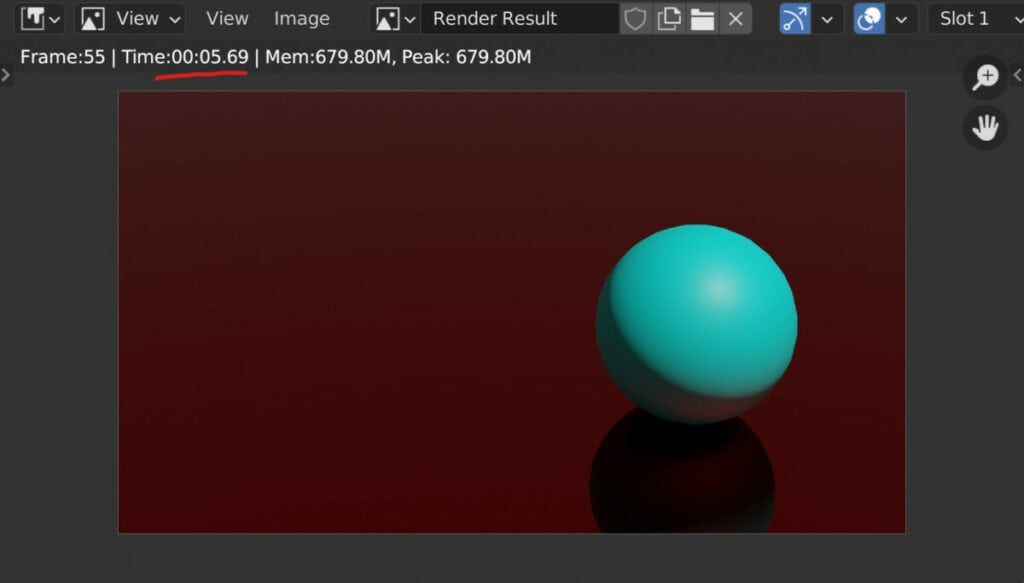
Regarding resolution, the principle is the same, but not quite to the same extent. The higher the resolution, the longer it will take to render the image.
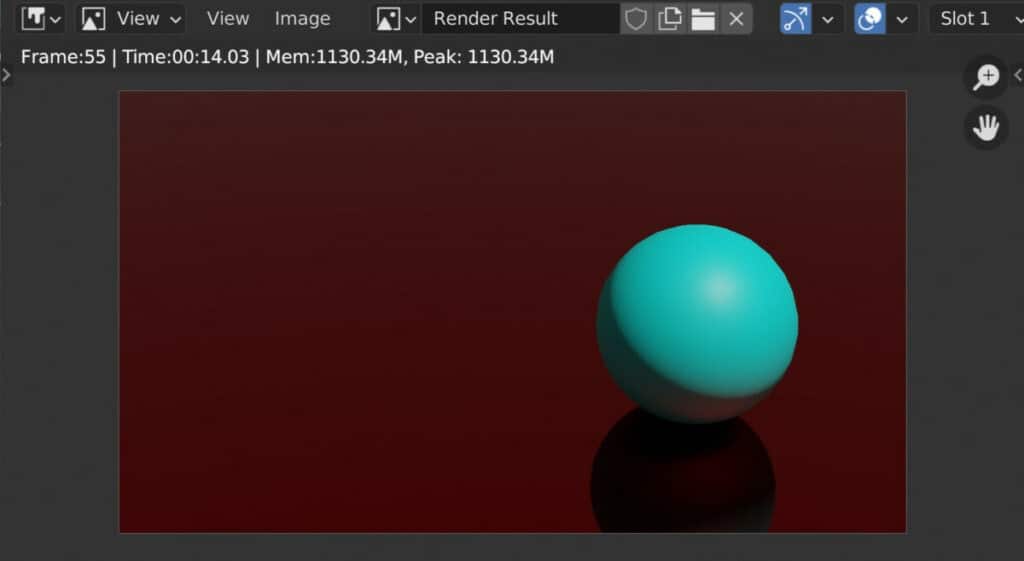
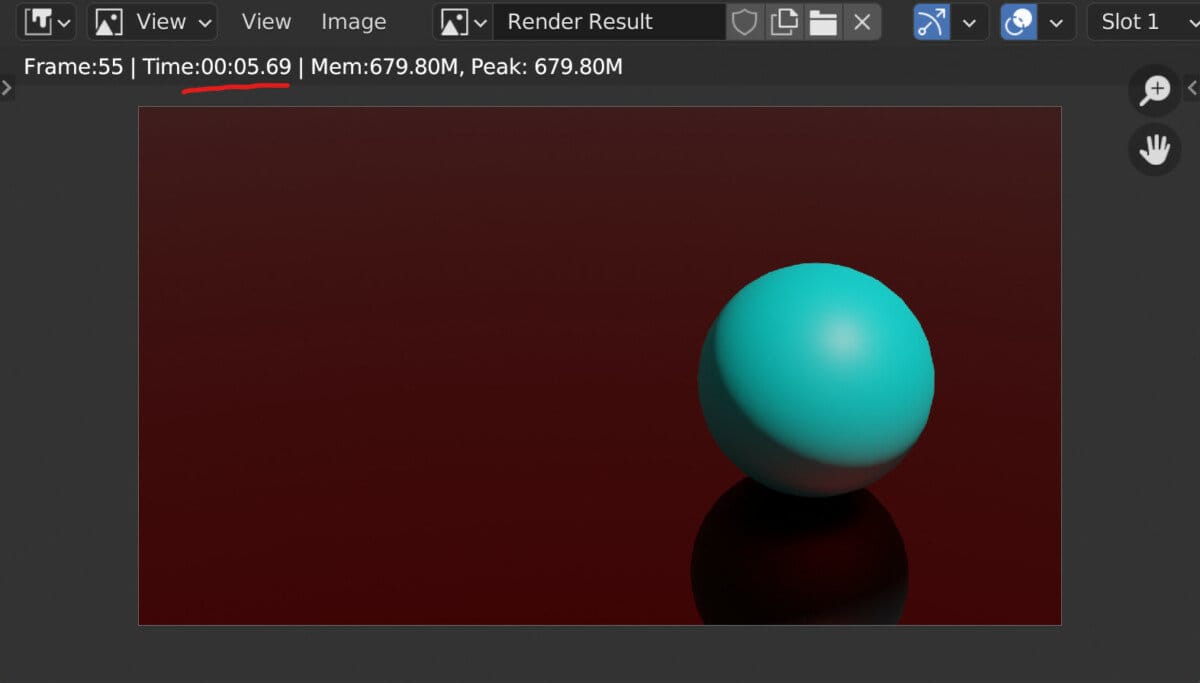
For example, let’s say a scene takes approximately six minutes to render at a resolution of 1920 by 1080. We then increase the resolution to a full 4K. This will double to pixel resolution on both the X&Y axes. Because we double each axis, we are quadrupling the total number of pixels.
Therefore, the time to render our image increases similarly based on the scene. While not always the same as the pixel increase, it is often an easy comparison. Increasing the resolution will always, by itself, increase the rendering time.
Will Changing Render Engine Help With Render Times?
Another factor affecting the total amount of time it takes to render an animation is your choice of the render engine. In the example above, where we took approximately 6 minutes to render a 1080P scene, we would use the cycles render engine.

By contrast, if we were to use the Eevee render engine at the exact resolution, the amount of time it takes to render that image would be far less.
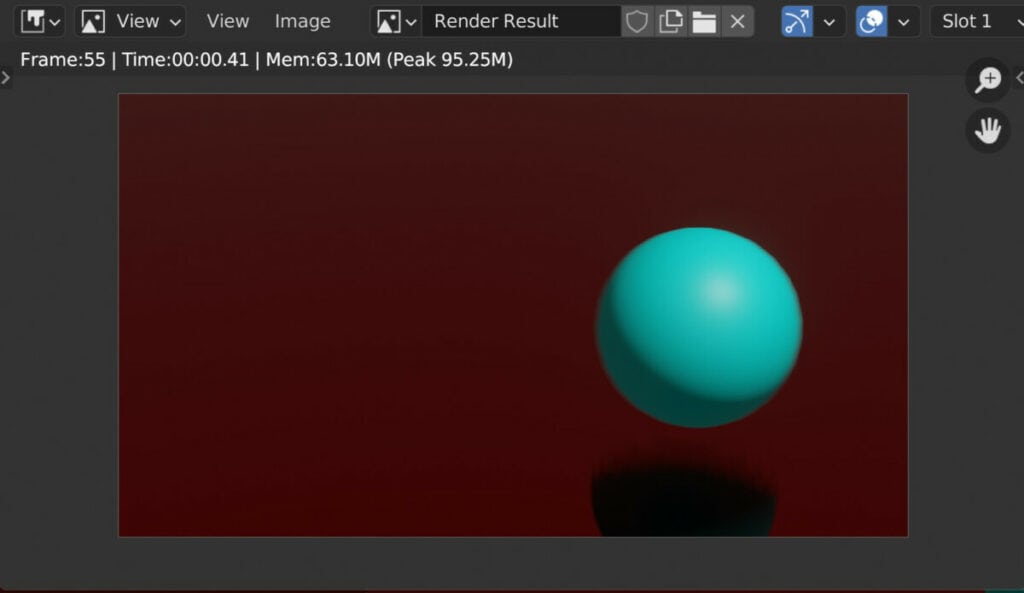
In most cases, it takes only seconds to render an image using the Evie render engine because of its rasterized approach to mapping out scenes.
Controlling Your Resolution To Preview Animations
Even using the Eevee render engine and animation can take considerable time to render based on the total number of frames.
It is ill-advised for your first render to be your final render, as you need to assess your scene and animation for any changes that you need to make.
Preview runs are necessary to view your scene before the final render and note any changes or improvements you can make.
However, we don’t want to run our preview at max resolution, as it is simply not required to preview our project.
We can therefore take advantage of the resolution slider in this scenario. Reducing the slider’s value down to 50%, for example, will reduce the render time of each frame to approximately one-quarter of the full resolution.
We then can create a preview in a fraction of the time and use it to assess changes that need to be made to our screen.
Thanks For Reading
We appreciate you taking the time to read through the article. We hope you found the information you were looking for. If you are interested in learning more about the Blender software, you can check out a few of the articles we have listed below.
- Changing The Resolution Of The User Interface Elements
- How To Change The Frame Rate In Blender
- Getting Started With 3D Animation In Blender
- Why Is My Animation Playback Lagging
- How Long Does It Take To Render An Image