One of the most overlooked aspects of 3D modeling, especially for newer 3D artists, is using reference material. Most artists will create a design from the mind and think that it looks great, only to present it to someone else who informs them of all the issues with the design and that it does not quite look as it should.
The ability to use reference material can make the design process much simpler. So what is the best way to set up Blender with your reference material?
You can use your image editor to add in any reference images of similar designs by using the open button to load an image to the editor. In the viewport, you can add background images from various perspectives and use either X-Ray or wireframe modes to use those background images for modeling.
Suppose you can set up Blender with your reference material. In that case, you’re going to find the modeling process much more accessible, regardless of whether or not you are trying to create something brand new or creating a design based on your image.
Setting Up Your Reference Material In The Image Editor?
You can use several methods to set up your reference material. For example, you can find your reference material online and print it off to have physical references, or you can store your images in a separate program and access them when necessary.
For us, we are looking for a Blender exclusive setup, and one of the best ways to bring in your reference material is to use the image editor. The image editor can be used to import images or to create them with texture paint tools.
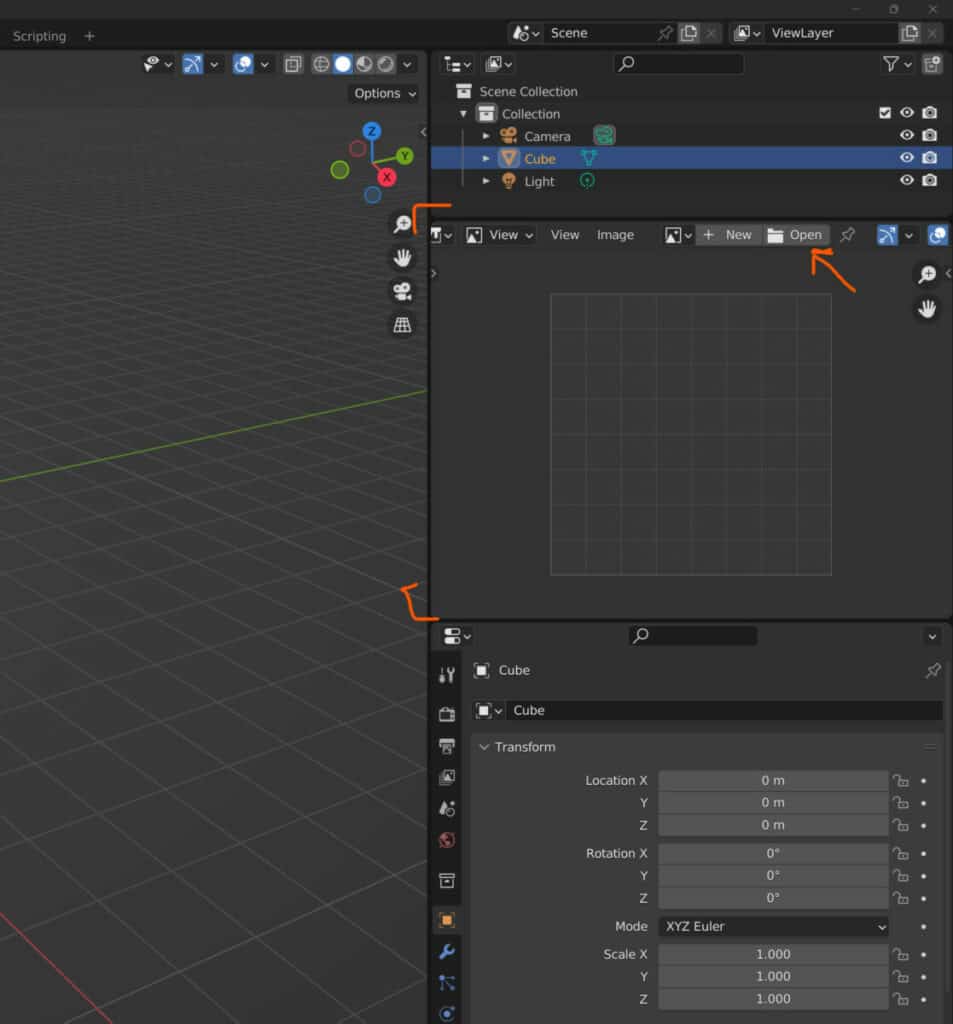
The image editor can be accessed from the texture paint workspace, but we don’t plan to use it for painting, so instead, we need to bring it into our layout workspace.
We recommend dividing your outliner panel using the horizontal split option, which will divide one panel into two. Then go to the editor type menu in the second panel and change it to the image editor.
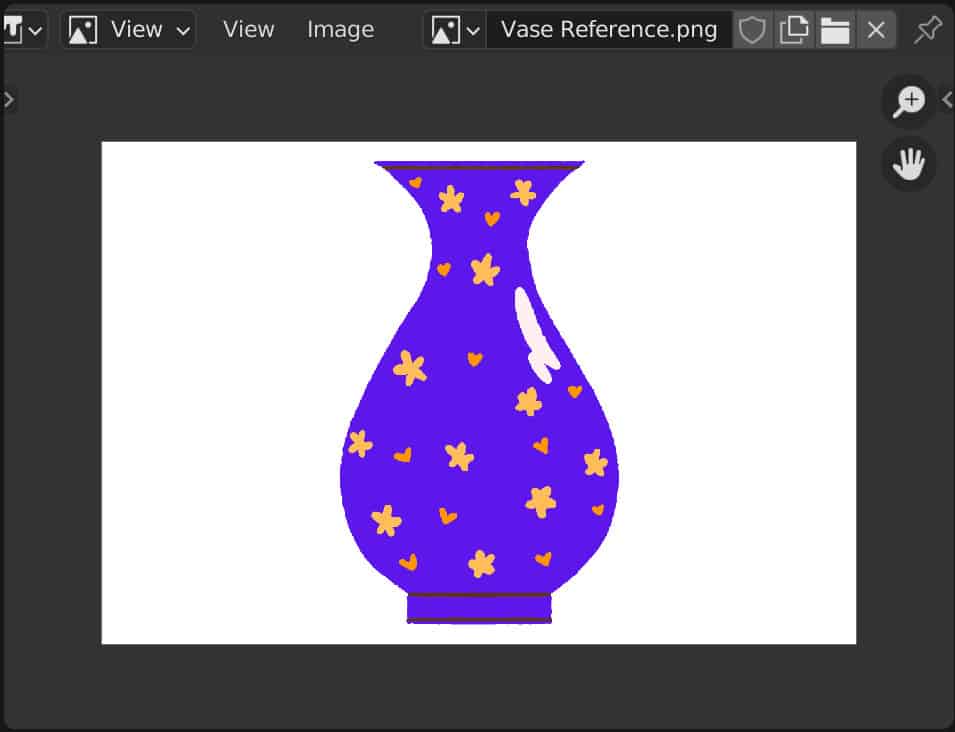
Within the image editor header bar, you will see the option to open a new image file. This will open the file browser, where you can locate your reference image, and then press the blue button in the corner to load the image into the image editor.
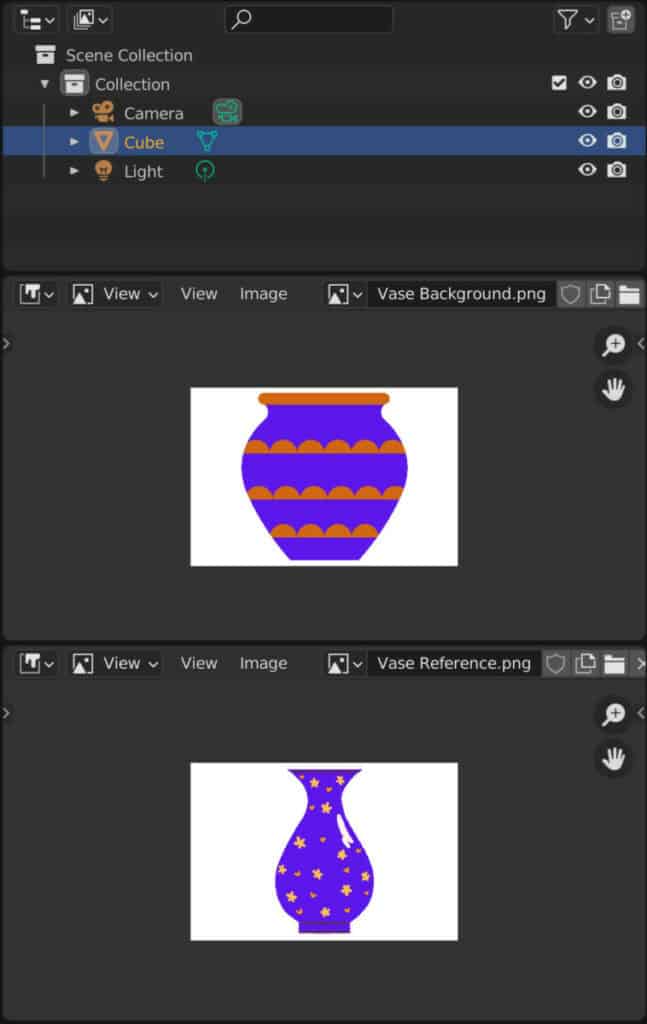
Another thing to note here is that every panel can display something different, even if it is the same editor. You could add another image editor into your workspace and load a different reference image.
Creating A Background Image In The Viewport
When working within the viewport itself, we have access to two kinds of image objects. These are reference images and background images.
The only difference between these two is the settings found in the properties panel, which slightly changes how they are used in the viewport.
A reference image can be positioned anywhere in your 3D viewport to be used as reference material while modeling.
The unlimited amount of space available to position the images are useful in creating reference images in the viewport itself.
Background images, though, work a little differently. We add a background image and positioning behind the primary model to use the image as a direct reference to help draw out the shape.
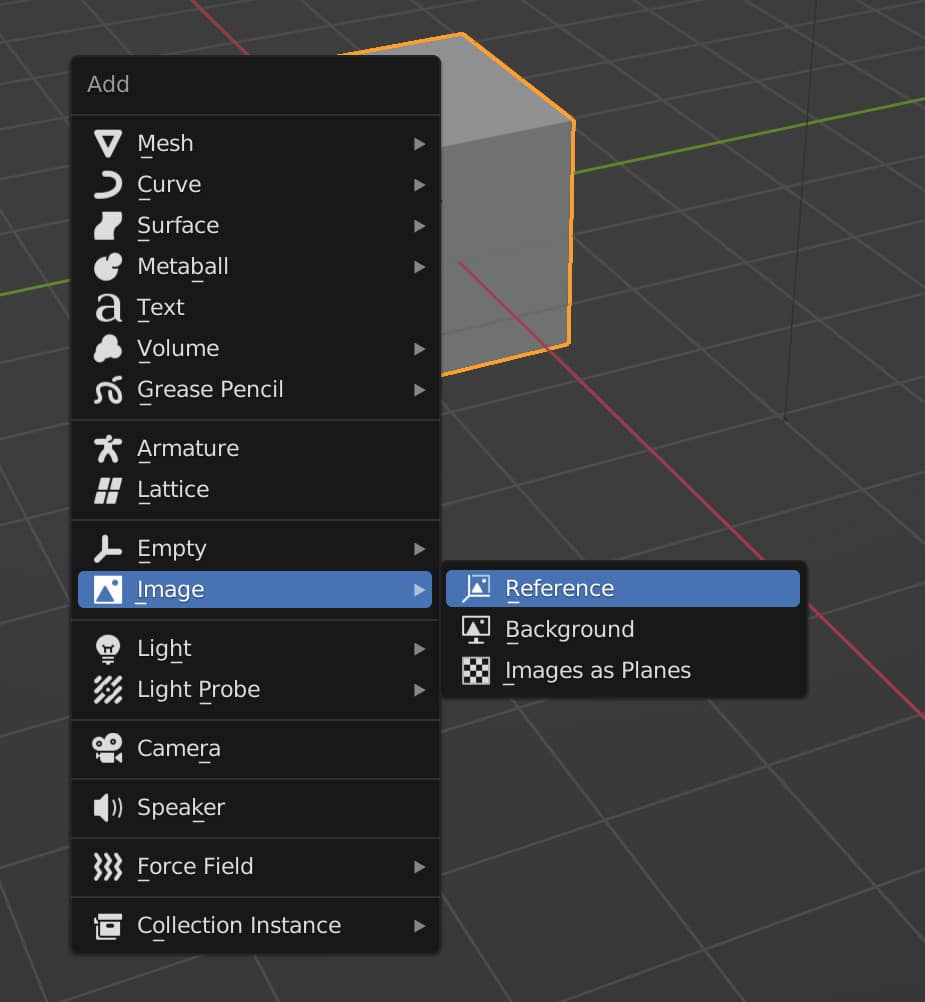
To add a new image to your viewport, open the add menu using the hotkey Shift + A. From this menu, go to image, and then a second menu will open, displaying the two image options.
Choose background if you want to add a direct reference model or reference if you are using general designs.
The file browser will open, allowing you to locate the file that you want to use. Select the file and click on the load background image button to bring it into the viewport.
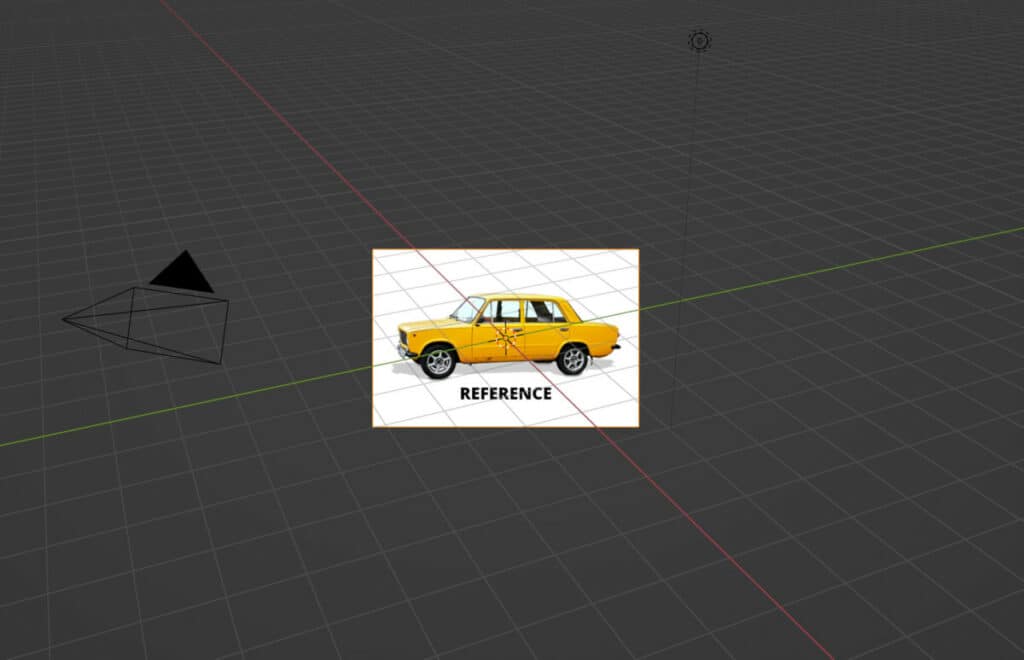
Note that any image objects added in the viewport will orient towards the viewport angle when the image was loaded. You may need to use the location and rotation tools to position the image correctly.
Any further settings that you wish to change, such as the image opacity, can be found in the object data tab of the properties panel.
Turning On X Ray Or Wireframe For Easier Modeling
If you plan to use background images for your designs, you will need to be able to view both the reference material and the object at the same time so you can model accurately.
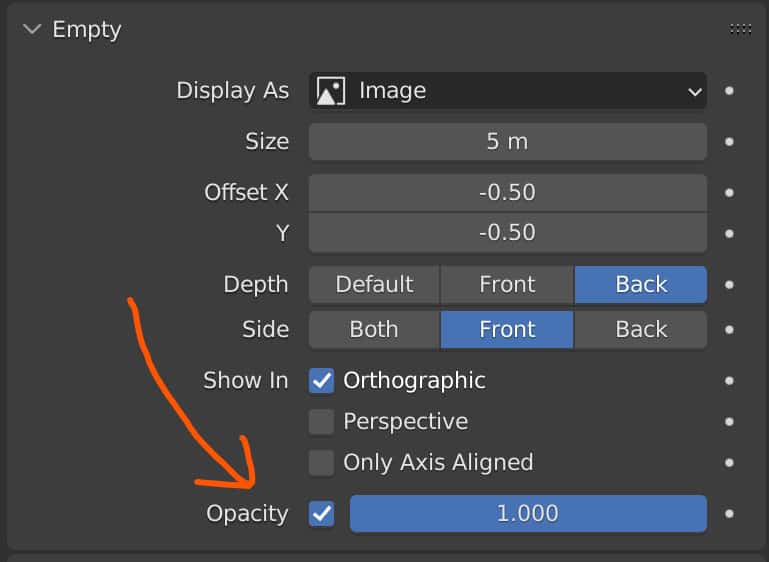
There are two ways to go about this. The first method is to change the depth setting of the image to front so that it always appears in front of the model. Then reduce the opacity value so that you can see through the image.
The preferred way for us, however, is the opposite, which means making the object see-through and the depth setting of the image set to back so the image appears behind the model.
To make the object transparent, you can toggle the X ray option or turn on wireframe mode for the viewport.
Both options are available in the top corner of the 3D viewport. This is our preferred way of setting up reference material for direct modeling.
Use Multiple Images For Different Perspectives
Sometimes you can access images that view designs from different 2D perspectives, such as the front, side, and top views.
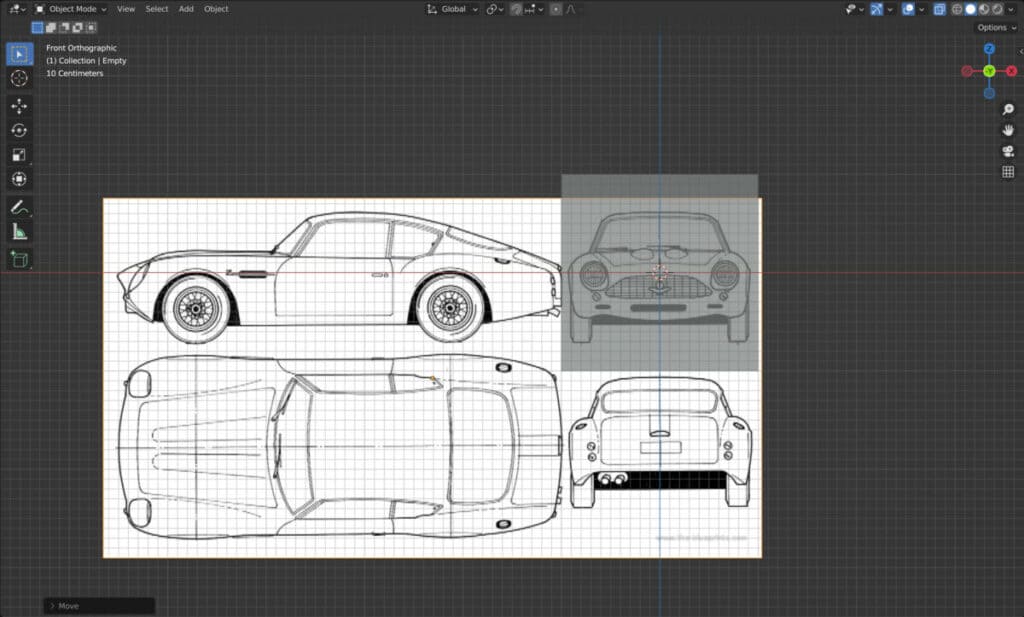
Therefore, you can consider adding these images as separate objects in your viewport and then position them in your viewport according to each image’s perspective.
Thanks For Reading The Article
We appreciate you taking the time to read through the article, and we hope you found the information you were searching for. You can try a few of the articles below to learn more about the modeling process and how images can be used in Blender.